Introduction
If your Arlo Pro 2 camera is not charging, follow this guide to walk you through the steps of replacing the Micro-USB charging port in your Arlo camera.
The Arlo Pro 2 battery usually last between 3 to 6 months on average. When battery has depleted the camera will no longer send motion captures to the connected device.
Make sure to inspect the USB port for any dirt or debris that may interfere with the connection.
Before starting this guide ensure that the camera is disconnected from any external power source.
What you need
-
-
-
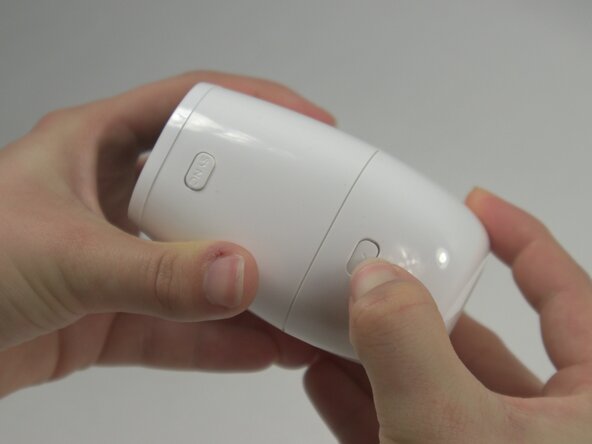
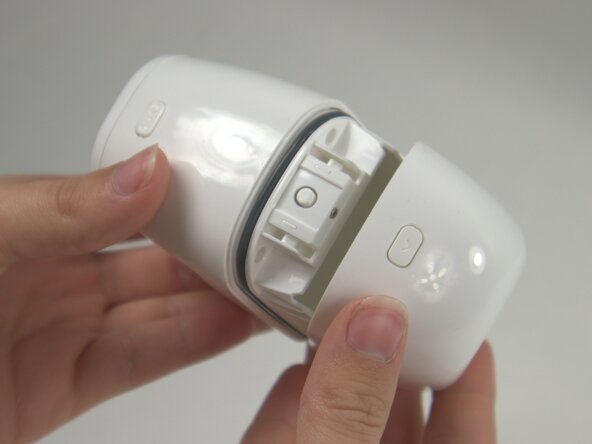
Press the release button on the camera and gently pull apart the casing to open the device.
-
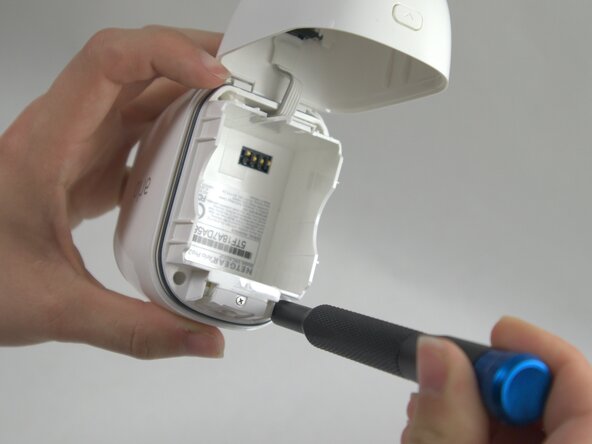
Remove the battery from inside the case.
 Ask FixBot
-
-
-
Use a T5 Torx screwdriver to remove the four 7 mm screws securing the camera case.
-
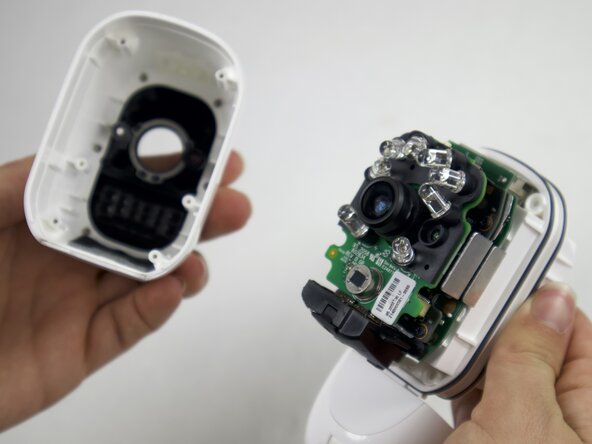
Carefully pull the outside of the case apart from the internal case to remove the camera components from the outside casing.
-
-
-
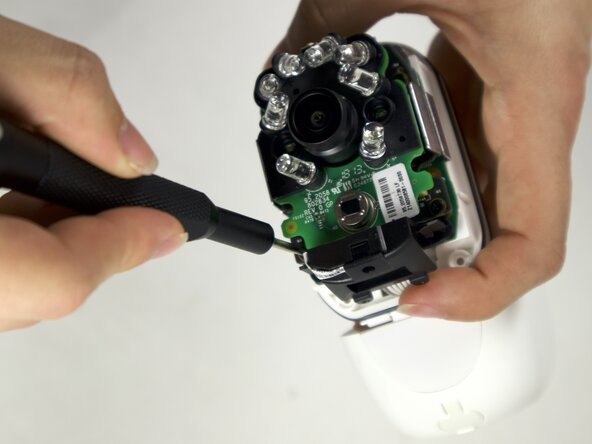
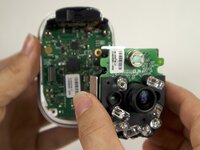
Use a Phillips #00 screwdriver to remove four 4 mm screws connecting the daughterboards to the motherboard.
-
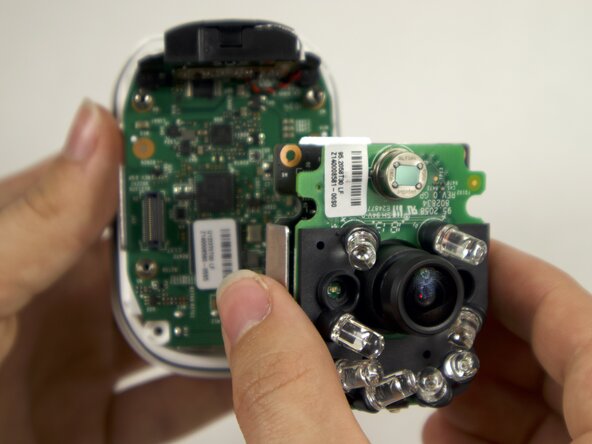
Seperate the daughterboards from the motherboard and camera casing.
-
-
-
-
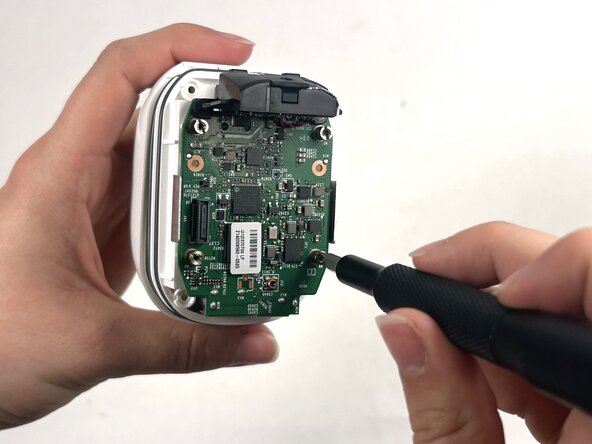
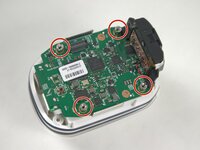
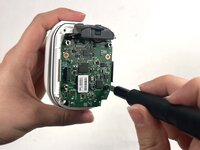
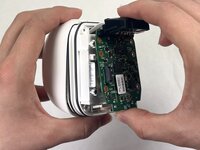
Use a Flathead 4 mm screwdriver to remove the four 7 mm screw posts connecting the motherboard to the case.
-
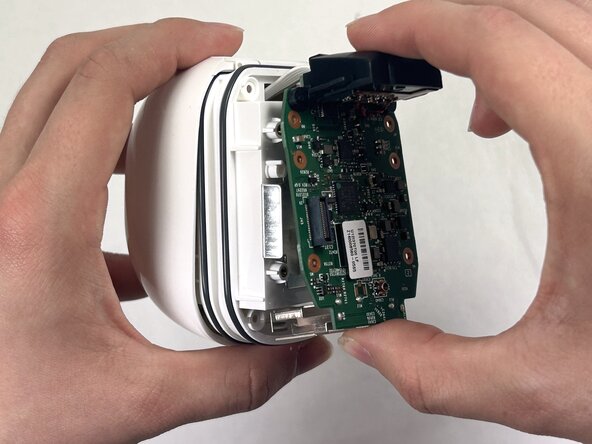
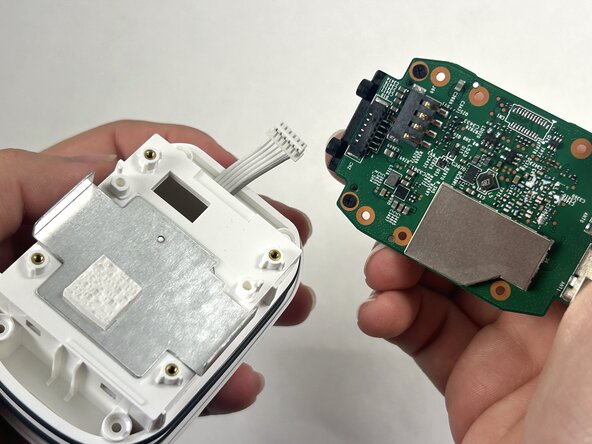
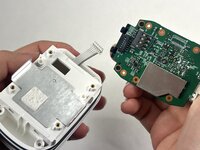
Carefully pull the motherboard apart from the camera casing.
-
-
-
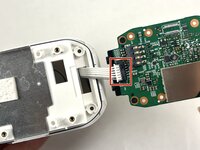
Disconnect the white cord from the port on the motherboard, by gently pulling away from the port to fully isolate the motherboard from the case.
-
-
-
-
-
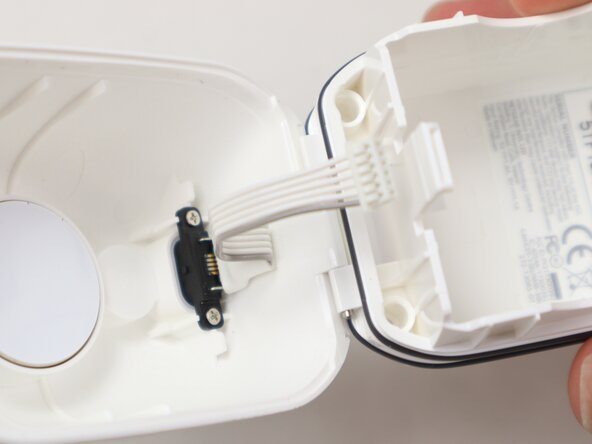
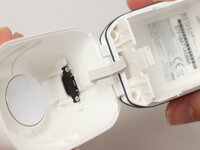
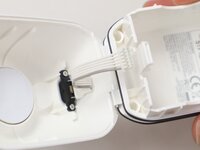
Thread the wires of the Micro-USB port through the casing.
-
-
-
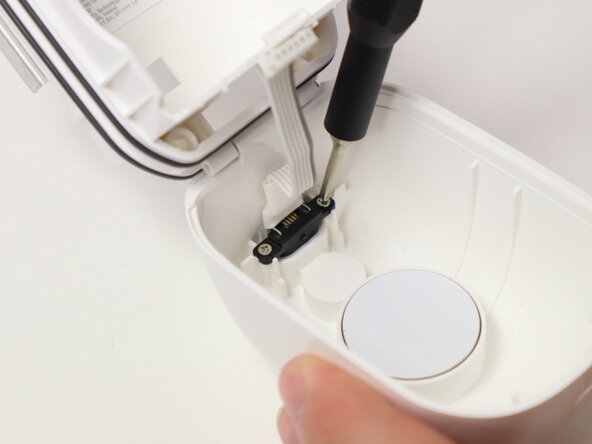
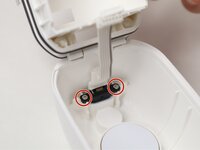
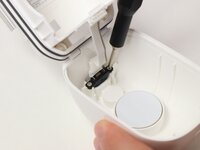
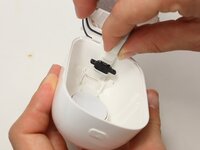
Use a Phillips #00 screwdriver to remove two 3 mm screws connecting the Micro-USB port to the camera casing.
-
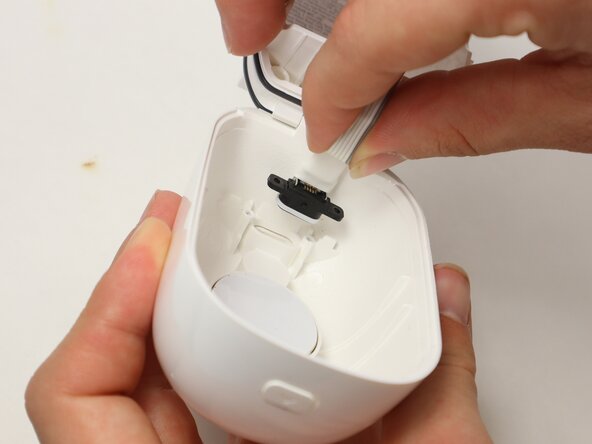
Gently remove the Micro-USB port by pulling it away from the case.
-
-









To reassemble your device, follow the above steps in reverse order.
Take your e-waste to an R2 or e-Stewards certified recycler.
Repair didn’t go as planned? Try some basic troubleshooting or ask our Answers community for help.

Team

UMass Dartmouth, Team 2-2, Botvin Spring 2025 Member of UMass Dartmouth, Team 2-2, Botvin Spring 2025
UMASSD-BOTVIN-S25S2G2
3 Members
60 Guides authored
1 Guide Comment
Great guide, I was able to remove the Micro USB Charge Port and Cable from the arlo PRO 2 (Model: VMC4030P) without having to remove the System Board. However finding a replacement part is the tricky part. I stumbled across this guide after removing the cable hoping an iFixIt guide might have a link to a part source.
