
Arlo Pro 2 Camera Lens Replacement

Ben I. and 3 other contributors
Last updated on Jun 24, 2025
Views: 518
View statistics:
- Past 24 Hours:
- 3
- Past 7 Days:
- 19
- Past 30 Days:
- 90
- All Time:
- 518
Comments: 0
No one has left comments on this guide. Will you be first?
Go to guide commentsCompleted: 0 1
No one has marked this guide "completed." Will you be the first?
1 person has marked this guide "completed." It's you — great job!
Favorites: 0 1
No one has favorited (and subscribed to) this guide. Will you be the first?
1 person has favorited (and subscribed to) this guide — and that's you!
Featured Student Guide
This guide has been the hard work of our awesome students and is found to be exceptionally cool by the iFixit staff.
Introduction
Go to step 1 ↓If your Arlo Pro 2 camera is damaged, blurry, or not providing a video feed, follow this guide to replace the devices camera lens.
If the Arlo camera has fallen or been interfered with it may be not show a clear picture on the connected device.
Before using the guide, disconnect the Arlo Pro 2 camera from the device and power it off.
What you need
Tools


-
-
-
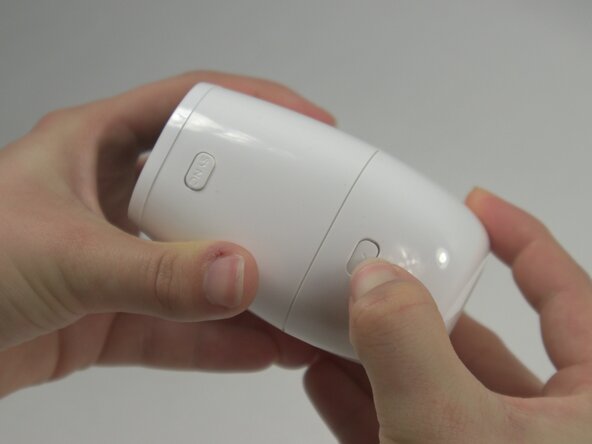
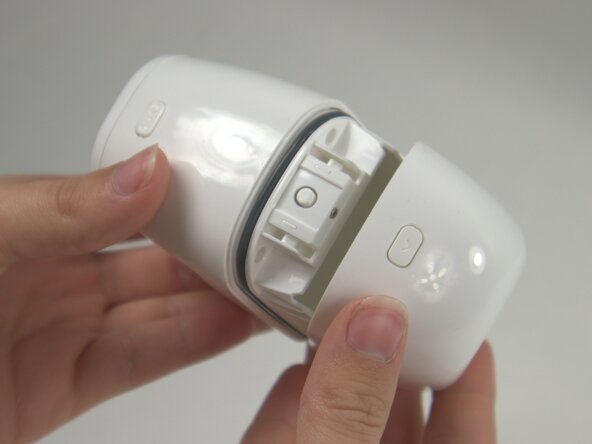
Press the release button on the camera and gently pull apart the casing to open the device.
-
Remove the battery from inside the case.
 Ask FixBot
-
-
-
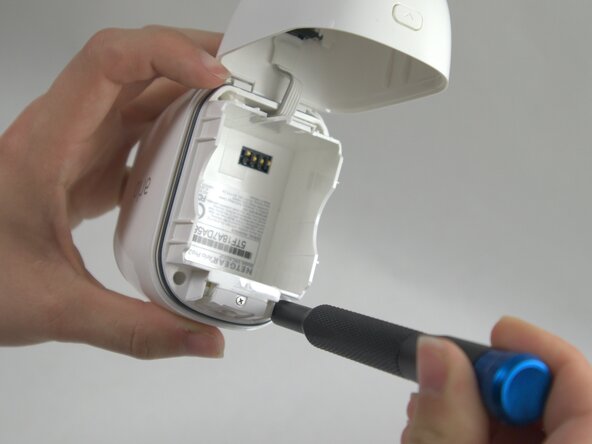
Use a T5 Torx screwdriver to remove the four 7 mm screws securing the camera case.
-
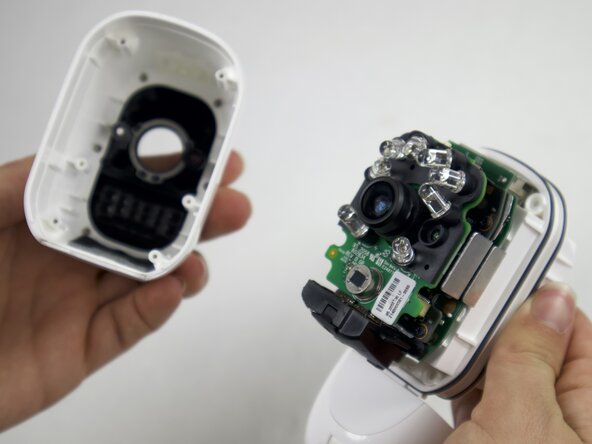
Carefully pull the outside of the case apart from the internal case to remove the camera components from the outside casing.
-
-
-
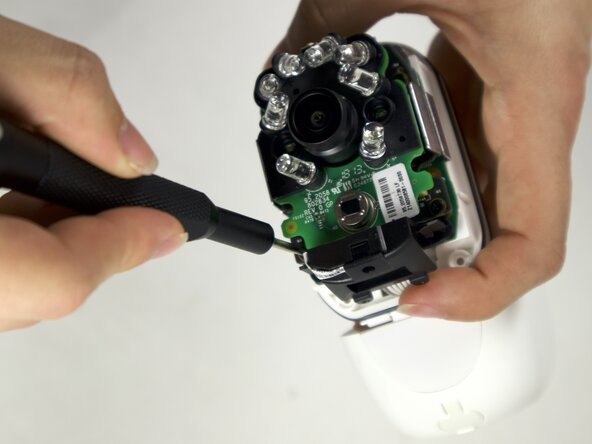
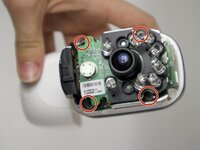
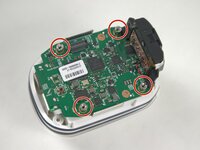
Use a Phillips #00 screwdriver to remove four 4 mm screws connecting the daughterboards to the motherboard.
-
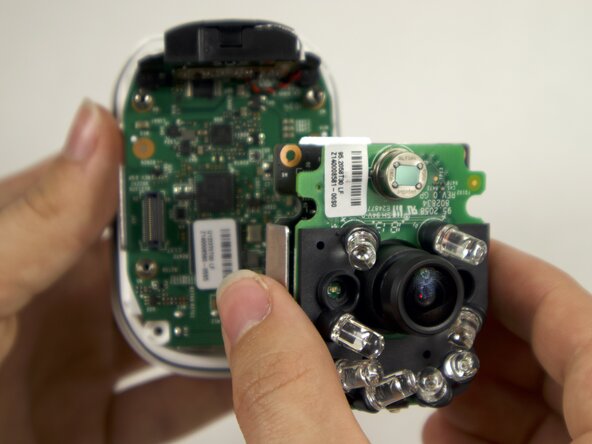
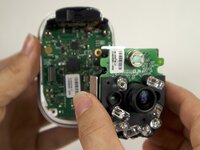
Seperate the daughterboards from the motherboard and camera casing.
-
-
-
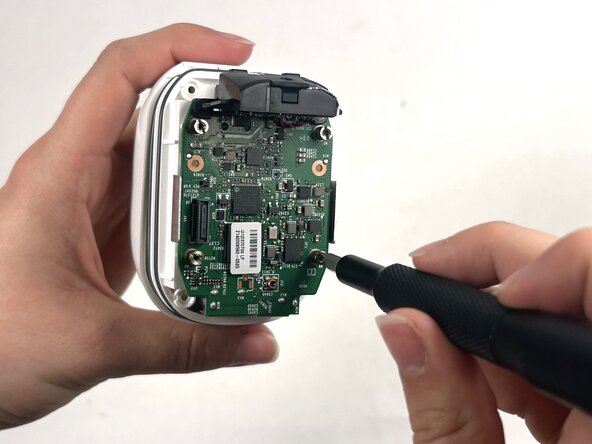
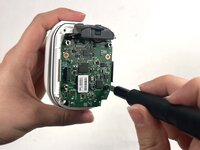
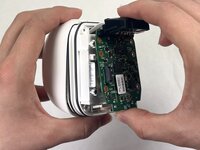
Use a Flathead 4 mm screwdriver to remove the four 7 mm screw posts connecting the motherboard to the case.
-
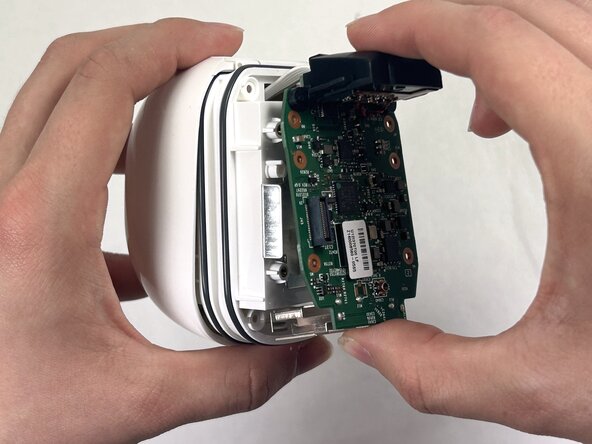
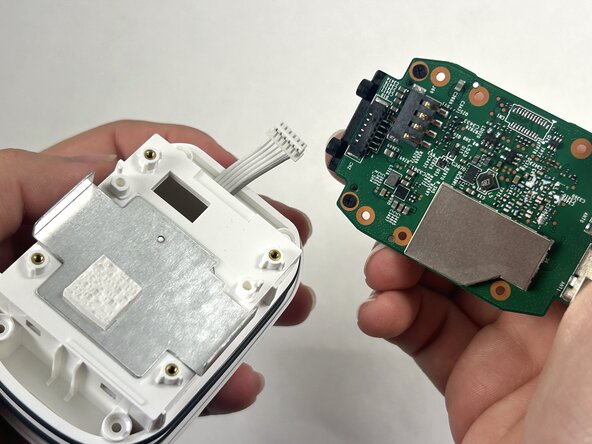
Carefully pull the motherboard apart from the camera casing.
-
-
-
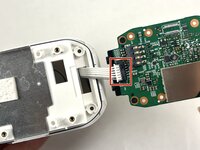
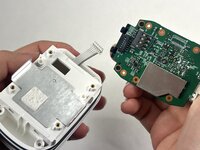
Disconnect the white cord from the port on the motherboard, by gently pulling away from the port to fully isolate the motherboard from the case.
-
-
-
-
-
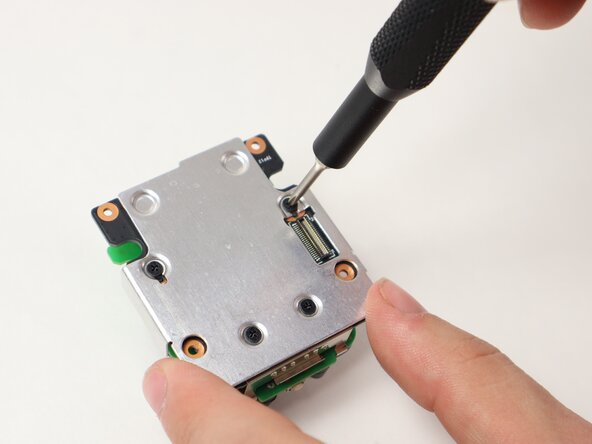
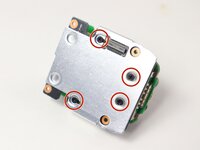
Use a Philips #00 screwdriver to remove the four 4 mm screws on the back metal plate holding the daughterboards together.
-
-
-
-
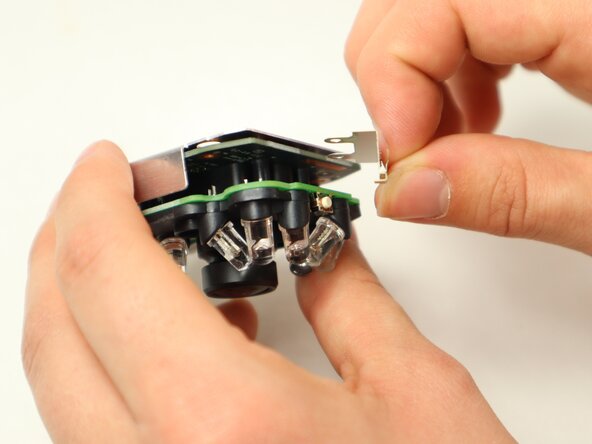
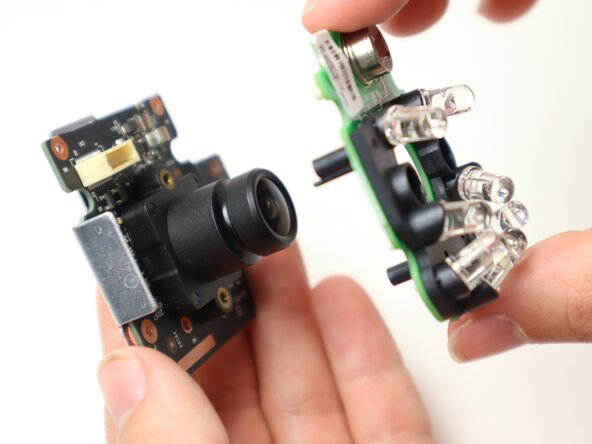
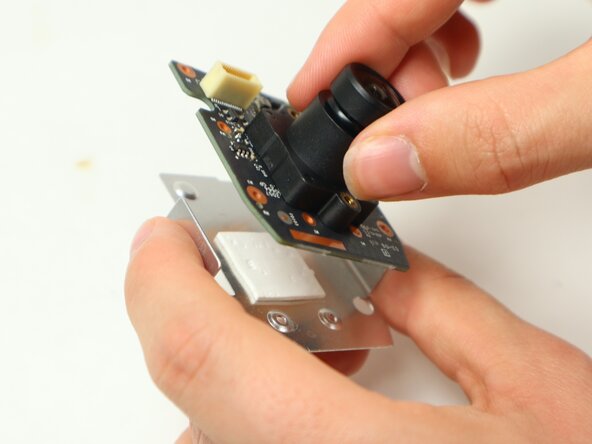
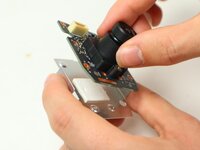
Separate the daughterboard containing the camera piece from the metal backing.
-
-
-
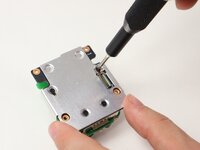
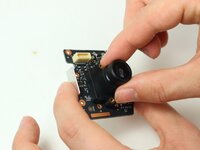
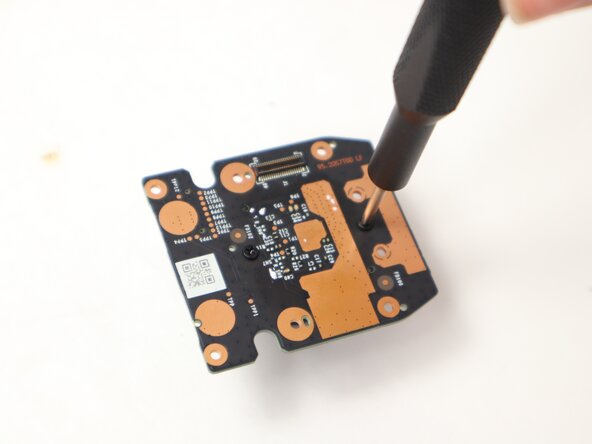
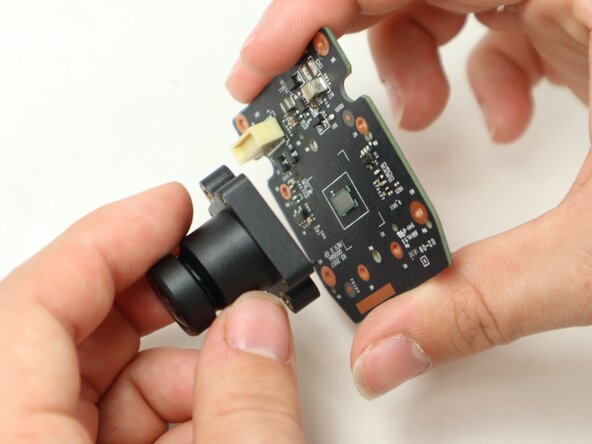
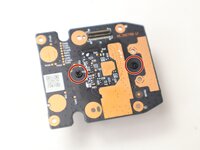
Use a Philips #00 screwdriver to remove the two 5 mm screws on the back of the camera daughterboard to disconnect the camera piece from the daughterboard.
-
-










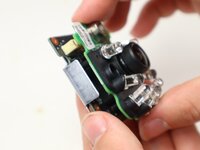
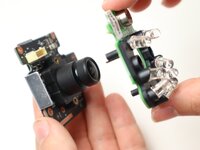


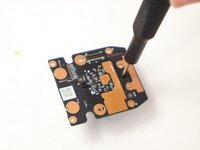
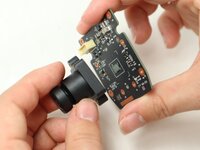
To reassemble your device, follow the above steps in reverse order.
Take your e-waste to an R2 or e-Stewards certified recycler.
Repair didn’t go as planned? Try some basic troubleshooting or ask our Answers community for help.

Team

UMass Dartmouth, Team 2-2, Botvin Spring 2025 Member of UMass Dartmouth, Team 2-2, Botvin Spring 2025
UMASSD-BOTVIN-S25S2G2
3 Members
60 Guides authored
