Introduction
If you are trouble connecting Arlo Pro 2 base station to the camera sensor, connecting to your home WiFi, or cellular device, use this guide to replace the base station’s sensors.
The sensors are meant to transmit the cameras motion capture to the users connected device. If the sensors are damaged this may cause the camera recording to not transfer to the cellular device or cause the unit to be unable to connect to a local network.
Before beginning me ensure the device is disconnected from any external power source.
What you need
-
-
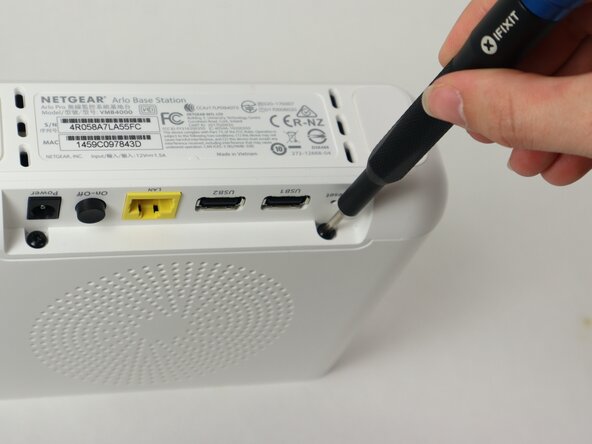
Use a TR10 Torx screwdriver to remove the two 10 mm screws on the side of the base station, above the USB ports.
-
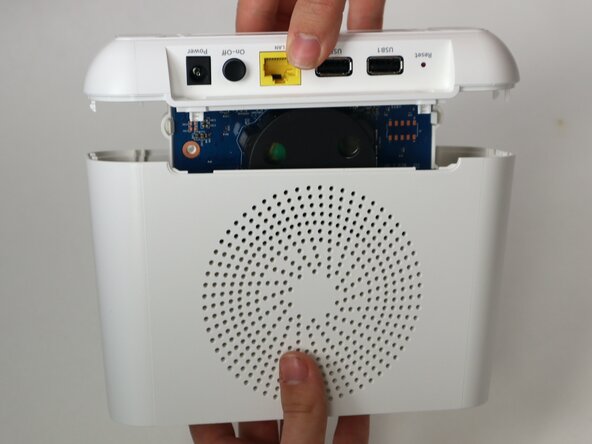
Pull apart the top case from the bottom.
-
-
-
-
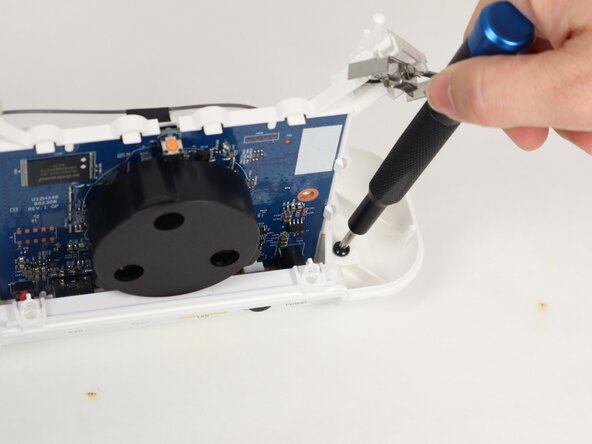
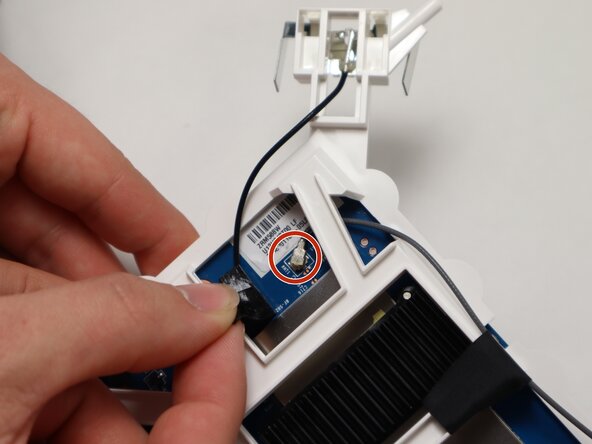
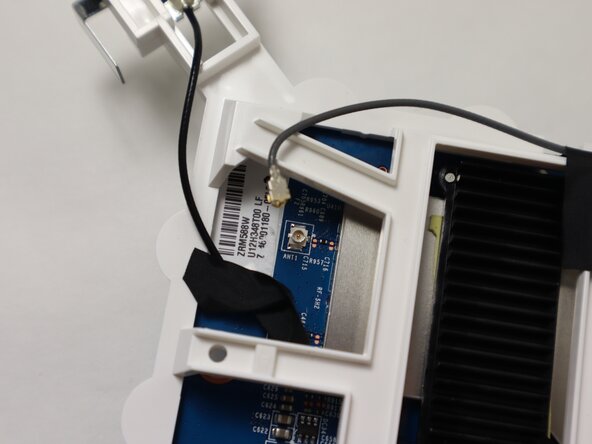
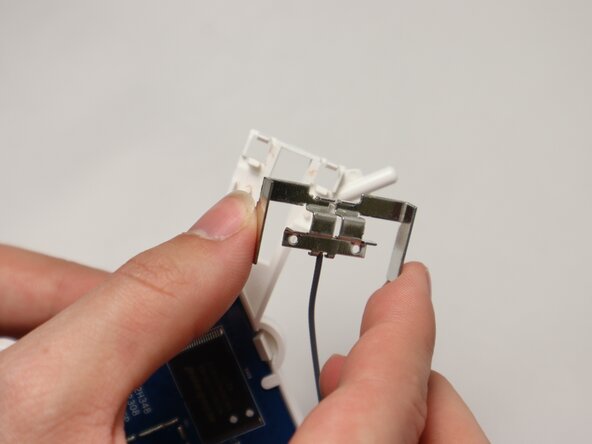
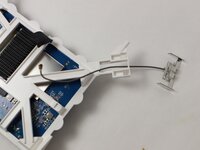
Follow the black wire running from each thin metal sensor to the motherboard; they will be connected under a piece of black tape.
-
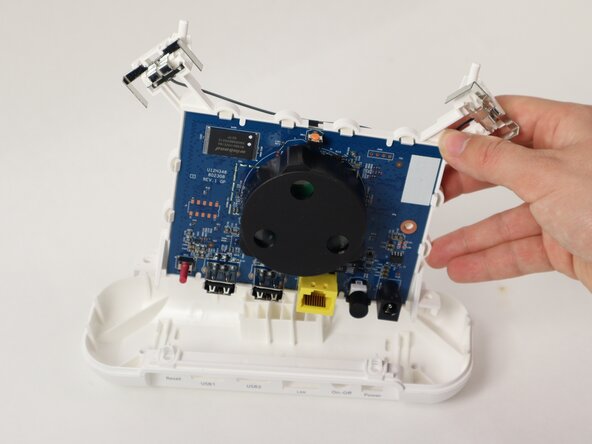
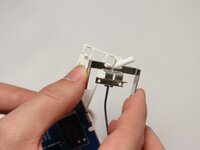
Pull back the black tape to see where the wire you are following attaches to the motherboard.
-
Pull up on the coaxial connector to disconnect the wire from the motherboard.
-


To reassemble your device, follow these instructions in reverse order.
Team

UMass Dartmouth, Team 2-2, Botvin Spring 2025 Member of UMass Dartmouth, Team 2-2, Botvin Spring 2025
UMASSD-BOTVIN-S25S2G2
3 Members
5 Guides authored