Free Shipping on Domestic Orders $75+

Apple Time Capsule Model A1254 Back Plate Replacement

What you need

  1. Apple Time Capsule Model A1254 Back Plate Replacement, Back Plate: step 1, image 1 of 3 Apple Time Capsule Model A1254 Back Plate Replacement, Back Plate: step 1, image 2 of 3 Apple Time Capsule Model A1254 Back Plate Replacement, Back Plate: step 1, image 3 of 3
    • Turn the device upside down to reveal the rubber section of the back plate. Using a metal spudger, carefully wedge the blunt tip into the space between the aluminum back plate and the rubber, separating the two pieces.

    • This may take a few minutes to pry the rubber off completely. Once your are able to get a grip on the rubber it is easier to peel it off using your hands.

    • Depending on air temperature and how set the adhesive is, you may need to spend some time warming the back plate with a hot plate (on low) or hair dryer.

    • Don't worry about re-applying adhesive to the rubber; the remaining adhesive has plenty of strength to affix itself to the aluminum.

    Ask FixBot

    Add Comment

  2. Apple Time Capsule Model A1254 Back Plate Replacement: step 2, image 1 of 2 Apple Time Capsule Model A1254 Back Plate Replacement: step 2, image 2 of 2
    • Remove the ten 3mm screws with a Phillips #00 screwdriver.

    • The screws with adhesive covering do not need to be removed.

    Ask FixBot

    Add Comment

  3. Apple Time Capsule Model A1254 Back Plate Replacement: step 3, image 1 of 2 Apple Time Capsule Model A1254 Back Plate Replacement: step 3, image 2 of 2
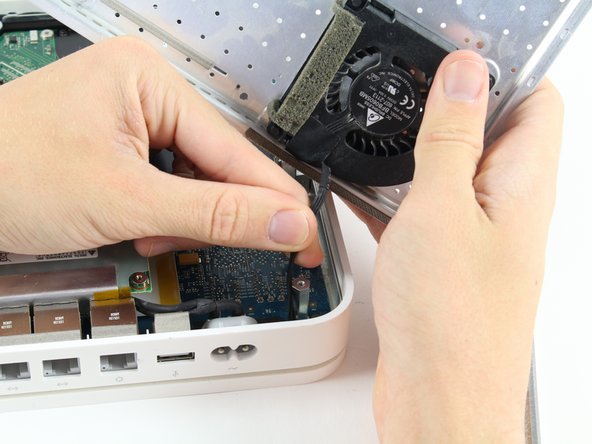
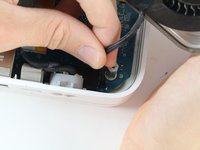
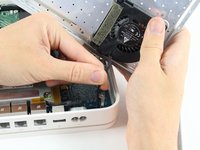
    • The fan affixed to the back plate is connected to the logic board. A small wire must be detached to fully remove the back plate.

    • Pull the base of the wire close to the logic board and the connector will pop off.

    Ask FixBot

    Add Comment

Conclusion

To reassemble your device, follow these instructions in reverse order.

Cancel: I did not complete this guide.

9 other people completed this guide.

Keaton Frahmann

Member since: 10/06/16

849 Reputation

2 Guides authored

Team

Cal Poly, Team 4-2, Livingston Fall 2016 Member of Cal Poly, Team 4-2, Livingston Fall 2016

CPSU-LIVINGSTON-F16S4G2

4 Members

17 Guides authored

2 Guide Comments

I had to open to destroy the hard drive for security reasons. The rubber bottom was so old it just tore to bits. I used a Dremel Multi-Max with a flat scraper blade to remove it in the end.

steve - Reply Share

must I put back on the rubber bottom or can I leave it off for maximum airflow?

Strider - Reply Share

Add Comment

View Statistics:

Past 24 Hours: 5

Past 7 Days: 10

Past 30 Days: 63

All Time: 8,038