
Apple Thunderbolt Display Webcam and Mic Replacement

Wesley Ho and 4 other contributors
Last updated on May 7, 2024
Views: 4.9K
View statistics:
- Past 24 Hours:
- 2
- Past 7 Days:
- 18
- Past 30 Days:
- 101
- All Time:
- 4,928
Comments: 36
36 comments on steps.
Completed: 4 5
4 people have marked this guide "completed." Will you be next?
5 people have marked this guide "completed." Including you — great job!
Favorites: 2 3
2 people have favorited (and subscribed to) this guide. Will you be next?
3 people have favorited (and subscribed to) this guide — including you!
Introduction
Go to step 1 ↓After the LCD is removed, it looks like the webcam and microphone are right within reach. The two wires that are connecting them to the main logic board are behind a lot of the other wires and components making it a little tricky to get to their connectors and take them out. Also, since the microphone is held in by adhesives, a prying tool is absolutely essential to replace it!
What you need
Tools
-
-
-
Spudger4.9


-
-
-
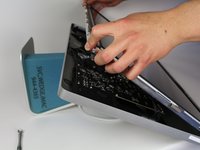
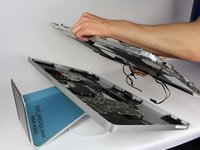
Lay down the display with screen side up.
-
Place the two suction cups on both sides of the top of the screen and make sure to lock them in place.
-
The glass screen is connected to the rest of the display by small magnets. Lift slowly and the screen will come right off.
 Ask FixBot
-
-
-
Unscrew the 12 screws around the side edges and the top of the LCD with the TR 10 Screwdriver.
-
-
-
For the first of the four wires (furthest away from the wire that is held in by a screw), grab onto the connector and pull slowly.
-
-
-
For the next connector, which is right next to the previous wire, there is a piece of tape attached to a metal bar.
-
Flip the metal bar over using the tape as a handle.
-
Next, grab onto the connector and slowly pull it from the socket in the logic board.
-
-
-
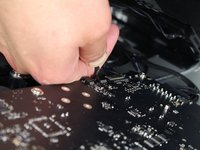
For the connector on the other side of the logic board, grab the connector from underneath and carefully pull it from the board.
-
-
-
For the last wire connecting to the LCD, use your T 10 Screwdriver to remove the screw.
-
-
-
The LCD has now been fully disconnected from the casing and can be repaired/replaced!
-
-
-
-
-
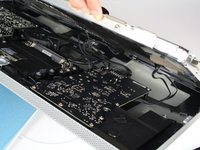
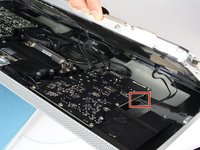
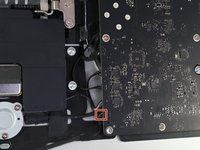
The webcam and microphone are located at the top of the device. First, follow the white microphone wire down to its connector in the logic board.
-
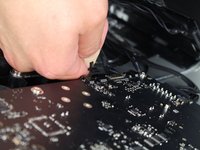
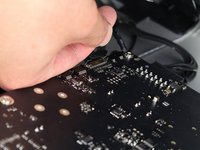
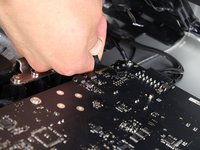
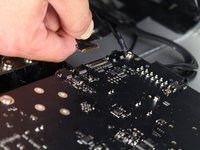
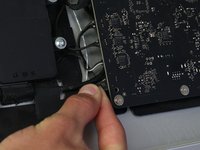
Carefully pull the white wire's connector from the logic board.
-
-
-
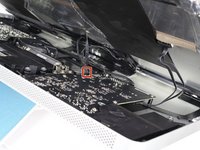
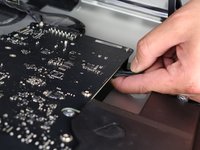
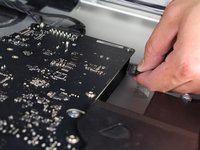
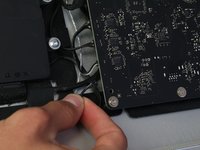
Follow the wire down from the webcam and find where it is connected into the logic board.
-
Carefully remove the connector from the logic board.
-
-
Tool used on this step:Tweezers$4.99
-
The wires are held in place by three pieces of tape. Remove the tape out of the way so that the wires are free.
-
-
-
-
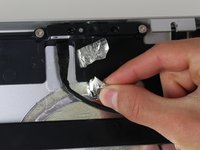
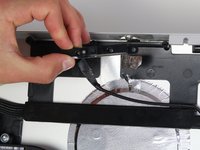
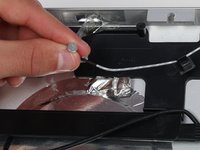
Back at the top of the device, there are two pieces of silver tape holding the webcam wires in place.
-
Again, tweezers are helpful but aren't necessary for removal of the silver tape.
-
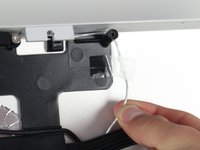
Next, remove the tape that is holding the microphone in place.
-
-
-
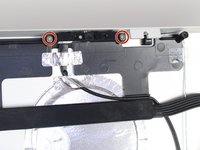
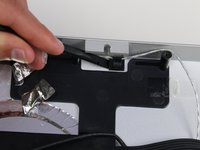
The webcam is held in with two screws and a connector
-
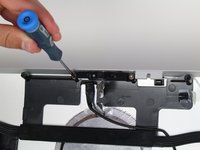
Unscrew the two screws holding the webcam in place with the TR 10 screwdriver.
-
The webcam is now free from your display!
-
-
-
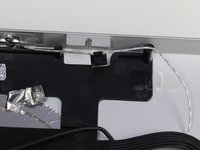
With the webcam removed, the microphone is now visible.
-
The webcam is held in place with a plastic clip that has foam adhesive stuck to the casing.
-
Use a plastic spudger to pry underneath the clip and separate the clip from the casing.
-
-
-
The actual microphone itself is stuck to the top of the casing using a small amount of adhesive and covered by a piece of tape.
-
Remove the piece of tape using either tweezers or your fingers to have access to the microphone.
-
Use the plastic spudger again to get underneath the small round microphone and pry it loose from the adhesive.
-
-
-
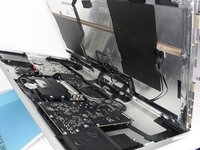
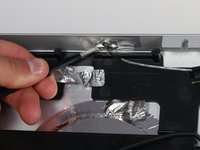
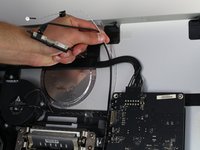
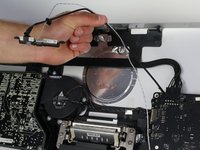
The wires for both the webcam and the microphone are tucked underneath a few other components.
-
Carefully pull the wires out up and out from the other components and your webcam and microphone can be replaced.
-
-














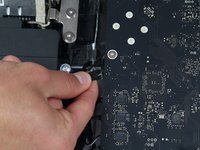
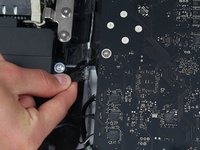


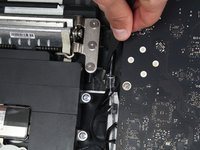
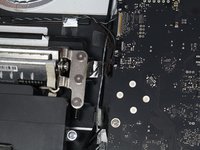










To reassemble your device, follow these instructions in reverse order.
Cancel: I did not complete this guide.
4 other people completed this guide.

Team

Cal Poly, Team 5-11, Maness Spring 2015 Member of Cal Poly, Team 5-11, Maness Spring 2015
CPSU-MANESS-S15S5G11
4 Members
60 Guides authored
