
Aoson R103 Device Page Front Camera Replacement

Jordan Meza and 7 other contributors
Last updated on Jul 6, 2026
Views: 764
View statistics:
- Past 24 Hours:
- 2
- Past 7 Days:
- 14
- Past 30 Days:
- 64
- All Time:
- 764
Comments: 0
No one has left comments on this guide. Will you be first?
Go to guide commentsCompleted: 1 2
1 person has marked this guide "completed." Will you be next?
2 people have marked this guide "completed." Including you — great job!
Favorites: 0 1
No one has favorited (and subscribed to) this guide. Will you be the first?
1 person has favorited (and subscribed to) this guide — and that's you!
Inconsistent Images
Updating the images on this guide to be more consistent with the prerequisites would increase its awesomeness.
Needs Better Images
Better photos will improve this guide. Help out by taking, editing, or uploading new ones!
Missing Steps
Oops! This guide is currently missing one or more important steps.
Introduction
Go to step 1 ↓Use this guide to replace the front-facing camera in the Aoson R103 tablet. The front camera is responsible for capturing images and enabling video calls and facial viewing applications. If the camera produces blurry images, fails to activate, or does not display video, the camera module may need replacement.
This guide walks through opening the device and safely removing the front camera assembly. Before beginning, power off the tablet and disconnect it from any external power source to prevent damage to internal components.
Take care when working near ribbon cable connectors during removal to avoid damaging nearby hardware.
What you need
Tools


-
-
-
Turn your tablet on its side and get the iFixit opening tool.
-
Put the iFixit opening tool inside the edge of the tablet and lightly start prying along the back panel.
-
Open your tablet completely and lay it down on its screen.
 Ask FixBot
-
-
-
Tool used on this step:Tweezers$4.99
-
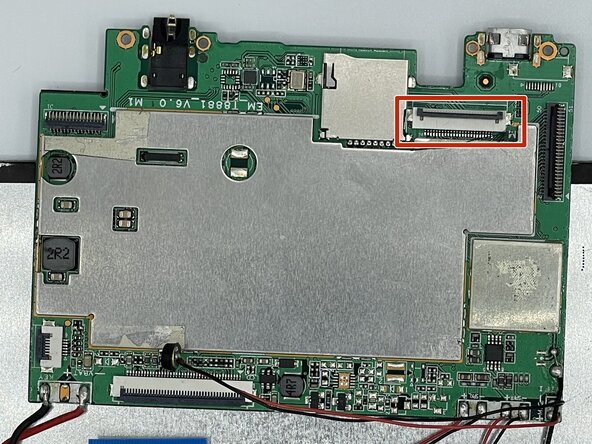
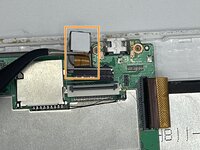
Flip up the black locking flap with your fingernail or spudger.
-
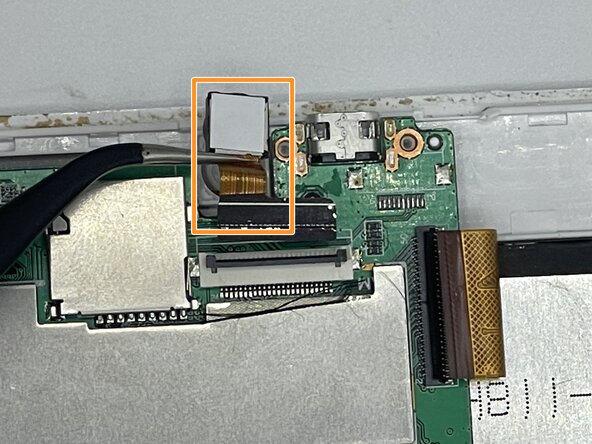
Use tweezers to remove the ribbon cable connected to the motherboard.
-
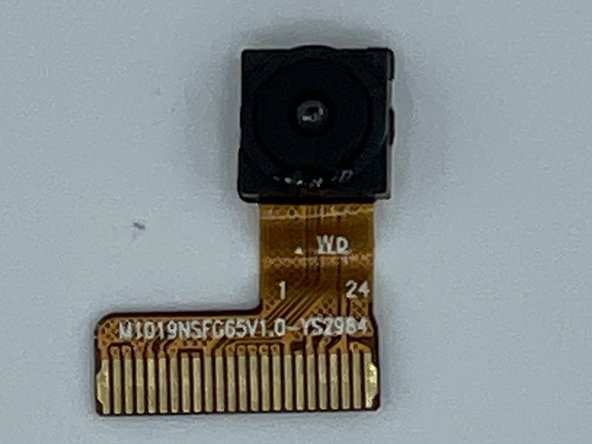
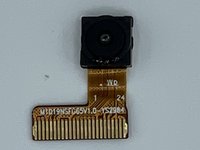
Remove the front camera from the device with the tweezers.
-
-


To reassemble your device, follow these instructions in reverse order. Take your e-waste to an R2 or e-Stewards certified recycler.
Cancel: I did not complete this guide.
One other person completed this guide.

Team

University of North Texas, Team 3-7, Saru Jimmy Spring 2023 Member of University of North Texas, Team 3-7, Saru Jimmy Spring 2023
UNT-SARU JIMMY-S23S3G7
4 Members
48 Guides authored
