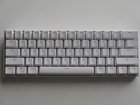
Anne Pro 2 Keyboard Keycaps Replacement

Omar Sukkar and 2 other contributors
Last updated on Dec 18, 2020
Views: 2.9K
View statistics:
- Past 24 Hours:
- 3
- Past 7 Days:
- 19
- Past 30 Days:
- 98
- All Time:
- 2,903
Comments: 0
No one has left comments on this guide. Will you be first?
Go to guide commentsCompleted: 1 2
1 person has marked this guide "completed." Will you be next?
2 people have marked this guide "completed." Including you — great job!
Favorites: 0 1
No one has favorited (and subscribed to) this guide. Will you be the first?
1 person has favorited (and subscribed to) this guide — and that's you!
Introduction
Go to step 1 ↓If your Anne Pro 2 keyboard is acting faulty and not registering the keys you touch, then use this guide to replace the keycaps on the keyboard. Be sure to test a few of the keycaps on your keyboard to confirm that the faulty part is coming from the keyboard’s keycaps.
The Anne Pro 2 keyboard is a high end gaming keyboard that is used widely across the world. The keyboard is unique in that it is a 60% keyboard, meaning it only has 60% of the normal amount of keys of a traditional keyboard. This creates an easier path to fixing the keyboard due to a reduction in keys. This guide will show you how to replace all keycaps of the Anne Pro 2 and also clean the keyboard of all dust and hair.
Before beginning, make sure to power off your keyboard completely and disconnect from any external power source.
What you need
Tools


-
-
-
Set the keyboard down on a flat surface. Make sure it is turned off and is not connected to a power source.
 Ask FixBot
-
-
-
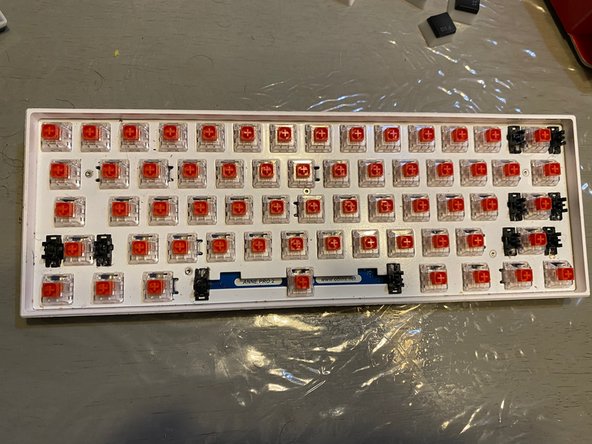
Use the keycap remover to remove the key caps from left to right.
-
Remove the smaller keycaps first so the surrounding larger caps can be removed more easily.
-
-
-
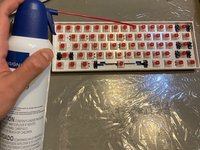
Use the compressed air to remove all dust and hair from the keyboard.
-
Focus on the red key switches to make sure all dust and hair are removed from inside.
-
-
-
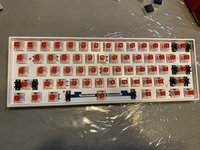
Use the keycap remover to set in the keycaps starting from the bottom to the top.
-
-
-
-
Inspect the final product, making sure all keycaps are back in the right place and functioning.
-
-




Cancel: I did not complete this guide.
One other person completed this guide.

Team

University of Memphis, Team S4-G5, Kim Fall 2020 Member of University of Memphis, Team S4-G5, Kim Fall 2020
UM-KIM-F20S4G5
1 Member
12 Guides authored
