Free Shipping on Domestic Orders $75+

Anker Soundcore Motion Boom Plus Button Panel Replacement

What you need

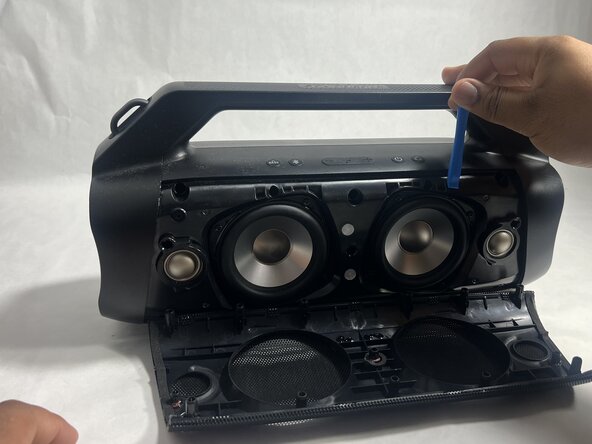
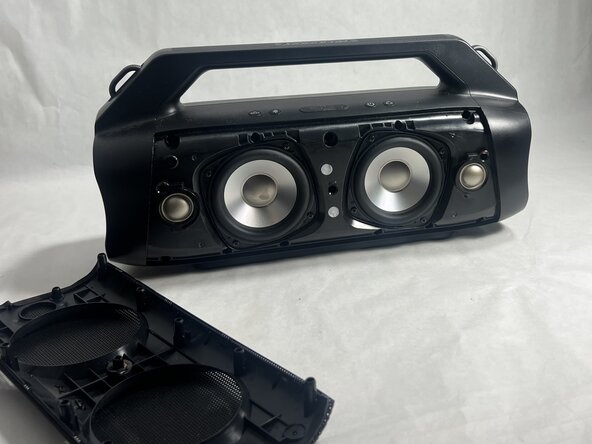
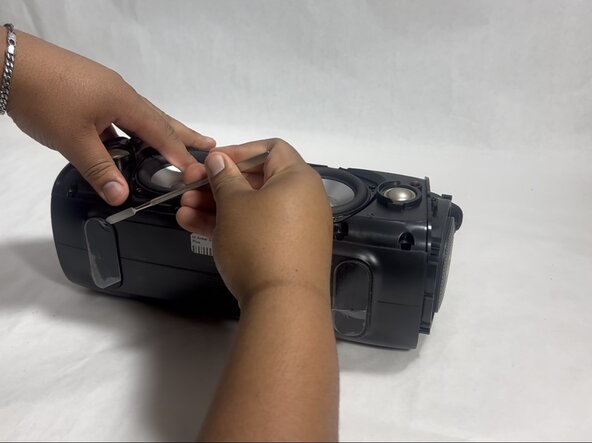
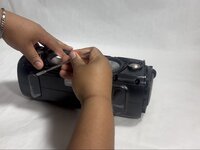
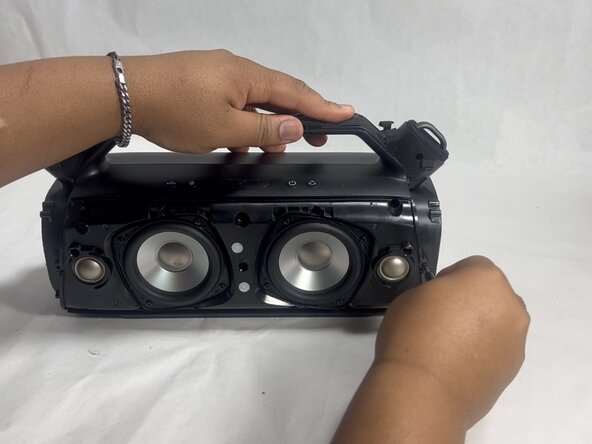
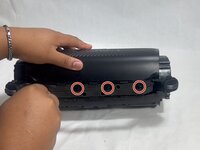
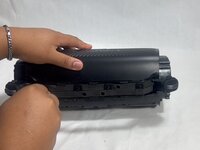
  1. Anker Soundcore Motion Boom Plus Button Panel Replacement, Case: step 1, image 1 of 3 Anker Soundcore Motion Boom Plus Button Panel Replacement, Case: step 1, image 2 of 3 Anker Soundcore Motion Boom Plus Button Panel Replacement, Case: step 1, image 3 of 3
    • Insert an opening tool into the seam between the speaker grille and the chassis.

    • Pry the tool around the top, bottom, and sides until the grille fully releases.

    • Apply gentle pressure to avoid damaging the grille.

    • Remove the grille.

    Ask FixBot

    Add Comment

  2. Anker Soundcore Motion Boom Plus Button Panel Replacement: step 2, image 1 of 2 Anker Soundcore Motion Boom Plus Button Panel Replacement: step 2, image 2 of 2
    • Remove the two passive radiators on either side of the device.

    • Avoid pulling too hard or with too much force to prevent breaking the passive radiators.

    Ask FixBot

    Add Comment

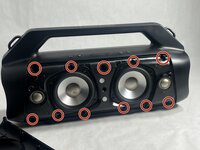
  3. Anker Soundcore Motion Boom Plus Button Panel Replacement: step 3, image 1 of 2 Anker Soundcore Motion Boom Plus Button Panel Replacement: step 3, image 2 of 2
    • Remove the sixteen 14 mm Phillips screws, eight on each end of the speaker.

    Ask FixBot

    Add Comment

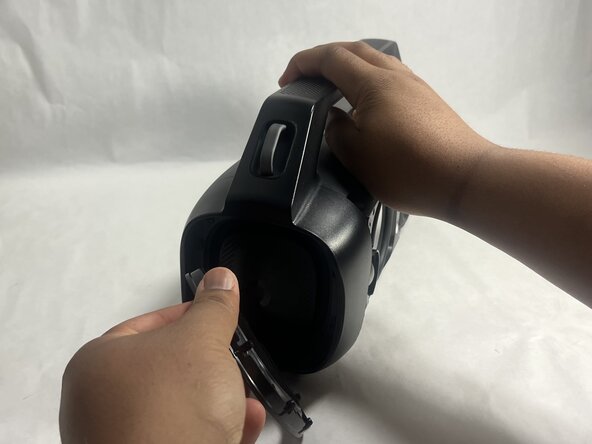
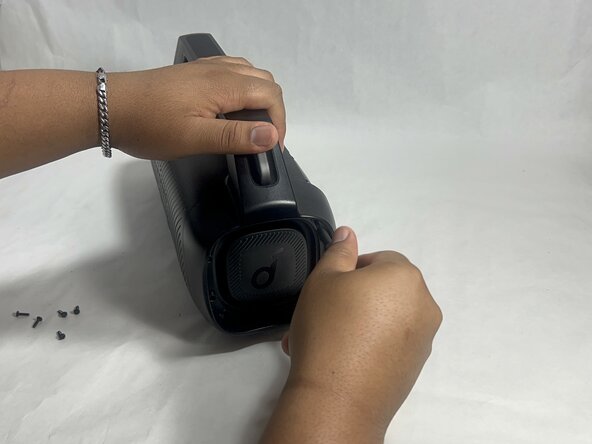
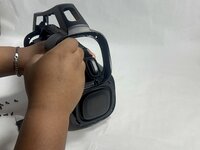
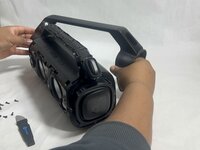
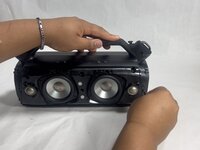
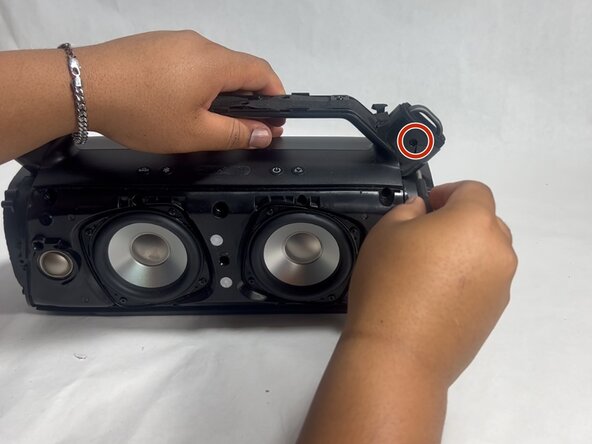
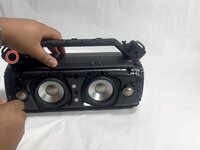
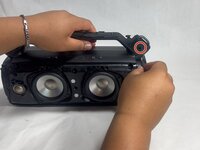
  4. Anker Soundcore Motion Boom Plus Button Panel Replacement: step 4, image 1 of 3 Anker Soundcore Motion Boom Plus Button Panel Replacement: step 4, image 2 of 3 Anker Soundcore Motion Boom Plus Button Panel Replacement: step 4, image 3 of 3
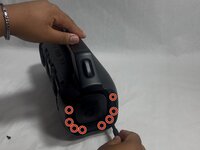
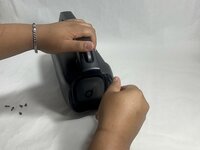
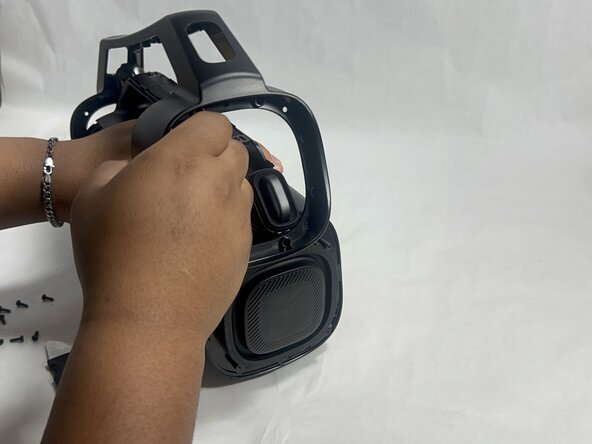
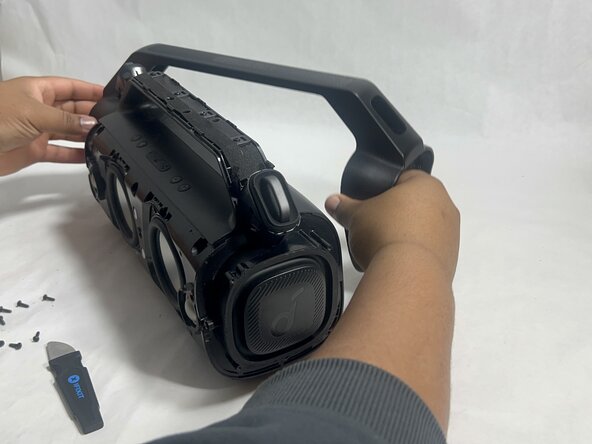
    • Gently remove the handle from the device by clicking off the handles from the sides and then pulling it off.

    Ask FixBot

    Add Comment

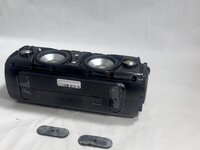
  5. Anker Soundcore Motion Boom Plus Button Panel Replacement: step 5, image 1 of 2 Anker Soundcore Motion Boom Plus Button Panel Replacement: step 5, image 2 of 2
    • Flip the speaker onto its side and use a spudger to remove the two rubber feet on the bottom of the device.

    Ask FixBot

    Add Comment

  6. Anker Soundcore Motion Boom Plus Button Panel Replacement: step 6, image 1 of 2 Anker Soundcore Motion Boom Plus Button Panel Replacement: step 6, image 2 of 2
    • Remove the eleven 13 mm Philips screws that secure the driver housing.

    Ask FixBot

    Add Comment

  7. Anker Soundcore Motion Boom Plus Button Panel Replacement: step 7, image 1 of 2 Anker Soundcore Motion Boom Plus Button Panel Replacement: step 7, image 2 of 2
    • Remove the two 14 mm Phillips screws located on each side of the handle, near the clip points.

    Ask FixBot

    Add Comment

  8. Anker Soundcore Motion Boom Plus Button Panel Replacement: step 8, image 1 of 2 Anker Soundcore Motion Boom Plus Button Panel Replacement: step 8, image 2 of 2
    • Remove the four 14 mm Philips screws on the top of the device.

    Ask FixBot

    Add Comment

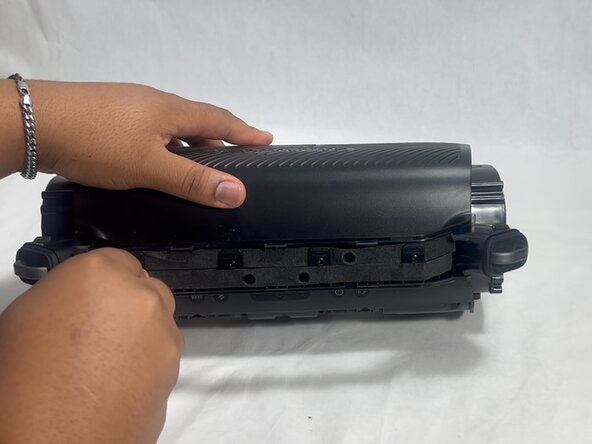
  9. Anker Soundcore Motion Boom Plus Button Panel Replacement: step 9, image 1 of 1
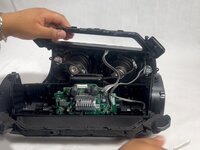
    • Insert a spudger into the seam on top of the device.

    • Gently pry the casing open.

    Ask FixBot

    Add Comment

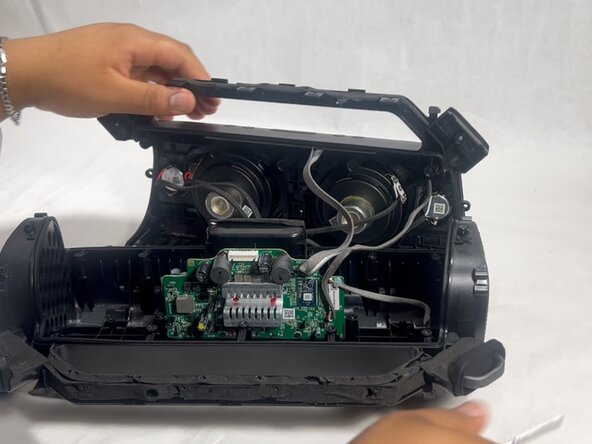
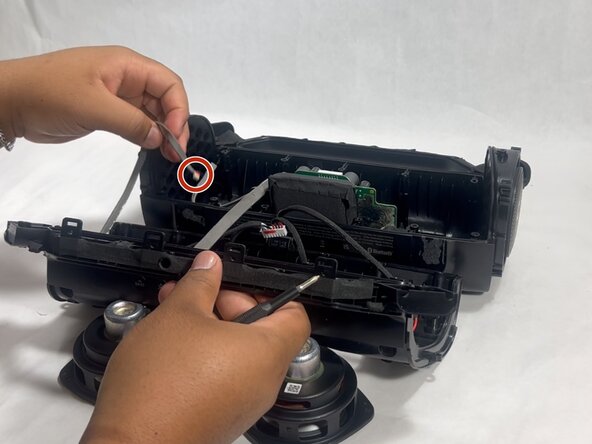
  10. Anker Soundcore Motion Boom Plus Button Panel Replacement: step 10, image 1 of 3 Anker Soundcore Motion Boom Plus Button Panel Replacement: step 10, image 2 of 3 Anker Soundcore Motion Boom Plus Button Panel Replacement: step 10, image 3 of 3
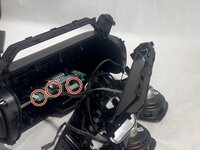
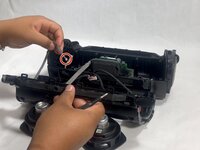
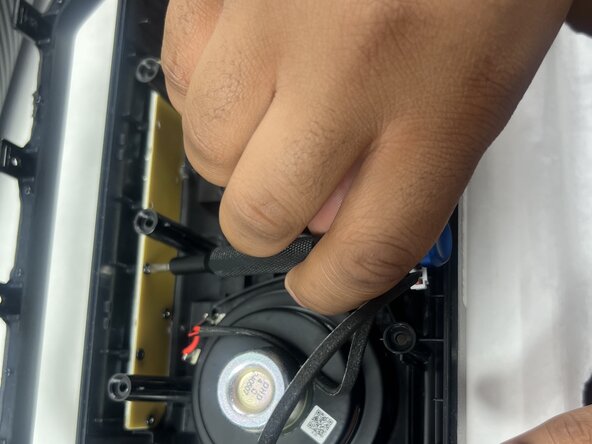
    • Disconnect each of the three cables by gently pulling the connectors out of their sockets.

    • Do not pull with force. The ribbon cables are fragile and easily break.

    Ask FixBot

    Add Comment

  11. Anker Soundcore Motion Boom Plus Button Panel Replacement, Button Panel: step 11, image 1 of 2 Anker Soundcore Motion Boom Plus Button Panel Replacement, Button Panel: step 11, image 2 of 2
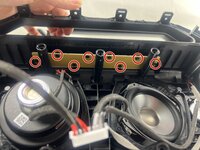
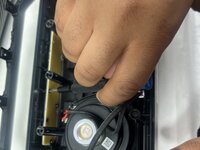
    • Remove all eight 7 mm Phillips screws securing the button panel to the top of the case.

    Ask FixBot

    Add Comment

  12. Anker Soundcore Motion Boom Plus Button Panel Replacement: step 12, image 1 of 1
    • Remove the button panel.

    Ask FixBot

    Add Comment

Conclusion

To reassemble your device, follow the above steps in reverse order.
Take your e-waste to an R2 or e-Stewards certified recycler.
Repair didn’t go as planned? Try some basic troubleshooting or ask our Answers community for help.

Cancel: I did not complete this guide.

Hayley

Member since: 03/26/25

988 Reputation

6 Guides authored

Team

0 Guide Comments

Add Comment

View Statistics:

Past 24 Hours: 0

Past 7 Days: 2

Past 30 Days: 20

All Time: 188