Free Shipping on Domestic Orders $75+

Analogue Pocket Power and Volume Buttons Replacement

Views: 1.2K

View statistics:

Past 24 Hours:
2
Past 7 Days:
25
Past 30 Days:
81
All Time:
1,223
Comments: 1

1 guide comment.

Go to guide comments
Completed: 0

No one has marked this guide "completed." Will you be the first?

Favorites: 0

No one has favorited (and subscribed to) this guide. Will you be the first?

Time Required: 20 - 30 minutes
Difficulty: Moderate
Analogue Pocket Power and Volume Buttons Replacement

Introduction

Go to step 1 ↓

Use this guide to replace the power and volume buttons in your Analogue Pocket.

Note: The power and volume buttons are attached by a thin piece of plastic and must be replaced as one piece.

What you need

Tools

    1. Analogue Pocket Power and Volume Buttons Replacement, Prepare your device for disassembly: step 1, image 1 of 3 Analogue Pocket Power and Volume Buttons Replacement, Prepare your device for disassembly: step 1, image 2 of 3 Analogue Pocket Power and Volume Buttons Replacement, Prepare your device for disassembly: step 1, image 3 of 3
      • Unplug all cables and fully power off your device.

      • Working on your device requires laying it screen-side down. To prevent damage, lay it on a soft surface such as a towel.

      Ask FixBot

      Add Comment

    1. Analogue Pocket Power and Volume Buttons Replacement, Unfasten the battery shell: step 2, image 1 of 2 Analogue Pocket Power and Volume Buttons Replacement, Unfasten the battery shell: step 2, image 2 of 2
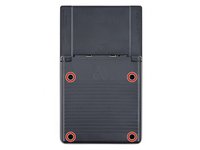
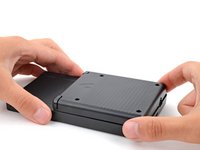
      • Use a T6 Torx screwdriver to remove the four 13.4 mm‑long screws securing the battery shell.

      Ask FixBot

      Add Comment

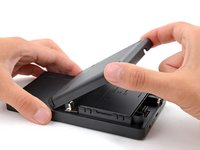
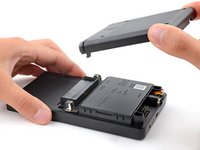
    2. Analogue Pocket Power and Volume Buttons Replacement, Remove the battery shell: step 3, image 1 of 3 Analogue Pocket Power and Volume Buttons Replacement, Remove the battery shell: step 3, image 2 of 3 Analogue Pocket Power and Volume Buttons Replacement, Remove the battery shell: step 3, image 3 of 3
      Ask FixBot

      Add Comment

    1. Analogue Pocket Power and Volume Buttons Replacement, Disconnect the battery: step 4, image 1 of 2 Analogue Pocket Power and Volume Buttons Replacement, Disconnect the battery: step 4, image 2 of 2
      Tool used on this step:
      Tweezers
      $4.99
      Buy
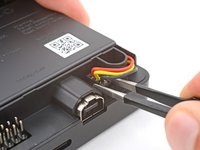
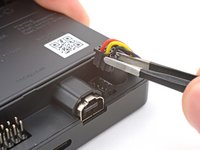
      • Use blunt nose tweezers to pull the battery connector out of its socket on the bottom right corner of your device.

      • If you're having trouble, try rocking the connector side-to-side to help loosen it.

      • During reassembly, use the flat end of a spudger to push down on the edges of the connector until it's secure in the socket.

      Ask FixBot

      Add Comment

    2. Analogue Pocket Power and Volume Buttons Replacement, Remove the battery: step 5, image 1 of 3 Analogue Pocket Power and Volume Buttons Replacement, Remove the battery: step 5, image 2 of 3 Analogue Pocket Power and Volume Buttons Replacement, Remove the battery: step 5, image 3 of 3
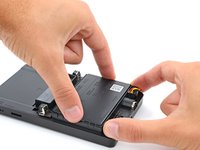
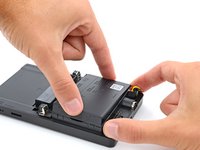
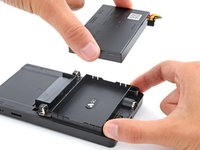
      • Lift one of the battery's short edges until the clips release.

      • Remove the battery.

      • During reassembly, push the battery into its recess until the clips engage.

      Ask FixBot

      Add Comment

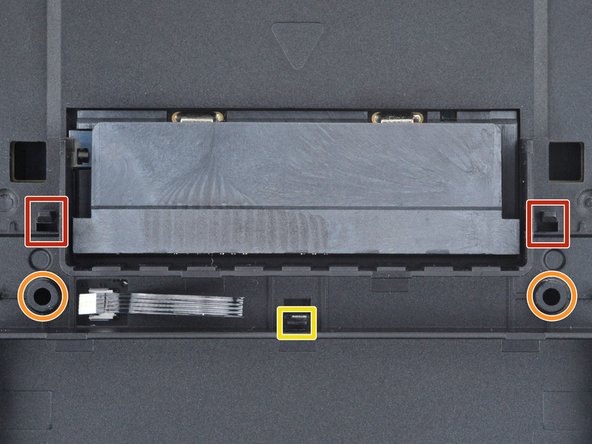
    1. Analogue Pocket Power and Volume Buttons Replacement, Unclip the button board: step 6, image 1 of 3 Analogue Pocket Power and Volume Buttons Replacement, Unclip the button board: step 6, image 2 of 3 Analogue Pocket Power and Volume Buttons Replacement, Unclip the button board: step 6, image 3 of 3
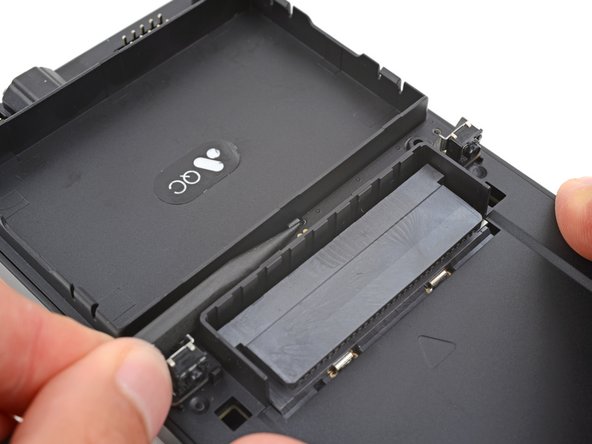
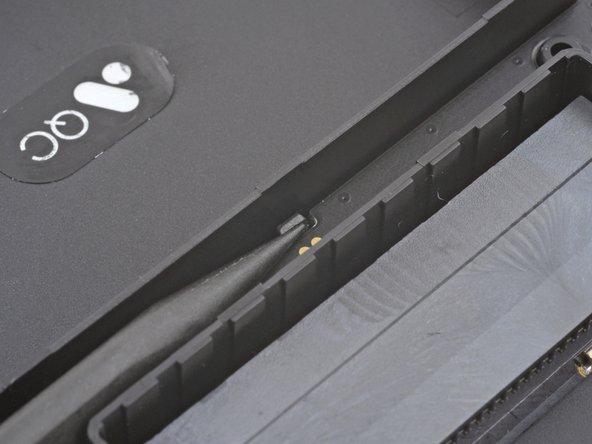
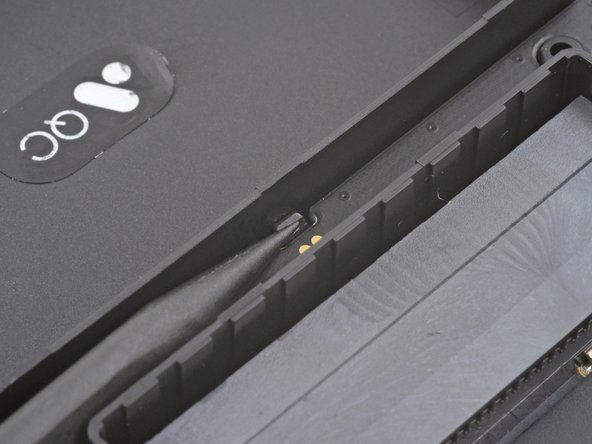
      • A plastic clip secures the center of the button board.

      • Use the point of a spudger to push the clip out and release the board.

      • Don't try to remove the board—a delicate ribbon cable secures it to the device.

      Ask FixBot

      Add Comment

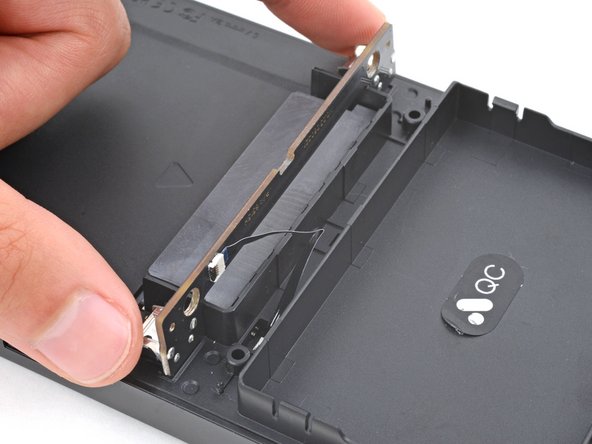
    2. Analogue Pocket Power and Volume Buttons Replacement, Reposition the button board: step 7, image 1 of 3 Analogue Pocket Power and Volume Buttons Replacement, Reposition the button board: step 7, image 2 of 3 Analogue Pocket Power and Volume Buttons Replacement, Reposition the button board: step 7, image 3 of 3
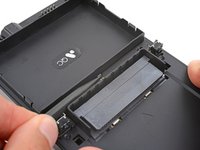
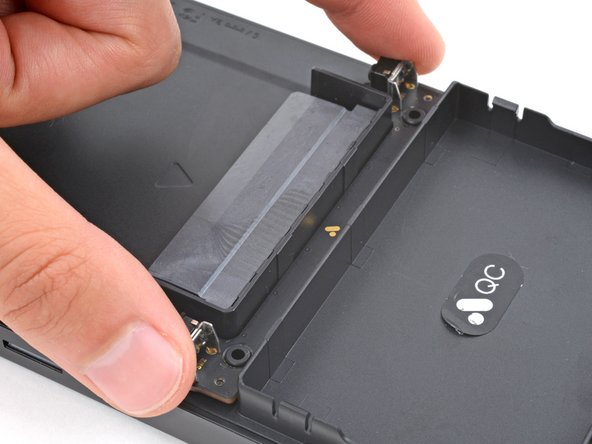
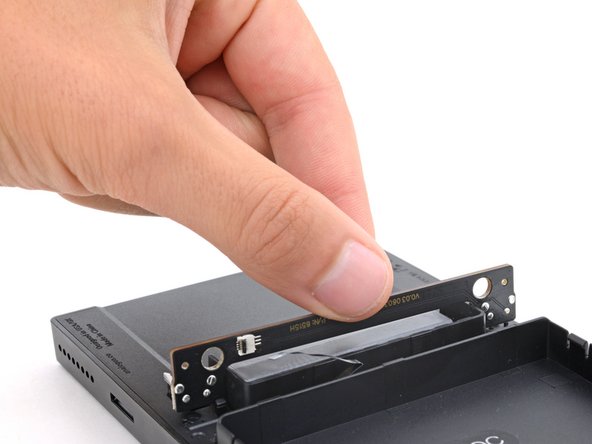
      • Swing the bottom edge of the button board up and over the cartridge reader.

      • Set the board on top of the cartridge reader so the cable's connector is facing the bottom of the device.

      • During reassembly:

      • Put the top edges of the board under their tabs on the rear shell.

      • Lay the board onto the rear shell so the alignment posts go into their circular cutouts on the board.

      • Press the board down until the plastic clip engages.

      Ask FixBot

      Add Comment

    3. Analogue Pocket Power and Volume Buttons Replacement, Disconnect the button board: step 8, image 1 of 3 Analogue Pocket Power and Volume Buttons Replacement, Disconnect the button board: step 8, image 2 of 3 Analogue Pocket Power and Volume Buttons Replacement, Disconnect the button board: step 8, image 3 of 3
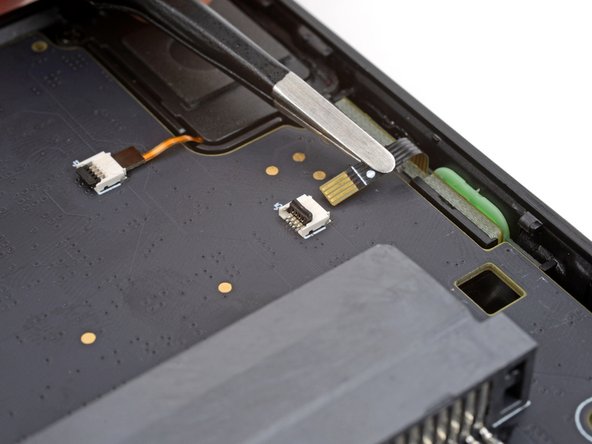
      • Use the tip of a spudger or a clean fingernail to flip up the hinged locking flap on the board cable ZIF connector located on the board itself.

      • Use blunt nose tweezers to pull the cable straight out of its socket.

      Ask FixBot

      Add Comment

    4. Analogue Pocket Power and Volume Buttons Replacement, Remove the board: step 9, image 1 of 2 Analogue Pocket Power and Volume Buttons Replacement, Remove the board: step 9, image 2 of 2
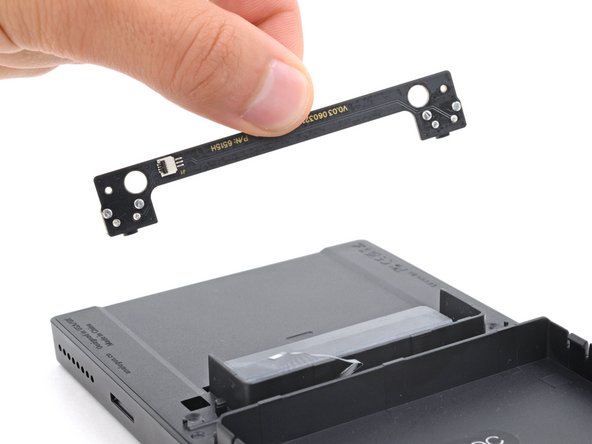
      • Remove the board.

      Ask FixBot

      Add Comment

    1. Analogue Pocket Power and Volume Buttons Replacement, Unclip the rear shell: step 10, image 1 of 3 Analogue Pocket Power and Volume Buttons Replacement, Unclip the rear shell: step 10, image 2 of 3 Analogue Pocket Power and Volume Buttons Replacement, Unclip the rear shell: step 10, image 3 of 3
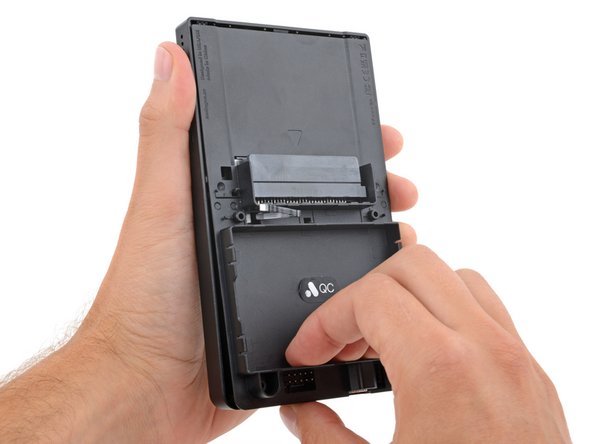
      • Sliding tabs secure the perimeter of the rear shell.

      • Firmly grip your device with one hand.

      • With your free hand, lift the bottom edge of the rear shell until it clears the front shell.

      • Pull the rear shell down until the sliding tabs disengage.

      Ask FixBot

      Add Comment

    2. Analogue Pocket Power and Volume Buttons Replacement, Remove the rear shell: step 11, image 1 of 3 Analogue Pocket Power and Volume Buttons Replacement, Remove the rear shell: step 11, image 2 of 3 Analogue Pocket Power and Volume Buttons Replacement, Remove the rear shell: step 11, image 3 of 3
      • Remove the rear shell.

      • During reassembly:

      • Thread the button board cable through its slot in the rear shell.

      • Lay the rear shell on the front shell so its bottom edge slightly overhangs.

      • This allows the tabs to slide into place. If the rear shell is perfectly flush with the front shell, the tabs won't slide.

      • Push the rear shell in and slide it up to engage the sliding tabs.

      Ask FixBot

      Add Comment

    1. Analogue Pocket Power and Volume Buttons Replacement, Disconnect the board: step 12, image 1 of 3 Analogue Pocket Power and Volume Buttons Replacement, Disconnect the board: step 12, image 2 of 3 Analogue Pocket Power and Volume Buttons Replacement, Disconnect the board: step 12, image 3 of 3
      Tool used on this step:
      Tweezers
      $4.99
      Buy
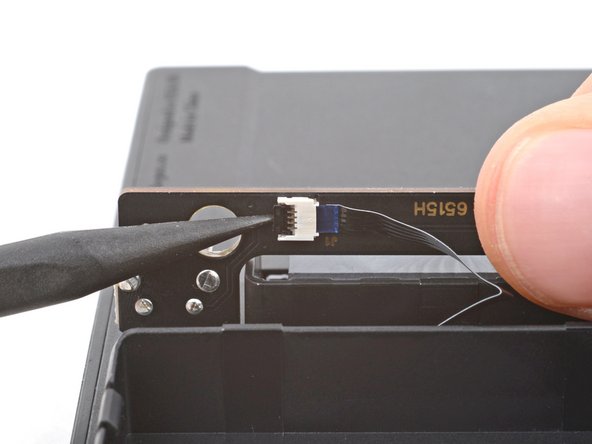
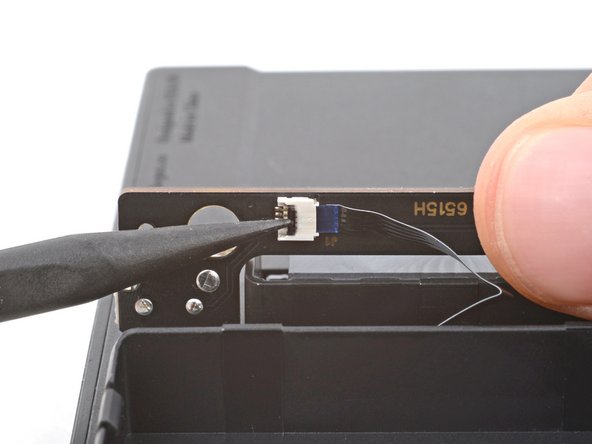
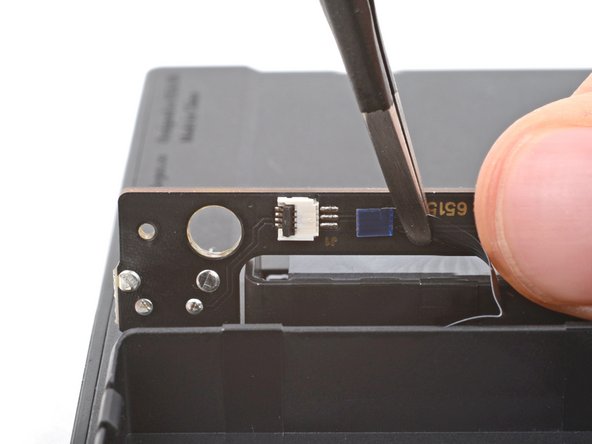
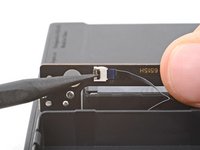
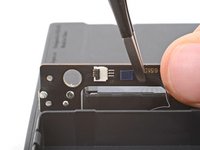
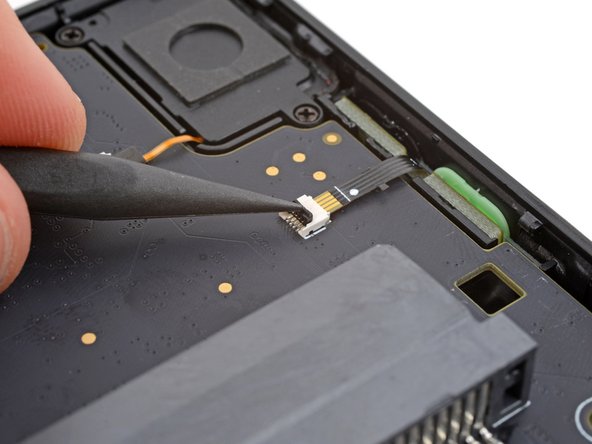
      • Use the tip of a spudger or a clean fingernail to flip up the hinged locking flap on the power and volume button cable ZIF connector.

      • Use blunt nose tweezers to pull the cable straight out of its socket.

      Ask FixBot

      Add Comment

    2. Analogue Pocket Power and Volume Buttons Replacement, Remove the board: step 13, image 1 of 3 Analogue Pocket Power and Volume Buttons Replacement, Remove the board: step 13, image 2 of 3 Analogue Pocket Power and Volume Buttons Replacement, Remove the board: step 13, image 3 of 3
      Tool used on this step:
      Tesa 61395 Tape
      $8.95
      Buy
      • Adhesive secures power and volume button board to the front shell.

      • Insert the point of a spudger between the motherboard and the left side of the button board.

      • Use the point of a spudger to push the button board out to separate the adhesive securing it.

      • Grip the board itself with blunt nose tweezers and remove it.

      • During reassembly:

      • If you're reusing your board, the leftover adhesive should be sticky enough to adequately secure it.

      • If your new board comes with pre-installed adhesive, remove any linings and use a spudger to press the board into place.

      • If your board doesn't have adhesive or the leftover adhesive isn't sticky enough, use strips of thin double-sided tape such as Tesa Tape to secure it.

      Ask FixBot

      Add Comment

    1. Analogue Pocket Power and Volume Buttons Replacement, Remove the power and volume buttons: step 14, image 1 of 3 Analogue Pocket Power and Volume Buttons Replacement, Remove the power and volume buttons: step 14, image 2 of 3 Analogue Pocket Power and Volume Buttons Replacement, Remove the power and volume buttons: step 14, image 3 of 3
      Tool used on this step:
      Tweezers
      $4.99
      Buy
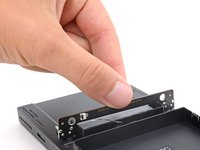
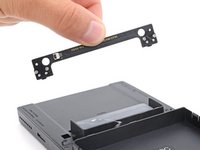
      • The power and volume buttons are connected by a delicate piece of plastic. Be gentle during this step to avoid breaking it.

      • Use the point of a spudger to push in the power and volume buttons out of their recesses.

      • Use the point of a spudger to lift one of the buttons until you can grip it with a pair of tweezers.

      • Remove the buttons.

      Ask FixBot

      Add Comment

Conclusion

To reassemble your device, follow these instructions in reverse order.

Take your e-waste to an R2 or e-Stewards certified recycler.

Repair didn’t go as planned? Try some basic troubleshooting, or ask our Answers community for help.

Cancel: I did not complete this guide.

Spencer Day

Member since: 09/14/22

208,690 Reputation

1,266 Guides authored

Team

iFixit Member of iFixit

Staff

120 Members

72,955 Guides authored

1 Guide Comment

Jemand ne Ahnung wo man das Power Button flex beziehen kann?

Riks Fix - Reply Share
Add Comment

View Statistics:

Past 24 Hours: 2

Past 7 Days: 25

Past 30 Days: 81

All Time: 1,223