Free Shipping on Domestic Orders $75+

AmazonBasics B00Q3KFX8U Motor Replacement

What you need

  1. AmazonBasics B00Q3KFX8U Motor Replacement, Drive Gear: step 1, image 1 of 1
    • Remove the shredder assembly from the paper scrap bin.

    Ask FixBot

    Add Comment

  2. AmazonBasics B00Q3KFX8U Motor Replacement: step 2, image 1 of 1
    • Remove the two 10mm PH1 screws holding the small black panel in place.

    Ask FixBot

    Add Comment

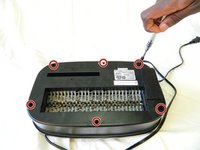
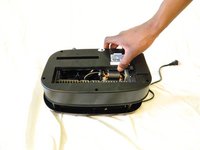
  3. AmazonBasics B00Q3KFX8U Motor Replacement: step 3, image 1 of 2 AmazonBasics B00Q3KFX8U Motor Replacement: step 3, image 2 of 2
    • Remove the six 14mm PH1 screws holding the bottom cover in place.

    • Remove the cover by lifting straight upwards.

    • One of the screws will be hidden beneath a warranty sticker. Simply push the head of the screwdriver through the sticker to access the screw.

    Ask FixBot

    Add Comment

  4. AmazonBasics B00Q3KFX8U Motor Replacement: step 4, image 1 of 1
    • Remove the blade/motor assembly from the top cover by lifting straight upwards. Do not disconnect any wiring just yet.

    • The blades are sharp. Coming into contact with them may result in injury.

    Ask FixBot

    Add Comment

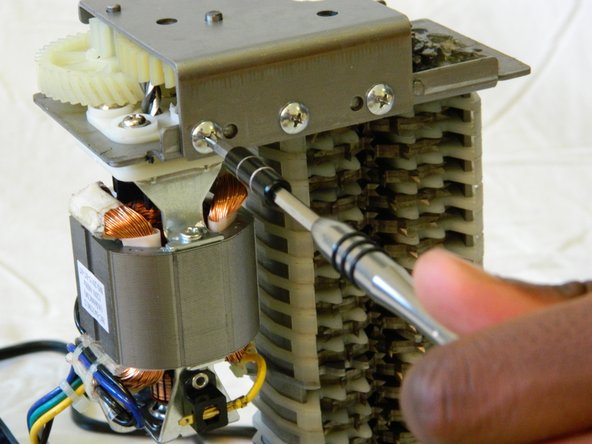
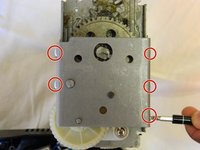
  5. AmazonBasics B00Q3KFX8U Motor Replacement: step 5, image 1 of 2 AmazonBasics B00Q3KFX8U Motor Replacement: step 5, image 2 of 2
    • Remove the five 8mm PH2 screws from the bracket holding the gears in place.

    Ask FixBot

    Add Comment

  6. AmazonBasics B00Q3KFX8U Motor Replacement: step 6, image 1 of 1
    • Use a metal spudger to pry the bracket from the main shredder assembly.

    • If the bracket is attached too tightly for the spudger, carefully use a metal screwdriver to pry it loose.

    Ask FixBot

    Add Comment

  7. AmazonBasics B00Q3KFX8U Motor Replacement: step 7, image 1 of 2 AmazonBasics B00Q3KFX8U Motor Replacement: step 7, image 2 of 2
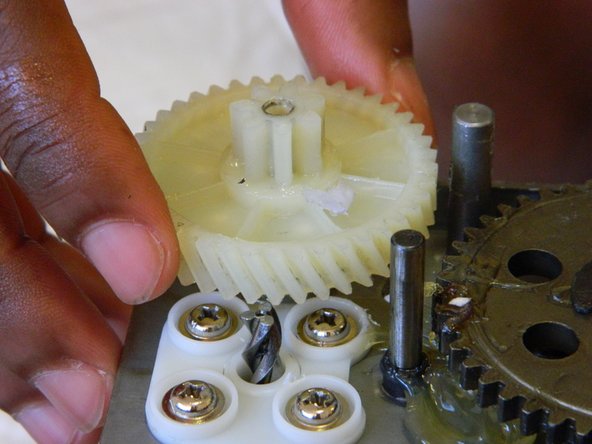
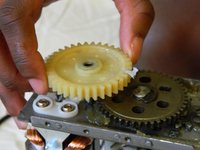
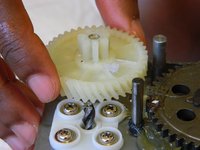
    • Remove the two plastic drive gears from the shredder assembly by lifting straight upwards.

    Ask FixBot

    Add Comment

  8. AmazonBasics B00Q3KFX8U Motor Replacement, Motor: step 8, image 1 of 1
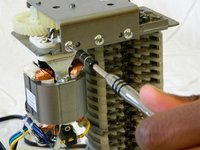
    • Remove the four 18mm PH2 screws holding the motor to the main shredder assembly.

    Ask FixBot

    Add Comment

  9. AmazonBasics B00Q3KFX8U Motor Replacement: step 9, image 1 of 1
    • Disconnect the motor from the motherboard by either clipping the wires, or using a soldering iron to disconnect the wires directly at the board.

    • To reattach the motor, solder the wires back together, or to the motherboard depending on how you removed them.

    Ask FixBot

    Add Comment

Conclusion

To reassemble your device, follow these instructions in reverse order.

Cancel: I did not complete this guide.

One other person completed this guide.

William Foley

Member since: 03/25/16

548 Reputation

4 Guides authored

Team

1 Guide Comment

Do you sell motor?

Binh - Reply Share

Add Comment

View Statistics:

Past 24 Hours: 1

Past 7 Days: 8

Past 30 Days: 48

All Time: 1,295