
Amazon Echo Look Front Panel Replacement

Ryánn Gillen and 3 other contributors
Last updated on Dec 21, 2023
Views: 325
View statistics:
- Past 24 Hours:
- 2
- Past 7 Days:
- 13
- Past 30 Days:
- 61
- All Time:
- 325
Comments: 0
No one has left comments on this guide. Will you be first?
Go to guide commentsCompleted: 1 2
1 person has marked this guide "completed." Will you be next?
2 people have marked this guide "completed." Including you — great job!
Favorites: 0 1
No one has favorited (and subscribed to) this guide. Will you be the first?
1 person has favorited (and subscribed to) this guide — and that's you!
Introduction
Go to step 1 ↓The Amazon Echo Look's primary function as a fashion assistance can be affected if the front panel is cracked or if the lens is smudged on the inside or otherwise damaged.
Some steps are time-sensitive and may need to be repeated- the time estimate reflects this.
What you need
Tools
-
-
-
-
Spudger4.9


-
-
-
Ensure the device is completely powered off and disconnected from any power source by removing the charger adapter point from the back of the device.
 Ask FixBot
-
-
-
If the device stand is attached, remove it by twisting the device's base toward yourself until detached.
-
-
-
Heat the front panel with an iOpener.
-
Heat the device for 5-10 minutes to loosen the glue.
-
-
-
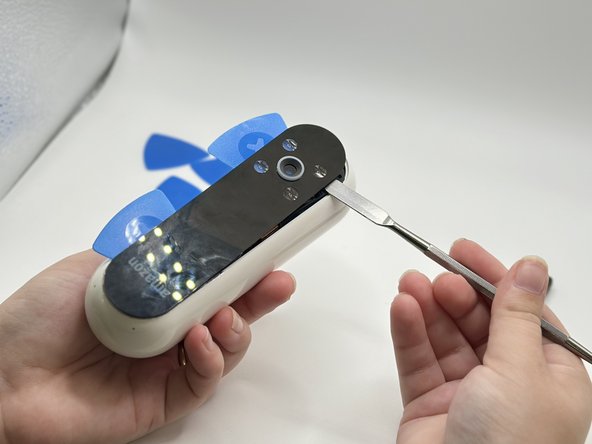
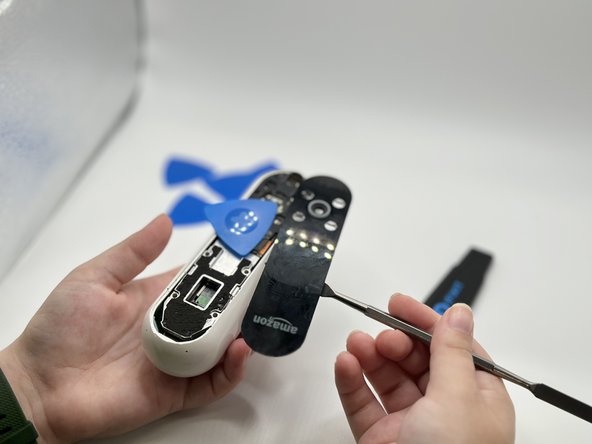
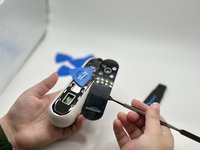
Lever the Jimmy between the screen and the device until an opening is formed.
-
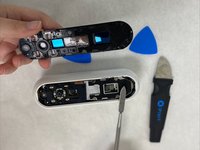
Insert opening picks to hold the opening as needed.
-
Use a spudger to circle the border of the front panel and disconnect any lingering glue.
-
-
-



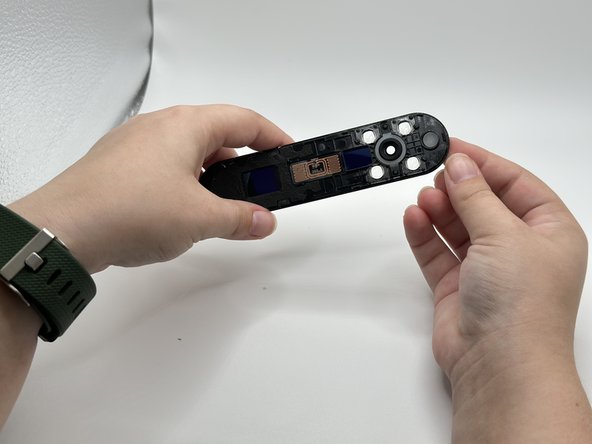
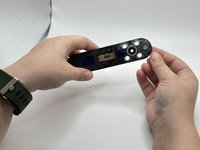
To reassemble your device, follow these instructions in reverse order.
Cancel: I did not complete this guide.
One other person completed this guide.

Team

University of North Texas, Team 2-5, Harold Fall 2023 Member of University of North Texas, Team 2-5, Harold Fall 2023
UNT-HAROLD-F23S2G5
4 Members
48 Guides authored
