Free Shipping on Domestic Orders $75+

Amazon Echo LED/Microphone Board Replacement

Views: 16K

View statistics:

Past 24 Hours:
3
Past 7 Days:
31
Past 30 Days:
167
All Time:
16,021
Comments: 14

12 comments on steps, 2 guide comments.

Go to guide comments
Completed: 6

6 people have marked this guide "completed." Will you be next?

Favorites: 0

No one has favorited (and subscribed to) this guide. Will you be the first?

Time Required: 45 minutes - 1 hour
Difficulty: Moderate
Amazon Echo LED/Microphone Board Replacement

Introduction

Go to step 1 ↓

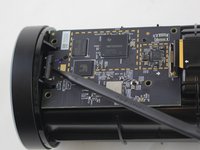
This guide demonstrates how to remove the LED/Microphone board. This board contains the LED indication ring at the top of the Echo, as well as the seven microphone array. This guide should assist you if the LED ring is malfunctioning or if the Echo has issues hearing you.

What you need

Tools

    1. Amazon Echo LED/Microphone Board Replacement, Power and Speaker Driver Board: step 1, image 1 of 1
      • Power off and unplug your Echo before disassembly. Failure to do so could result in injury or damage to the device.

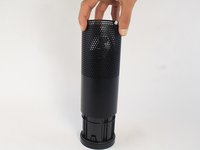
      • Peel off the rubber footing from the bottom of the Echo.

      • Do not pull the rubber footing too hard, as it could stretch out of shape. Use a spudger to help remove the foot if you have any trouble.

      Ask FixBot

      Add Comment

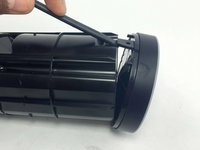
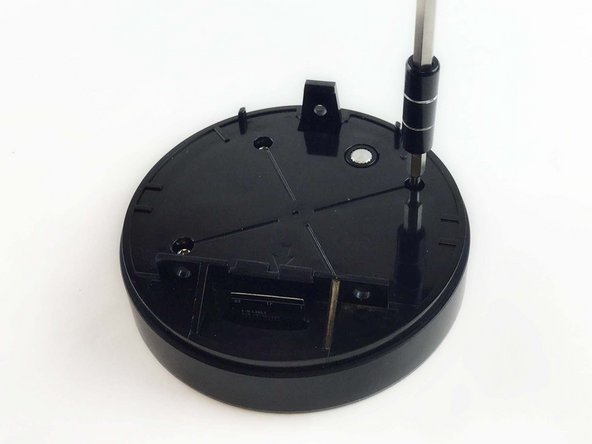
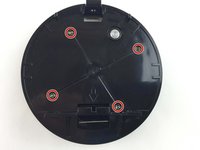
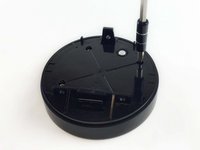
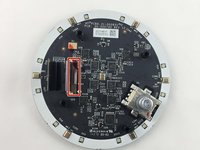
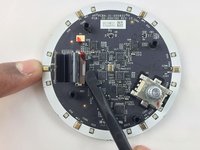
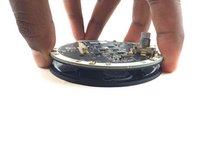
    2. Amazon Echo LED/Microphone Board Replacement: step 2, image 1 of 3 Amazon Echo LED/Microphone Board Replacement: step 2, image 2 of 3 Amazon Echo LED/Microphone Board Replacement: step 2, image 3 of 3
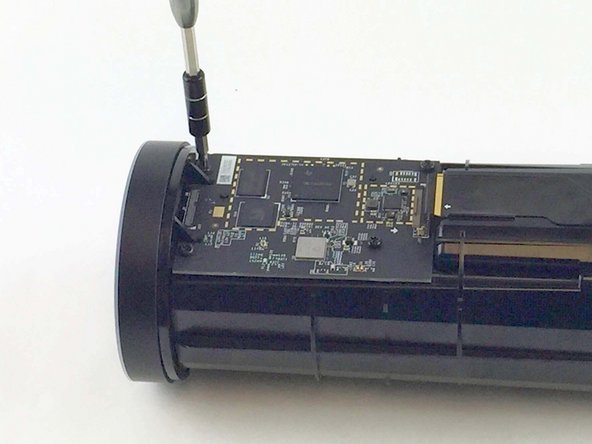
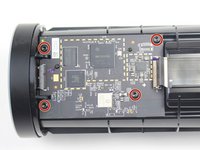
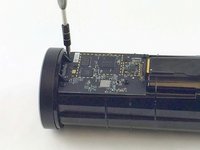
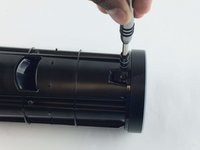
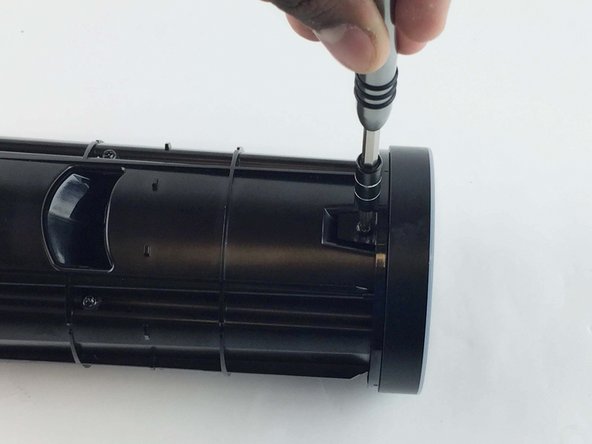
      • Remove the four 42.8 mm T10 Torx screws from the bottom of the Echo.

      Ask FixBot

      Add Comment

    3. Amazon Echo LED/Microphone Board Replacement: step 3, image 1 of 1
      • Slowly lift the plate containing the board. Be careful not to disconnect any of the wires.

      Ask FixBot

      Add Comment

    4. Amazon Echo LED/Microphone Board Replacement: step 4, image 1 of 1
      Tool used on this step:
      Tweezers
      $4.99
      Buy
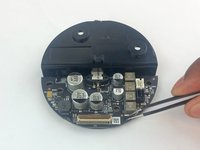
      • Using tweezers, carefully disconnect the two red and black cables from their sockets on the board.

      • Tugging on the wires may damage the device. Pull from the plastic connectors instead.

      Ask FixBot

      Add Comment

    5. Amazon Echo LED/Microphone Board Replacement: step 5, image 1 of 2 Amazon Echo LED/Microphone Board Replacement: step 5, image 2 of 2
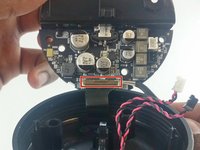
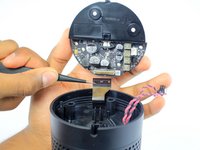
      • Lift the brown plastic latch on the ZIF connector securing the driver board ribbon cable.

      • Pull the ribbon cable from its connector. The plate and board should now be free from the Echo.

      Ask FixBot

      Add Comment

    6. Amazon Echo LED/Microphone Board Replacement: step 6, image 1 of 3 Amazon Echo LED/Microphone Board Replacement: step 6, image 2 of 3 Amazon Echo LED/Microphone Board Replacement: step 6, image 3 of 3
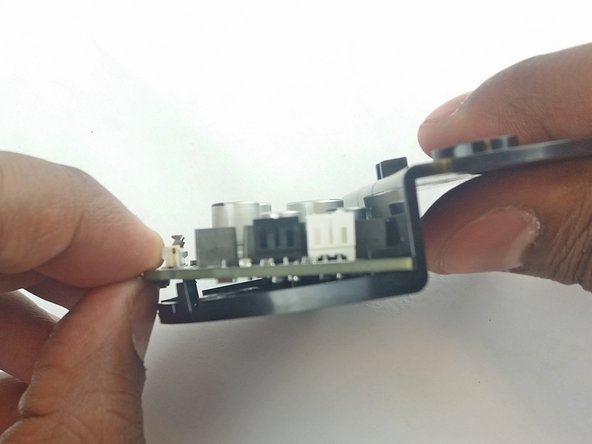
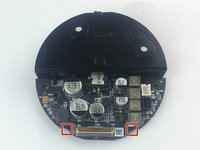
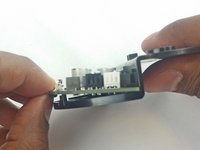
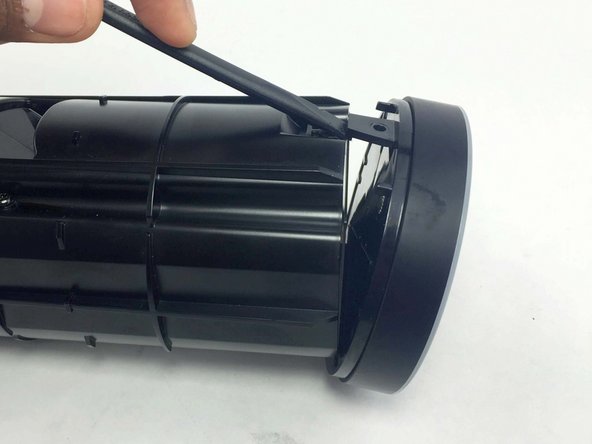
      • Using the spudger, pull back the two plastic clips on the plate.

      • Lift the board up and pull it away from the plate.

      Ask FixBot

      Add Comment

    1. Amazon Echo LED/Microphone Board Replacement, Motherboard: step 7, image 1 of 2 Amazon Echo LED/Microphone Board Replacement, Motherboard: step 7, image 2 of 2
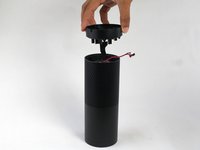
      • Remove the plastic plate from the bottom of the device. Then remove the plastic shrouding.

      Ask FixBot

      Add Comment

    2. Amazon Echo LED/Microphone Board Replacement: step 8, image 1 of 1
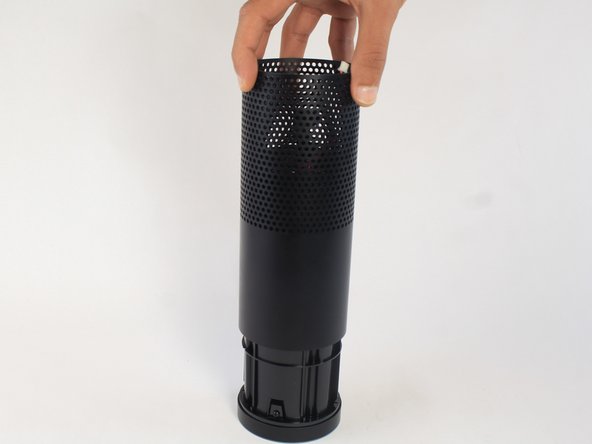
      • Peel off the black fabric wrapped around the device.

      • Be careful not to rip the fabric. Use a spudger to help remove the adhesive if you have any trouble.

      Ask FixBot

      Add Comment

    3. Amazon Echo LED/Microphone Board Replacement: step 9, image 1 of 2 Amazon Echo LED/Microphone Board Replacement: step 9, image 2 of 2
      • Remove the four 9.7 mm T10 screws.

      Ask FixBot

      Add Comment

    4. Amazon Echo LED/Microphone Board Replacement: step 10, image 1 of 3 Amazon Echo LED/Microphone Board Replacement: step 10, image 2 of 3 Amazon Echo LED/Microphone Board Replacement: step 10, image 3 of 3
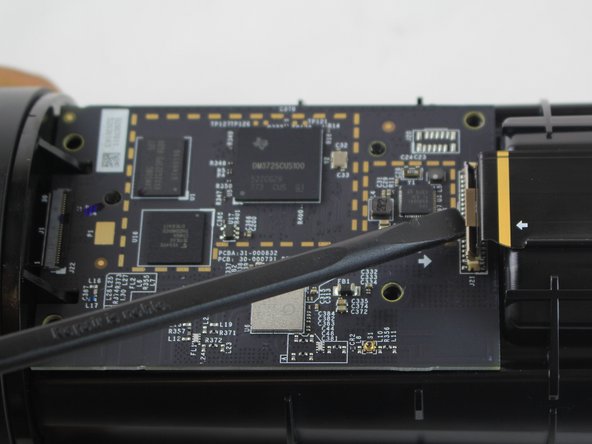
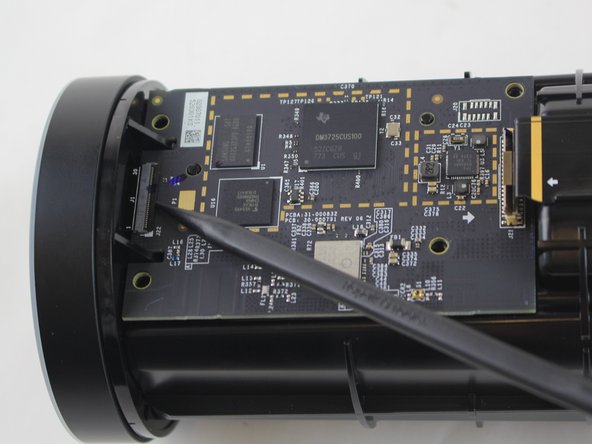
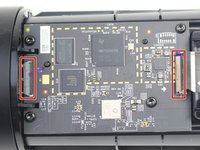
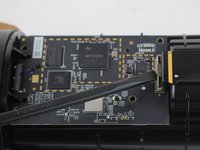
      • Lift the brown and black plastic latches securing the ZIF connectors at each end of the motherboard.

      • Pull the two ribbon cables from their connectors on the motherboard.

      Ask FixBot

      Add Comment

    5. Amazon Echo LED/Microphone Board Replacement: step 11, image 1 of 1
      • Lift the motherboard up from the Echo.

      Ask FixBot

      Add Comment

    1. Amazon Echo LED/Microphone Board Replacement, LED/Microphone Board: step 12, image 1 of 2 Amazon Echo LED/Microphone Board Replacement, LED/Microphone Board: step 12, image 2 of 2
      • Remove the 9.7 mm T10 Torx screw from the opposite side of the Echo.

      Ask FixBot

      Add Comment

    2. Amazon Echo LED/Microphone Board Replacement: step 13, image 1 of 2 Amazon Echo LED/Microphone Board Replacement: step 13, image 2 of 2
      • Unclip and remove the top volume ring assembly from the Echo.

      Ask FixBot

      Add Comment

    3. Amazon Echo LED/Microphone Board Replacement: step 14, image 1 of 2 Amazon Echo LED/Microphone Board Replacement: step 14, image 2 of 2
      • Unscrew the four 9.7 mm T9 torx screws from the bottom of the volume ring assembly.

      Ask FixBot

      Add Comment

    4. Amazon Echo LED/Microphone Board Replacement: step 15, image 1 of 1
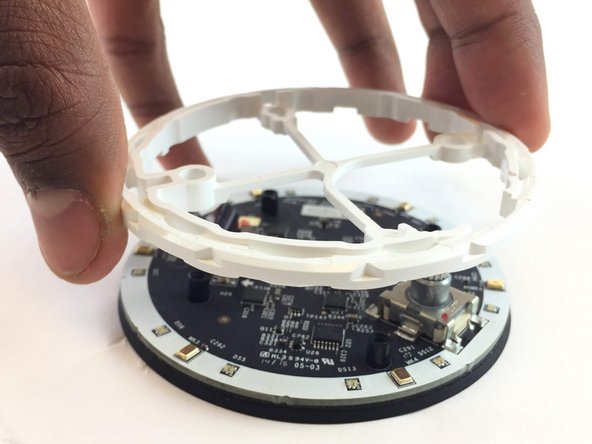
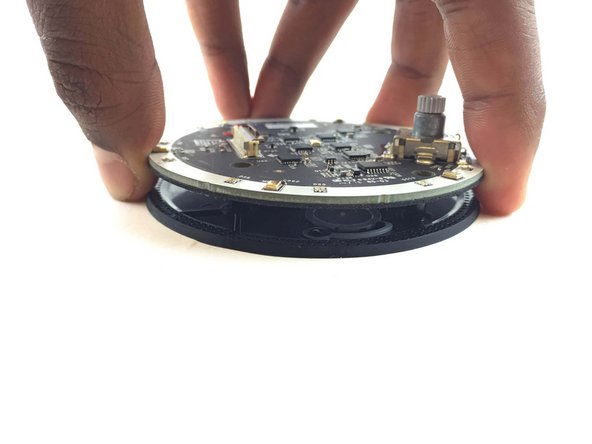
      • Turn the assembly over and lift up the plate with the buttons.

      Ask FixBot

      Add Comment

    5. Amazon Echo LED/Microphone Board Replacement: step 16, image 1 of 2 Amazon Echo LED/Microphone Board Replacement: step 16, image 2 of 2
      • Turn the plate over, then lift and remove black gear and the white plastic ring.

      Ask FixBot

      Add Comment

    6. Amazon Echo LED/Microphone Board Replacement: step 17, image 1 of 3 Amazon Echo LED/Microphone Board Replacement: step 17, image 2 of 3 Amazon Echo LED/Microphone Board Replacement: step 17, image 3 of 3
      • Remove the ribbon cable by lifting the brown latch on the ZIF connector.

      • Lift the LED/Microphone board from the plate.

      Ask FixBot

      Add Comment

Conclusion

To reassemble your device, follow these instructions in reverse order.

Cancel: I did not complete this guide.

6 other people completed this guide.

Alexander Albert

Member since: 02/04/16

1,169 Reputation

6 Guides authored

Team

USF Tampa, Team 3-3, Wollert Spring 2016 Member of USF Tampa, Team 3-3, Wollert Spring 2016

USFT-WOLLERT-S16S3G3

4 Members

72 Guides authored

2 Guide Comments

So in Step 15, I’m having a problem reassembling the Plate with buttons back into the volume ring… can someone give me any tricks/pointers please?

JaxyB - Reply Share
Where can i buy this LED/Microphone board for replacement?

Tuan Nguyen - Reply Share
Add Comment

View Statistics:

Past 24 Hours: 3

Past 7 Days: 31

Past 30 Days: 167

All Time: 16,021