Introduction
The Altec Lansing Baby Boom XL Portable Bluetooth Speaker is the device and the model number is IMW270. The alternate names other than the standard name of “Baby Boom XL” can be listed as Altec Lansing Baby Boom XL Waterproof Bluetooth Speaker, Altec Lansing IMW270, and Baby Boom XL 2 pack (when sold in bundles). There are no different model names for the device although there are five different colors. This device guide for power button replacement is intended to assist in complications with turning the device on and off or controlling its power functions. The power button is an internal component that allows the user to turn the speaker on or off and control basic functions. It is essential for operating the device because it provides direct control over power and usage. Symptoms of the device regarding complications with the power button can include the button not responding when pressed, the device not turning on or off, the button feeling stuck or loose, or responding inconsistently when attempting to use it.
What you need
-
-
-
Starting with the seam between the grille and body, pry open the speaker using the metal spudger.
 Ask FixBot
-
-
-
Remove the seven 11.09 mm screws using a Phillips screwdriver.
-
Place the loose screws onto the magnetic project mat.
-
-
-
Insert a spudger between the front speaker components and the housing.
-
Gently separate the components.
-
Lift the components slightly to expose the internal wiring.
-
-
-
-
Disconnect the two wires attached to the speaker.
-
Remove the speaker from the housing.
-
Disconnect the wire connecting the battery to the motherboard.
-
-
-
Remove the three 9.2 mm screws securing the motherboard using a Phillips #1 screwdriver.
-
-
-
Carefully take off the plastic box housing the button components using the metal spudger; this may take some pressure.
-
-
-
Use angled tweezers to carefully grip the motherboard and lift it out of the device.
-
-
-
Follow iFixit’s soldering guide for proper technique. How To Solder and Desolder Connections
-
-


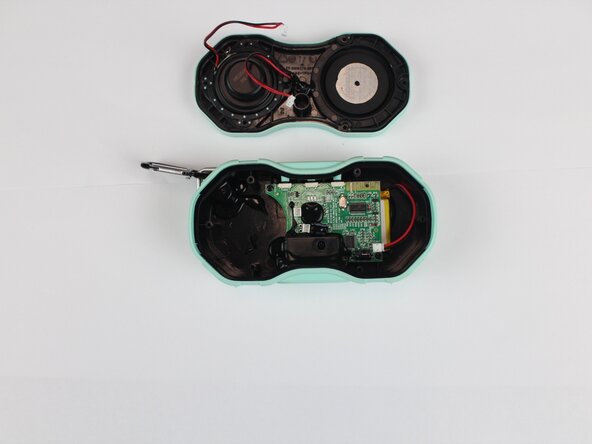


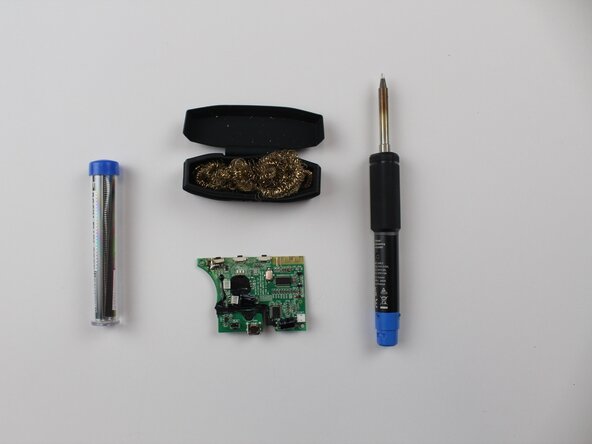


To reassemble your device, follow the above steps in reverse order.
Take your e-waste to an R2 or e-Stewards certified recycler.
Repair didn’t go as planned? Try some basic troubleshooting or ask our Answers community for help.

Team

Texas Tech, Team 41-4, Johansen Spring 2026 Member of Texas Tech, Team 41-4, Johansen Spring 2026
TTU-JOHANSEN-S26S41G4
5 Members
60 Guides authored
