
AlphaSmart Pro Lithium Coin Battery Replacement

Katy Beth Culp and 3 other contributors
Last updated on Jan 9, 2015
Views: 1.6K
View statistics:
- Past 24 Hours:
- 0
- Past 7 Days:
- 10
- Past 30 Days:
- 53
- All Time:
- 1,569
Comments: 0
No one has left comments on this guide. Will you be first?
Go to guide commentsCompleted: 0 1
No one has marked this guide "completed." Will you be the first?
1 person has marked this guide "completed." It's you — great job!
Favorites: 0 1
No one has favorited (and subscribed to) this guide. Will you be the first?
1 person has favorited (and subscribed to) this guide — and that's you!
Introduction
Go to step 1 ↓The lithium coin battery is responsible for storage when the device is turned off. If you believe it is defective, you can use this guide to help you replace it.
What you need
Tools
-
Spudger4.9


-
-
-
Remove the eight 1 cm Phillips head screws from the back panel of the AlphaSmart Pro with the Phillips #00 Screwdriver.
-
Carefully separate the front panel from the back panel.
 Ask FixBot
-
-
-
To remove the ribbon cable, use the spudger to lift each side of the connector from the socket.
-
Gently pull up on the connector to completely remove the connector from the socket.
-
-
-
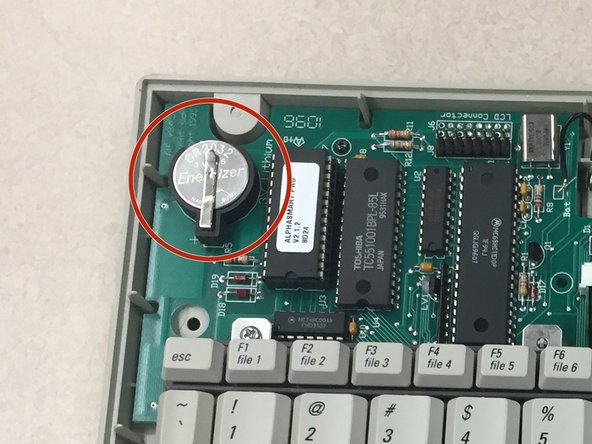
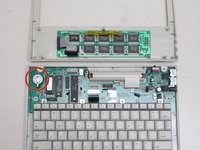
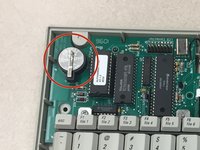
With the front panel removed, locate the lithium coin battery at the top left corner of the motherboard.
-
-
-
-
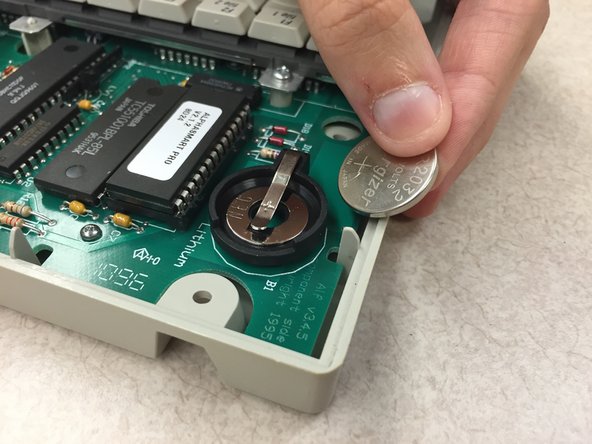
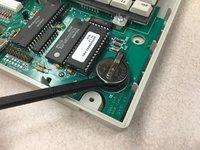
Use the spudger, plastic opening tool, or your finger/fingernail to lift up the lithium coin battery.
-
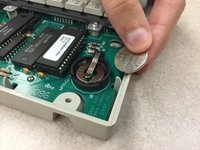
Slide the battery out from underneath the clip that holds it in place.
-
-



To reassemble your device, follow these instructions in reverse order.

Team

Clemson, Team 1-1, Benson Fall 2014 Member of Clemson, Team 1-1, Benson Fall 2014
CLEM-BENSON-F14S1G1
4 Members
96 Guides authored
