Introduction
If you are experiencing issues playing certain games or frequently see a blue error screen, this might be because the graphics processing unit (GPU) is faulty, meaning it is time to replace it. This guide will help the user replace the GPU on the Alienware M15x laptop. Several steps involve unscrewing tiny screws from the laptop; please ensure that you keep all screws in a secure location as they will be used to rebuild the laptop.
What you need
-
-
-
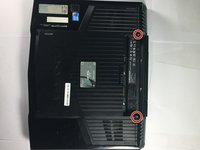
Remove the two 4mm screws using a Phillips #1 screwdriver.
-
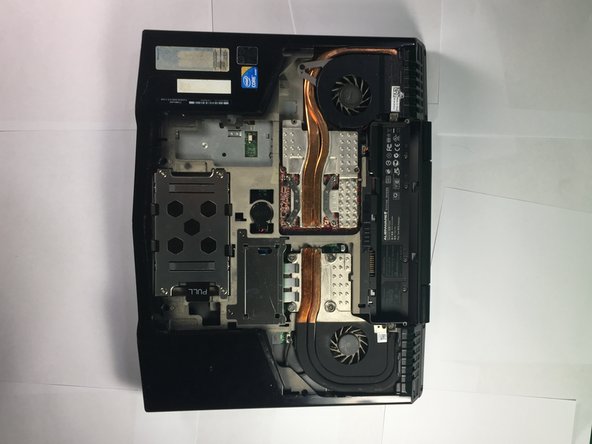
Remove the compartment door by sliding it away from the battery.
-
-
-
-
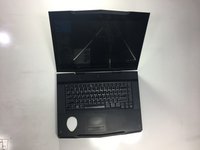
Position the laptop vertically so that the hinge is facing up and the laptop is slightly open toward the ground
-
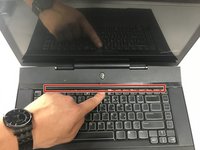
Locate the panel and pry open using a plastic opening tool.
-
-
Tool used on this step:Tweezers$4.99
-
Position the laptop normally, with the bottom on the ground and the screen flipped up towards you.
-
Lift the power button panel using the plastic opening tool.
-
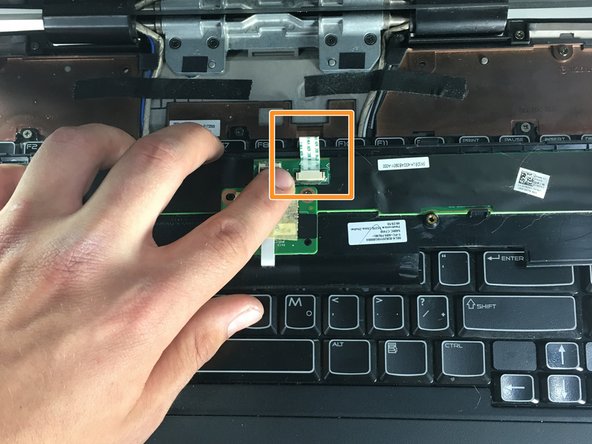
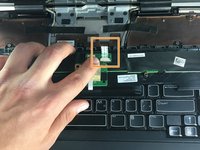
Disconnect the ribbon cable by using tweezers to unclip the two small black clips. Remove power button panel.
-
-
-
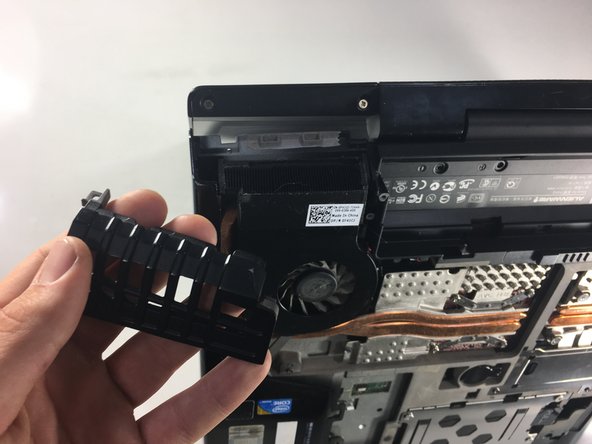
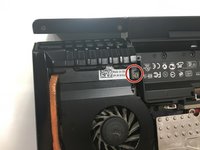
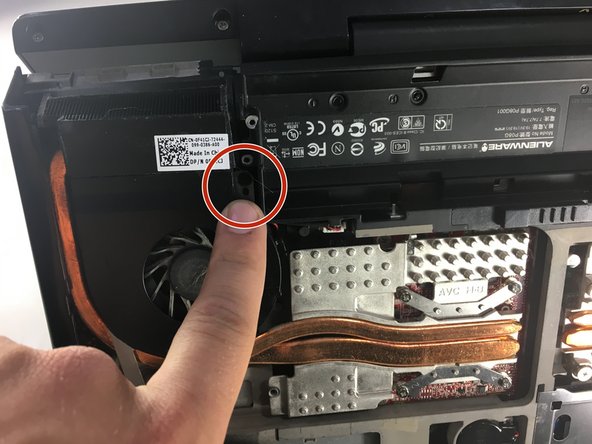
Use a Phillips #1 screwdriver to remove the 4mm screw from the exhaust port cover.
-
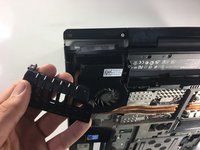
Remove the exhaust port cover entirely.
-
-
-
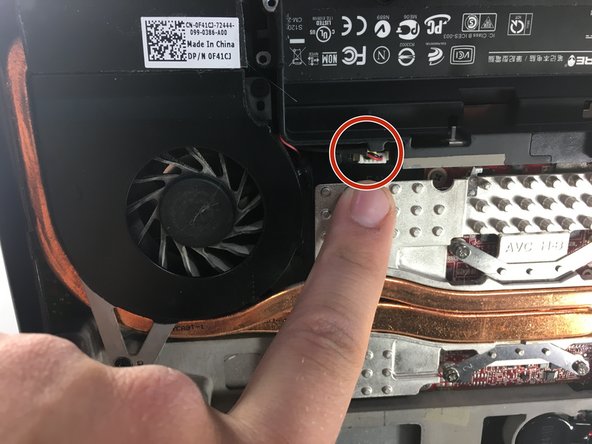
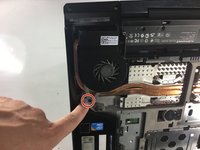
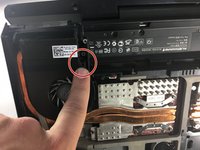
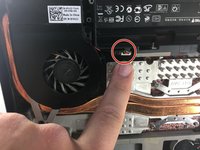
Use a Phillips #0 screwdriver to remove the two 3mm screws holding the fan in place, then unclip the electrical connection using tweezers.
-
-
-
Remove the heat sink by loosening the 4 screws with a Phillips #0 screwdriver.
-
-
-
Use a Phillips #0 screwdriver to remove the two screws.
-
Remove the GPU from the laptop.
-

 Ask FixBot










To reassemble your device, follow these instructions in reverse order.

Team

Cal Poly, Team S11-G3, Banghart Winter 2018 Member of Cal Poly, Team S11-G3, Banghart Winter 2018
CPSU-BANGHART-W18S11G3
5 Members
60 Guides authored
