
Alienware Aurora M9700 Hard Drive Replacement

Jasmine Anchondo and 4 other contributors
Last updated on Jan 27, 2019
Views: 771
View statistics:
- Past 24 Hours:
- 1
- Past 7 Days:
- 16
- Past 30 Days:
- 56
- All Time:
- 771
Comments: 0
No one has left comments on this guide. Will you be first?
Go to guide commentsCompleted: 0 1
No one has marked this guide "completed." Will you be the first?
1 person has marked this guide "completed." It's you — great job!
Favorites: 0 1
No one has favorited (and subscribed to) this guide. Will you be the first?
1 person has favorited (and subscribed to) this guide — and that's you!
Introduction
Go to step 1 ↓This guide provides instructions on how to upgrade or replace the hard drive in an Alienware Aurora M9700.
What you need
Tools

-
-
-
Turn laptop upside down so you're looking at the bottom side of the laptop.
 Ask FixBot
-
-
-
At the bottom left corner, locate the square battery pack with the sliding unlock emblem above it.
-
Slide the lock to the right to unlock the battery pack.
-
Once it's unlocked the battery will release.
-
Lift the battery, removing it from its compartment.
-
-
-
-
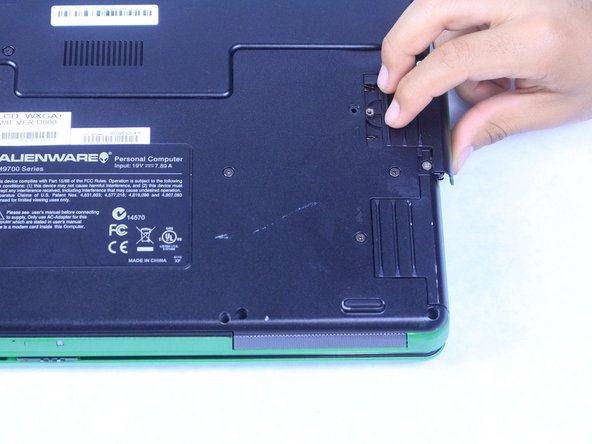
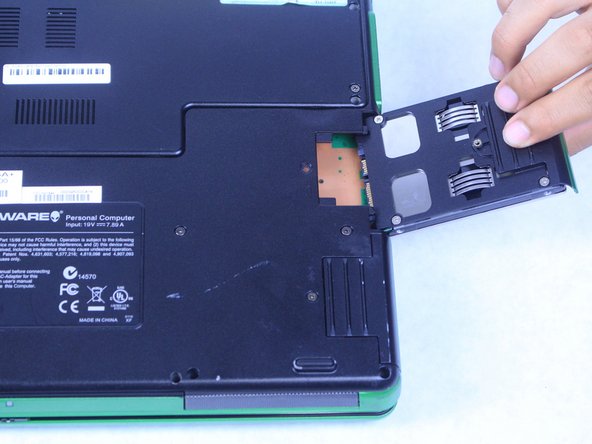
At the bottom right corner, locate the two hard drives labeled 1 and 2.
-
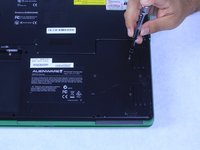
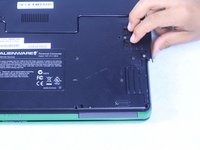
Remove the screws located on top of the hard drives slots.
-
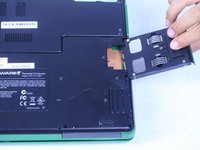
Once screws are removed from each hard drive, slide both hard drives out of the slot.
-
-
-
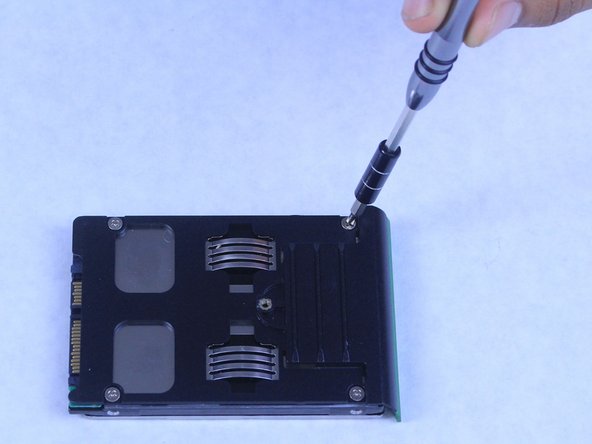
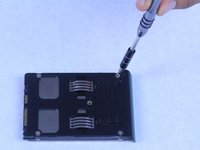
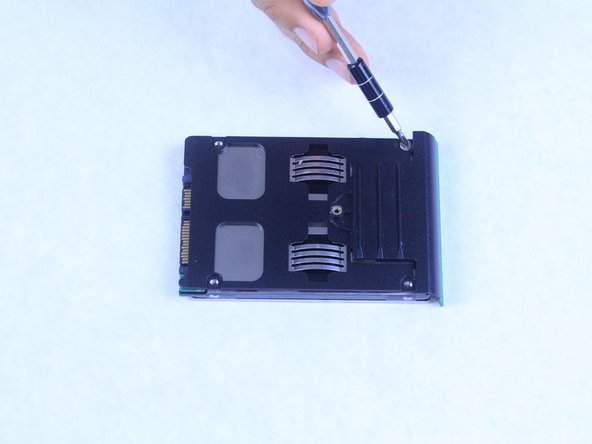
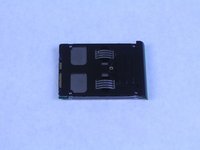
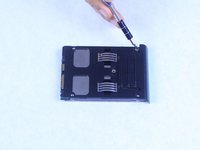
Each hard drive is attached to a cover which contains 4 screws located on all 4 corners of the hard drive.
-
Remove each of the 4 screws on both hard drive covers.
-
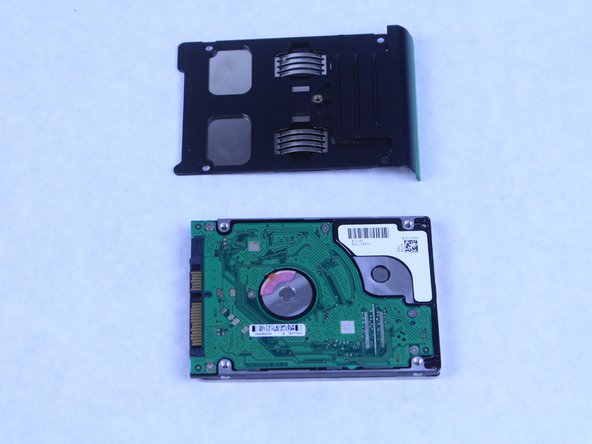
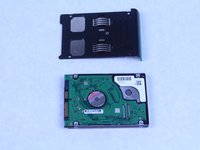
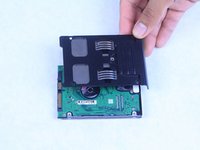
Once both covers are removed only the original hard drive will remain.
-
-
-
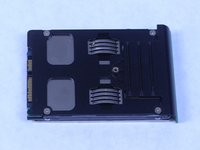
Secure the new hard drive to the original hard drive cover, insert the screws on all 4 corners of the hard drive cover.
-
Complete this process for both hard drives. (Optional: if installing two drives.)
-
-





To reassemble your device, follow these instructions in reverse order.

Team

Sam Houston State, Team S15-G3, Blackburne Fall 2018 Member of Sam Houston State, Team S15-G3, Blackburne Fall 2018
SHSU-BLACKBURNE-F18S15G3
4 Members
60 Guides authored
