Free Shipping on Domestic Orders $75+

Alienware 17 R4 Fan Shroud Replacement

What you need

    1. Alienware 17 R4 Fan Shroud Replacement, Base Cover: step 1, image 1 of 1
      • Use a PH1 screwdriver bit to remove the six M2.5x13 screws (2.4 mm) on the back of the laptop.

      • Use a PH1 screwdriver bit to loosen the one M2x3 screw (1.9 mm).

      • The M2x3 screw (1.9 mm) does not come out completely.

      Ask FixBot

      Add Comment

    2. Alienware 17 R4 Fan Shroud Replacement: step 2, image 1 of 2 Alienware 17 R4 Fan Shroud Replacement: step 2, image 2 of 2
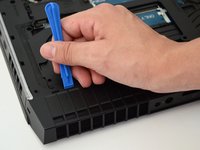
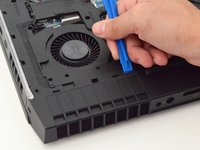
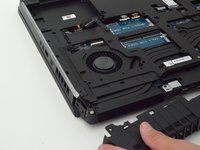
      • Pull the base cover up to remove it.

      • If you are having trouble, insert a plastic opening tool into the divots along the laptop's edges to loosen.

      • Removing the cover may require some force.

      Ask FixBot

      Add Comment

    1. Alienware 17 R4 Fan Shroud Replacement, Hard Disk Drive (HDD): step 3, image 1 of 3 Alienware 17 R4 Fan Shroud Replacement, Hard Disk Drive (HDD): step 3, image 2 of 3 Alienware 17 R4 Fan Shroud Replacement, Hard Disk Drive (HDD): step 3, image 3 of 3
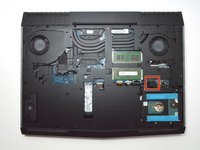
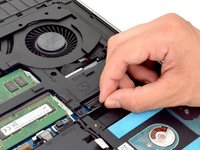
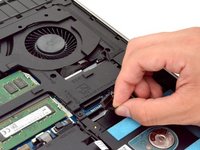
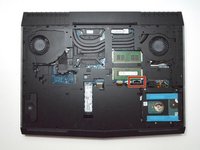
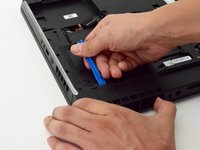
      • Disconnect the battery connector cable, located on the right side of the laptop, above the hard disk drive.

      • Once you have removed the cable, wait 5-10 minutes to allow the laptop to power down.

      • Failure to remove the battery connector cable properly may damage other parts of the laptop.

      Ask FixBot

      Add Comment

    2. Alienware 17 R4 Fan Shroud Replacement: step 4, image 1 of 3 Alienware 17 R4 Fan Shroud Replacement: step 4, image 2 of 3 Alienware 17 R4 Fan Shroud Replacement: step 4, image 3 of 3
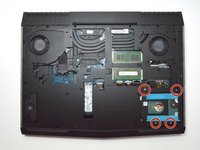
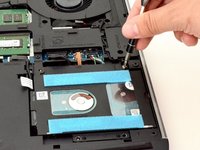
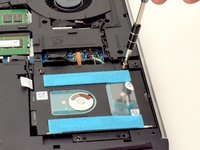
      • Use a PH1 screwdriver bit to remove the four M2.5x5 screws (2.4 mm) on the hard disk drive.

      Ask FixBot

      Add Comment

    3. Alienware 17 R4 Fan Shroud Replacement: step 5, image 1 of 3 Alienware 17 R4 Fan Shroud Replacement: step 5, image 2 of 3 Alienware 17 R4 Fan Shroud Replacement: step 5, image 3 of 3
      • Gently lift the HDD cable to disconnect it from the laptop.

      Ask FixBot

      Add Comment

    4. Alienware 17 R4 Fan Shroud Replacement: step 6, image 1 of 2 Alienware 17 R4 Fan Shroud Replacement: step 6, image 2 of 2
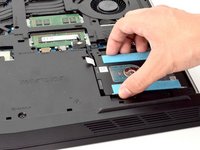
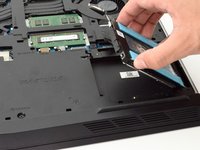
      • Pull the hard drive up to remove.

      Ask FixBot

      Add Comment

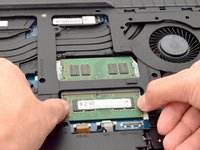
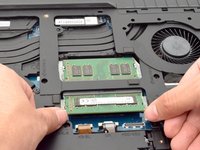
    1. Alienware 17 R4 Fan Shroud Replacement, RAM: step 7, image 1 of 3 Alienware 17 R4 Fan Shroud Replacement, RAM: step 7, image 2 of 3 Alienware 17 R4 Fan Shroud Replacement, RAM: step 7, image 3 of 3
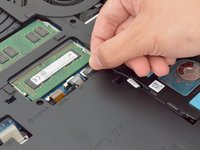
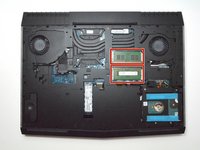
      • Move the metal sidings outward to release the RAM card.

      Ask FixBot

      Add Comment

    2. Alienware 17 R4 Fan Shroud Replacement: step 8, image 1 of 1
      • Slide the RAM card out towards yourself to remove it.

      • Repeat the same step for the RAM card above.

      • Slide the RAM card out carefully to avoid damaging it.

      Ask FixBot

      Add Comment

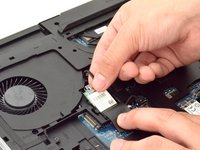
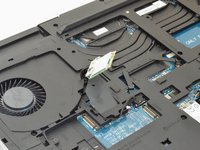
    1. Alienware 17 R4 Fan Shroud Replacement, Wi-Fi card: step 9, image 1 of 1
      • Locate the WI-FI card.

      Ask FixBot

      Add Comment

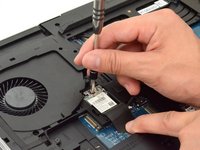
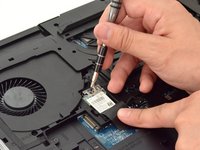
    2. Alienware 17 R4 Fan Shroud Replacement: step 10, image 1 of 2 Alienware 17 R4 Fan Shroud Replacement: step 10, image 2 of 2
      • Peel back plastic cover of wi-fi card.

      • Use a PH1 screwdriver bit and remove the one M2x3 screw (1.9 mm)

      Ask FixBot

      Add Comment

    3. Alienware 17 R4 Fan Shroud Replacement: step 11, image 1 of 3 Alienware 17 R4 Fan Shroud Replacement: step 11, image 2 of 3 Alienware 17 R4 Fan Shroud Replacement: step 11, image 3 of 3
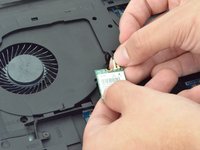
      • Gently undo the clips attached to the wi-fi card.

      • If the clip is not gently removed it is possible that the entire base will be torn off the wi-fi card. You will need to purchase a new wi-fi card if this occurs.

      Ask FixBot

      Add Comment

    4. Alienware 17 R4 Fan Shroud Replacement: step 12, image 1 of 2 Alienware 17 R4 Fan Shroud Replacement: step 12, image 2 of 2
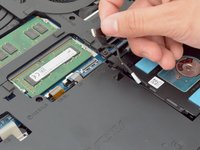
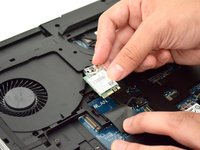
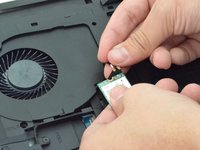
      • Locate the cables that connect the wi-fi card.

      • Gently pull upwards to remove cables and slide the wi-fi card out from its slot.

      Ask FixBot

      Add Comment

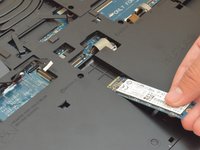
    1. Alienware 17 R4 Fan Shroud Replacement, Solid State Drive: step 13, image 1 of 2 Alienware 17 R4 Fan Shroud Replacement, Solid State Drive: step 13, image 2 of 2
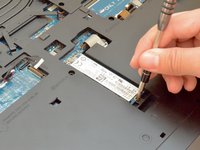
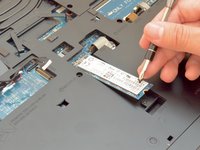
      • Remove the one M2x3 screw (1.9 mm) using a PH1 screwdriver bit

      Ask FixBot

      Add Comment

    2. Alienware 17 R4 Fan Shroud Replacement: step 14, image 1 of 2 Alienware 17 R4 Fan Shroud Replacement: step 14, image 2 of 2
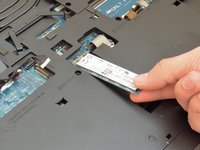
      • Slide the solid state drive towards yourself to prevent damage to the card.

      Ask FixBot

      Add Comment

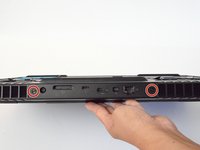
    1. Alienware 17 R4 Fan Shroud Replacement, Fan Shroud: step 15, image 1 of 3 Alienware 17 R4 Fan Shroud Replacement, Fan Shroud: step 15, image 2 of 3 Alienware 17 R4 Fan Shroud Replacement, Fan Shroud: step 15, image 3 of 3
      • Remove the two M2.5x7 screws (2.44 mm) located on the rear panel using a PH1 screwdriver bit.

      Ask FixBot

      Add Comment

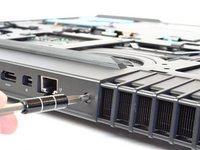
    2. Alienware 17 R4 Fan Shroud Replacement: step 16, image 1 of 2 Alienware 17 R4 Fan Shroud Replacement: step 16, image 2 of 2
      • Insert the plastic opening tool under the fan shroud to slowly lift it up.

      • Repeat process on the middle and opposite side.

      Ask FixBot

      Add Comment

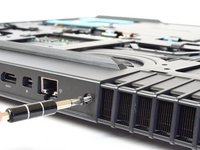
    3. Alienware 17 R4 Fan Shroud Replacement: step 17, image 1 of 2 Alienware 17 R4 Fan Shroud Replacement: step 17, image 2 of 2
      • Firmly lift the plastic opening tool and pull the fan shroud towards you.

      • This will take a large amount of force and will not come out easily the first time.

      • Careful not to tear out the piece causing damage to the fan shroud

      Ask FixBot

      Add Comment

Conclusion

To reassemble your device, follow these instructions in reverse order.

Cancel: I did not complete this guide.

3 other people completed this guide.

Hector Mendez III

Member since: 09/11/17

1,352 Reputation

8 Guides authored

Team

CSU Fullerton, Team S2-G4, Bruce Fall 2017 Member of CSU Fullerton, Team S2-G4, Bruce Fall 2017

CSUF-BRUCE-F17S2G4

4 Members

108 Guides authored

0 Guide Comments

Add Comment

View Statistics:

Past 24 Hours: 1

Past 7 Days: 25

Past 30 Days: 99

All Time: 7,239