Free Shipping on Domestic Orders $75+

Alienware 17 R4 Battery Replacement

What you need

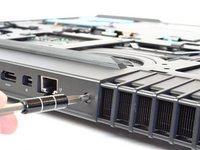
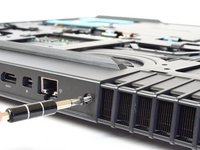
  1. Alienware 17 R4 Battery Replacement, Base Cover: step 1, image 1 of 1
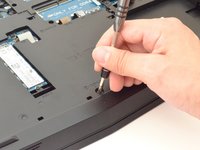
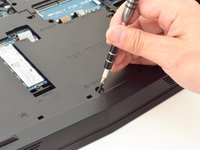
    • Use a PH1 screwdriver bit to remove the six M2.5x13 screws (2.4 mm) on the back of the laptop.

    • Use a PH1 screwdriver bit to loosen the one M2x3 screw (1.9 mm).

    • The M2x3 screw (1.9 mm) does not come out completely.

    Ask FixBot

    Add Comment

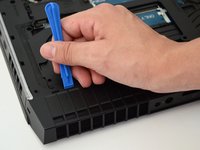
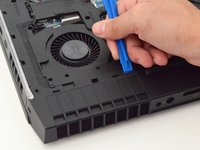
  2. Alienware 17 R4 Battery Replacement: step 2, image 1 of 2 Alienware 17 R4 Battery Replacement: step 2, image 2 of 2
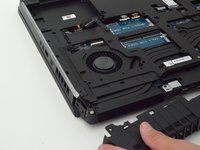
    • Pull the base cover up to remove it.

    • If you are having trouble, insert a plastic opening tool into the divots along the laptop's edges to loosen.

    • Removing the cover may require some force.

    Ask FixBot

    Add Comment

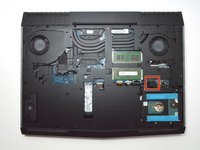
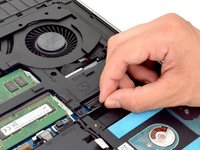
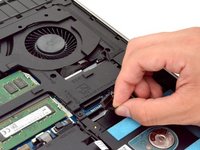
  3. Alienware 17 R4 Battery Replacement, Hard Disk Drive (HDD): step 3, image 1 of 3 Alienware 17 R4 Battery Replacement, Hard Disk Drive (HDD): step 3, image 2 of 3 Alienware 17 R4 Battery Replacement, Hard Disk Drive (HDD): step 3, image 3 of 3
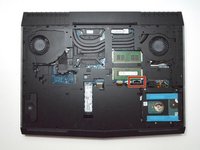
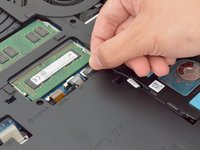
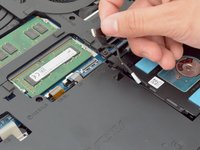
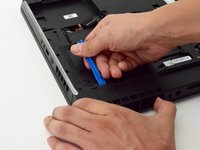
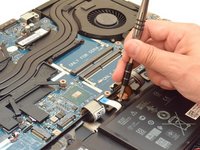
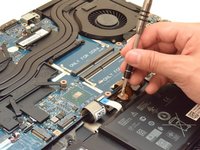
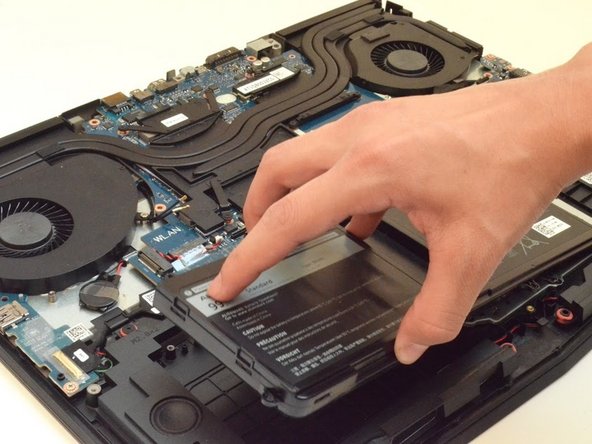
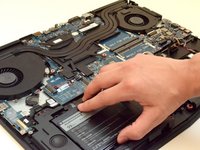
    • Disconnect the battery connector cable, located on the right side of the laptop, above the hard disk drive.

    • Once you have removed the cable, wait 5-10 minutes to allow the laptop to power down.

    • Failure to remove the battery connector cable properly may damage other parts of the laptop.

    Ask FixBot

    Add Comment

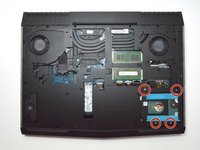
  4. Alienware 17 R4 Battery Replacement: step 4, image 1 of 3 Alienware 17 R4 Battery Replacement: step 4, image 2 of 3 Alienware 17 R4 Battery Replacement: step 4, image 3 of 3
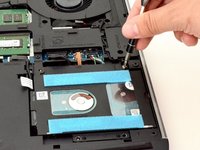
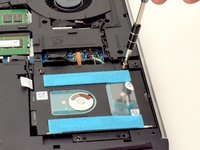
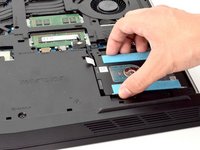
    • Use a PH1 screwdriver bit to remove the four M2.5x5 screws (2.4 mm) on the hard disk drive.

    Ask FixBot

    Add Comment

  5. Alienware 17 R4 Battery Replacement: step 5, image 1 of 3 Alienware 17 R4 Battery Replacement: step 5, image 2 of 3 Alienware 17 R4 Battery Replacement: step 5, image 3 of 3
    • Gently lift the HDD cable to disconnect it from the laptop.

    Ask FixBot

    Add Comment

  6. Alienware 17 R4 Battery Replacement: step 6, image 1 of 2 Alienware 17 R4 Battery Replacement: step 6, image 2 of 2
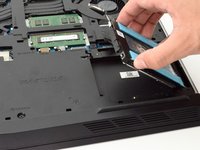
    • Pull the hard drive up to remove.

    Ask FixBot

    Add Comment

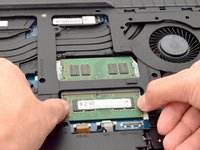
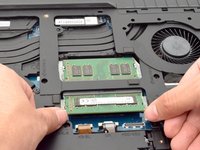
  7. Alienware 17 R4 Battery Replacement, RAM: step 7, image 1 of 3 Alienware 17 R4 Battery Replacement, RAM: step 7, image 2 of 3 Alienware 17 R4 Battery Replacement, RAM: step 7, image 3 of 3
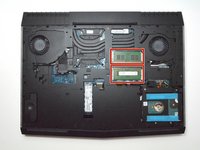
    • Move the metal sidings outward to release the RAM card.

    Ask FixBot

    Add Comment

  8. Alienware 17 R4 Battery Replacement: step 8, image 1 of 1
    • Slide the RAM card out towards yourself to remove it.

    • Repeat the same step for the RAM card above.

    • Slide the RAM card out carefully to avoid damaging it.

    Ask FixBot

    Add Comment

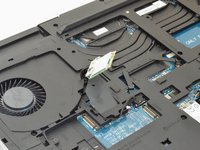
  9. Alienware 17 R4 Battery Replacement, Wi-Fi card: step 9, image 1 of 1
    • Locate the WI-FI card.

    Ask FixBot

    Add Comment

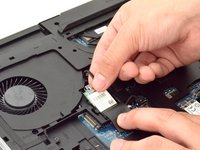
  10. Alienware 17 R4 Battery Replacement: step 10, image 1 of 2 Alienware 17 R4 Battery Replacement: step 10, image 2 of 2
    • Peel back plastic cover of wi-fi card.

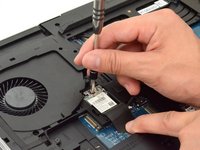
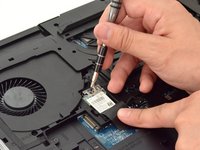
    • Use a PH1 screwdriver bit and remove the one M2x3 screw (1.9 mm)

    Ask FixBot

    Add Comment

  11. Alienware 17 R4 Battery Replacement: step 11, image 1 of 3 Alienware 17 R4 Battery Replacement: step 11, image 2 of 3 Alienware 17 R4 Battery Replacement: step 11, image 3 of 3
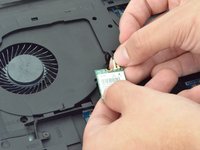
    • Gently undo the clips attached to the wi-fi card.

    • If the clip is not gently removed it is possible that the entire base will be torn off the wi-fi card. You will need to purchase a new wi-fi card if this occurs.

    Ask FixBot

    Add Comment

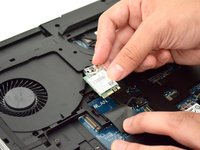
  12. Alienware 17 R4 Battery Replacement: step 12, image 1 of 2 Alienware 17 R4 Battery Replacement: step 12, image 2 of 2
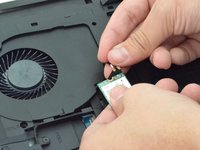
    • Locate the cables that connect the wi-fi card.

    • Gently pull upwards to remove cables and slide the wi-fi card out from its slot.

    Ask FixBot

    Add Comment

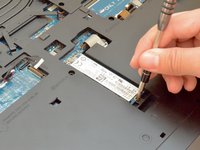
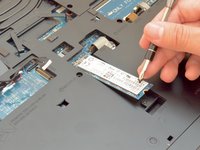
  13. Alienware 17 R4 Battery Replacement, Solid State Drive: step 13, image 1 of 2 Alienware 17 R4 Battery Replacement, Solid State Drive: step 13, image 2 of 2
    • Remove the one M2x3 screw (1.9 mm) using a PH1 screwdriver bit

    Ask FixBot

    Add Comment

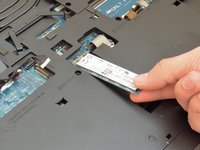
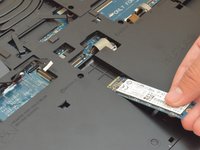
  14. Alienware 17 R4 Battery Replacement: step 14, image 1 of 2 Alienware 17 R4 Battery Replacement: step 14, image 2 of 2
    • Slide the solid state drive towards yourself to prevent damage to the card.

    Ask FixBot

    Add Comment

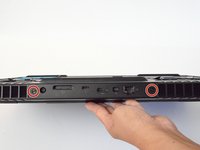
  15. Alienware 17 R4 Battery Replacement, Fan Shroud: step 15, image 1 of 3 Alienware 17 R4 Battery Replacement, Fan Shroud: step 15, image 2 of 3 Alienware 17 R4 Battery Replacement, Fan Shroud: step 15, image 3 of 3
    • Remove the two M2.5x7 screws (2.44 mm) located on the rear panel using a PH1 screwdriver bit.

    Ask FixBot

    Add Comment

  16. Alienware 17 R4 Battery Replacement: step 16, image 1 of 2 Alienware 17 R4 Battery Replacement: step 16, image 2 of 2
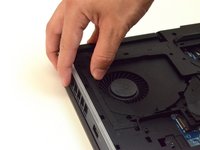
    • Insert the plastic opening tool under the fan shroud to slowly lift it up.

    • Repeat process on the middle and opposite side.

    Ask FixBot

    Add Comment

  17. Alienware 17 R4 Battery Replacement: step 17, image 1 of 2 Alienware 17 R4 Battery Replacement: step 17, image 2 of 2
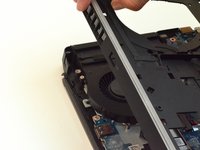
    • Firmly lift the plastic opening tool and pull the fan shroud towards you.

    • This will take a large amount of force and will not come out easily the first time.

    • Careful not to tear out the piece causing damage to the fan shroud

    Ask FixBot

    Add Comment

  18. Alienware 17 R4 Battery Replacement, Plastic Cover: step 18, image 1 of 3 Alienware 17 R4 Battery Replacement, Plastic Cover: step 18, image 2 of 3 Alienware 17 R4 Battery Replacement, Plastic Cover: step 18, image 3 of 3
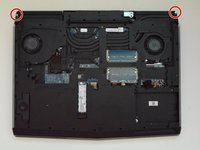
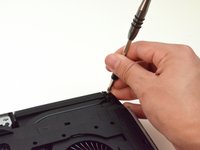
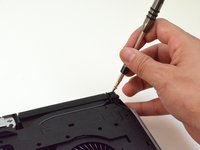
    • Unscrew the two M2x3 screws (1.9 mm) at the top right and top left of the laptop that hold the tron lights in place.

    Ask FixBot

    Add Comment

  19. Alienware 17 R4 Battery Replacement: step 19, image 1 of 2 Alienware 17 R4 Battery Replacement: step 19, image 2 of 2
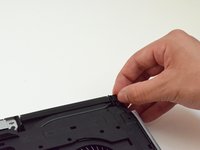
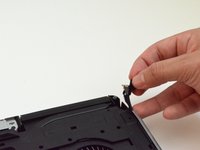
    • Follow the wiring to unplug the tron lights.

    Ask FixBot

    Add Comment

  20. Alienware 17 R4 Battery Replacement: step 20, image 1 of 3 Alienware 17 R4 Battery Replacement: step 20, image 2 of 3 Alienware 17 R4 Battery Replacement: step 20, image 3 of 3
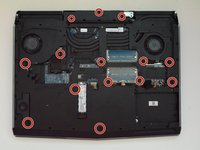
    • Remove the fourteen M2.5XL8' screws (2.4 mm) located in the plastic cover using the PH1 screwdriver.

    Ask FixBot

    Add Comment

  21. Alienware 17 R4 Battery Replacement: step 21, image 1 of 1
    • Use the plastic opening tool to gently lift the sides of the cover.

    Ask FixBot

    Add Comment

  22. Alienware 17 R4 Battery Replacement: step 22, image 1 of 2 Alienware 17 R4 Battery Replacement: step 22, image 2 of 2
    • Slowly lift up the plastic cover.

    Ask FixBot

    Add Comment

  23. Alienware 17 R4 Battery Replacement, Battery: step 23, image 1 of 3 Alienware 17 R4 Battery Replacement, Battery: step 23, image 2 of 3 Alienware 17 R4 Battery Replacement, Battery: step 23, image 3 of 3
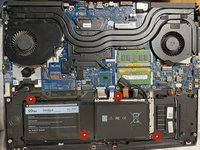
    • Unscrew the four M2.5 screws (2.4 mm) with a PH1 screwdriver bit.

    Ask FixBot

    Add Comment

  24. Alienware 17 R4 Battery Replacement: step 24, image 1 of 2 Alienware 17 R4 Battery Replacement: step 24, image 2 of 2
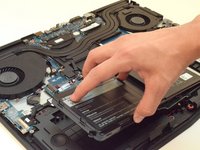
    • Lift the battery up to remove it.

    Ask FixBot

    Add Comment

Conclusion

To reassemble your device, follow these instructions in reverse order.

Cancel: I did not complete this guide.

32 other people completed this guide.

Hector Mendez III

Member since: 09/11/17

1,352 Reputation

8 Guides authored

Team

CSU Fullerton, Team S2-G4, Bruce Fall 2017 Member of CSU Fullerton, Team S2-G4, Bruce Fall 2017

CSUF-BRUCE-F17S2G4

4 Members

11 Guides authored

9 Guide Comments

Very good guide, just one error, step 11 comes first then step 10. You can't lift the card before remove the screw.

alex.afnet - Reply Share
Great guide, no issues at all!

Glenn Bell - Reply Share
First time I've cracked opened up a computer in decades. This step by step guide gave me the confidence I needed! Thank you so much. It took me longer, about two hours with stopping to label screws and things but everything is up and running again. I'm so happy!

Michelle - Reply Share
I would not recommend disconnecting the wifi card. the connectors are tiny. if you screw up, best case you need a new wifi card, worst case you are going to need to replace the antenna, and that isn’t fun.

John Wohlwend - Reply Share

After the battery replacement? do we need to do anything else for calibration so that the Alienware knows that it is a fresh battery and battery cycle ... as i have heard that you need to repeat 3X the process of discharging and charging for calibration. or can we just plug and play? I am getting a new battery for mine soon. Thanks =)

Yannick Docq - Reply Share

Add Comment

View Statistics:

Past 24 Hours: 10

Past 7 Days: 57

Past 30 Days: 275

All Time: 39,464