Introduction
This guide will show you how to replace the CMOS battery in an Alienware 15 R2, a critical component in the laptop that powers the BIOS chip and updates certain system settings like date and time while the device is shut off. When the CMOS battery stops working, it can cause symptoms such as incorrect time and date, BIOS errors, or even issues booting the device. Before you go through this guide, make sure to unplug your computer before working with the inner components to avoid releasing an electrical charge into sensitive technology. Failing to do so could permanently damage your computer.
What you need
-
-
Place the laptop upside down and remove the two 9 mm screws with a Phillips #0 screwdriver on the top right and top left of the back panel.
-
Remove the four 18 mm screws with a Phillips #0 screwdriver.
-
Remove the four 10 mm screws with a Phillips #0 screwdriver.
-
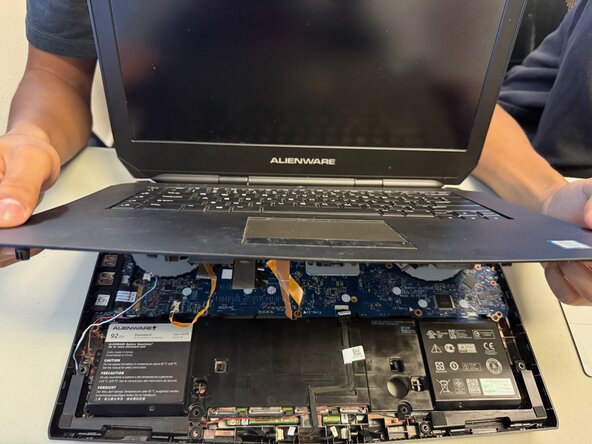
Remove the back cover by using the iFixit opening tool to separate it from the back of the laptop and pulling it off.
-
-


To reassemble your device, follow the above steps in reverse order.
Take your e-waste to an R2 or e-Stewards certified recycler.
Repair didn’t go as planned? Try some basic troubleshooting or ask our Answers community for help.
Cancel: I did not complete this guide.
One other person completed this guide.

Team

University of North Texas, Team 3-2, Coppersmith Fall 2025 Member of University of North Texas, Team 3-2, Coppersmith Fall 2025
UNT-COPPERSMITH-F25S3G2
5 Members
5 Guides authored