Introduction
When whirring noises persist after troubleshooting the Airox Legendair, it may be mandatory to replace the turbine box. This guide will help walk the operator step-by-step through the process of replacing the turbine box.
The repair guide information is mentioned in following sections of the user repair manual:
· Chapter 2 – 2.1.1 Cleaning the Device
· Chapter 2 – 2.4.1 Opening and Closing
· Chapter 6 – 6.1 Removal/Installation of the Turbine Box with Wiring
What you need
-
-
Using a cloth or a sponge slightly dampened with a bactericide or germicide solution, gently clean the outside of the device.
-
-
-
If necessary, spray the device lightly with the germicide solution, taking account of the requirements discussed in the preliminary operations.
-
-
-
Put the device in a clean and open environment.
-
Thoroughly clean the device before beginning any work.
-
-
-
Open the device by removing the five attachment screws (Pl1.20) on the bottom casing side (Pl1-280). Lift off the top outer panel.
-
-
-
Extract the turbine casing (Pl1.50) from its housing and uncouple the flow rate measurement block (Pl1-260), the O2 supply pipes and the piezo solenoid valve.
-
-
-
Remove the four screws, washers and spacers (Pl1.70, Pl1.80, Pl1.90) in order to successfully extract the turbine control board (Pl1.60).
-
-
-
Replace the turbine box (Pl1-50).
-
Replace the turbine control board (Pl1.60) on the box with four screws, washers and spacers (Pl1.70, Pl1.80, Pl1.90) (Torque 5 Nm max.).
-
-
-
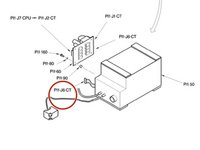
Connect the box to the turbine control board (Pl1.J6.CT).
-
Couple the flow rate measurement block (Pl1-260) to the casing and connect the two O2 supply pipes and the piezo solenoid valve.
-
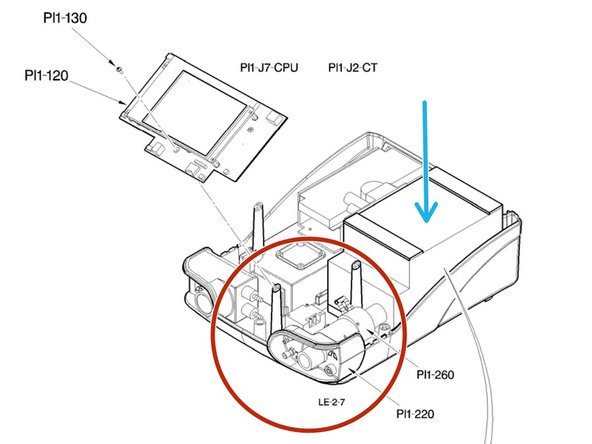
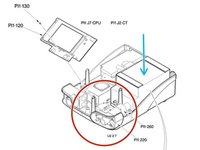
Then, reinsert the assembly into its housing. Put the cone support (Pl1-50) into place. Put the additional cone support (Pl1-220) also into place.
-
-
-
Reconnect all connectors (Pl1.J1.CT, Pl1.J2.CT) to the turbine control board.
-
-
-
Reinstall the CPU board (Pl1-120) with the three attachment screws (Pl1-130) (Torque 5 Nm max.)
-
Close the device again, taking all necessary precautions (see Step 2-3)
-

 Ask FixBot




Perform a final inspection of the device before putting back into service.
Cancel: I did not complete this guide.
One other person completed this guide.

Team

Cal Poly, Team S7-G15, Paton Spring 2020 Member of Cal Poly, Team S7-G15, Paton Spring 2020
CPSU-PATON-S20S7G15
3 Members
4 Guides authored
