Introduction
Follow this guide to replace the speaker housing (aka speaker grille) on the left ear cup of your AirPods Max headset.
What you need
-
-
Unplug and remove all cables and accessories.
-
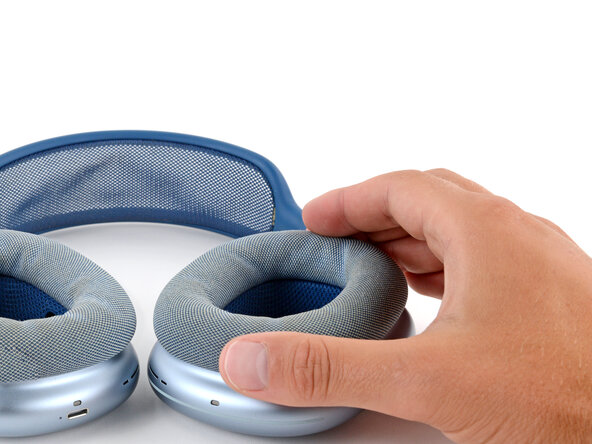
To help stabilize the ear cups and prevent scratching them, consider placing your AirPods Max on a soft, clean cloth.
-
-
-
Insert a SIM eject tool, bit, or a small, straightened paperclip into the hole on the top edge of the right ear cup (labeled L).
-
Push down with your tool and pull the headband connector straight out of its socket.
-
-
-
Set the left ear cup down on a soft, clean cloth to prevent scratches and help stabilize the cup during your repair.
-
-
-
Use a P5 pentalobe screwdriver to turn (not remove) the four speaker housing screws to the unlocked position:
-
Turn the top left and bottom right screws counterclockwise.
-
Turn the top right and bottom left screws clockwise.
-
-
Tool used on this step:iOpener$14.95
-
Option 1: Apply a few drops of high-concentration isopropyl alcohol (>90%) in the gap around the perimeter of the speaker housing. Wait one minute to allow the alcohol to soften the adhesive.
-
Option 2: Heat the speaker housing with an iOpener or hair dryer. Focus the heat around the perimeter, applying small amounts for short periods of time.
-
-
Tool used on this step:iSesamo Opening Tool$9.99
-
Insert the flat side of your opening tool into the gap between the right side of the speaker housing and the lip of the ear cup (opposite the L marking).
-
Pry up the speaker housing until you can grip it with your fingers, applying constant pressure to allow the adhesive to separate.
-
-
-
Tool used on this step:FixMat$36.95
-
Remove the four screws securing the cable cover:
-
One 7.5 mm‑long Torx Plus 3IP screw
-
Three 1.7 mm‑long Torx Plus 1IP screws
-
-
-
Use a spudger to pry up and disconnect the speaker housing press connector.
-
-
-
Use tweezers and scissors to remove any sections of bunched-up or overlapping adhesive that would prevent the housing from sitting perfectly flat.
-
Apply thin, double-sided adhesive where you removed the original, using short sections to help match the curve of the lip.
-
-
-
Hold the speaker housing up and use your finger to press down and reconnect its press connector.
-
-
-
Slide the tab on the connector cover into its slot and lay the cover down.
-
-
-
If you installed replacement adhesive, remove any liners to expose the adhesive.
-
Flip the speaker housing into the cup and press it into place around the perimeter.
-
-
-
Use a P5 pentalobe screwdriver to turn the four speaker housing screws to the locked position:
-
Turn the top left and bottom right screws clockwise.
-
Turn the top right and bottom left screws counterclockwise.
-
-
-
Hold the ear cup steady with one hand, and use your free hand to firmly push the headband connector into its slot, twisting it slightly—it should click into place.
-


Congratulations on completing your repair!
Take your e-waste to an R2 or e-Stewards certified recycler.
Repair didn’t go as planned? Try some basic troubleshooting, or ask our Answers community for help.
