Introduction
This is an easy step-by-step walkthrough guide for replacing an Emerson thermostat. This replacement will assist anyone moving into a new home or apartment that has a vintage air conditioning thermostat and could use an effective replacement.
When working on an air conditioning unit, it is necessary to locate the circuit breaker that supplies the power. You will be dealing with electrical wiring terminals, so to be as safe as possible, turn off the electrical circuit breaker in order to perform a safe replacement.
What you need
-
-
-
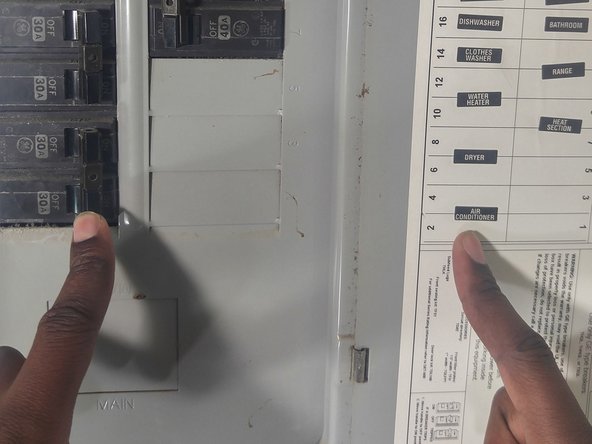
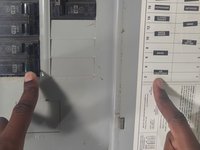
Find the air conditioning breaker that’s typically labeled inside the breaker's panel cover.
-
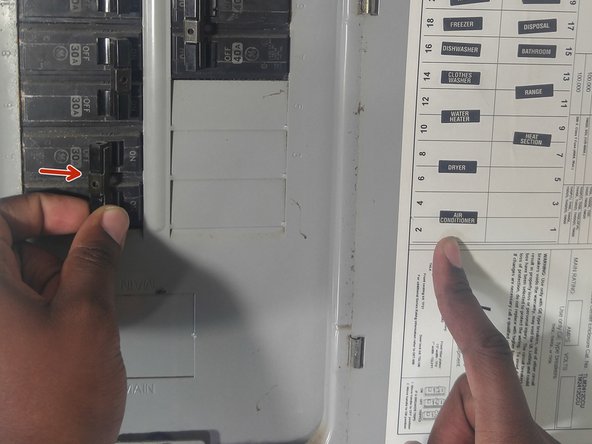
Turn off the electrical breaker switch that supplies the air conditioning thermostat.
 Ask FixBot
-
-
-
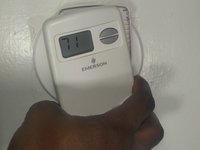
Separate the thermostat casing off of the wall plate. It should come off easily using your hands, but a pair of pliers can be used if it's being stubborn.
-
Take a picture using your phone's camera of the color-coded wiring, so it will be easier to re-attach the wiring to the new thermostat.
-
-
-
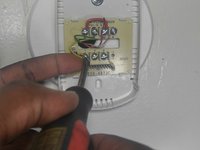
Use the Flathead 3/32" 2.5 mm Screwdriver to separate the color coded wiring.
-
Use the Phillips or flathead screwdriver to separate and un-wrap each of the color coded wires. (For example: notice the yellow wire)
-
Use the Phillips or flathead screwdriver depending on the type of model, to remove the Phillips #0 Plus screw, in order to remove the base plate.
-
-
-
-
Remove the old base plate of the thermostat.
-
Screw in the new base plate of the Thermostat using the Phillips or flathead screwdriver to screw in the Phillips #0 Plus screw drive.
-
Using the screwdriver; reconnect the color-coded wring based on the photo taken with your camera. (For example: Notice the yellow wiring)
-
-
-
Use your fingers to wrap the copper around the terminal slots, Use your Flathead 3/32" 2.5 mm Screwdriver to tighten the terminal slots. (For example: Notice the yellow wiring)
-
Fasten the terminal slots using your Phillips Flathead 3/32" 2.5 mm Screwdriver.
-
-
-
Place the new thermostat casing over the base plate.
-
Snap on the thermostat casing.
-
-
-
Locate the circuit breaker switchboard for the housing unit.
-
Locate the air conditioning electrical breaker switch.
-
Turn on the electrical breaker switch that the air conditioning thermostat supplies.
-
-








To reassemble your device, follow these instructions in reverse order.
Cancel: I did not complete this guide.
One other person completed this guide.

1 Guide Comment
ما هو السبب خروج علامت E3 في اسبلت westtin
السبلت ٣ طن عمودي
