Free Shipping on Domestic Orders $75+

Aiptek DZO-V58N Image Sensor Replacement

What you need

    1. Aiptek DZO-V58N Image Sensor Replacement, Battery: step 1, image 1 of 1
      • Locate the battery compartment on the back of the camera. It is the panel with the plastic ridges for simple removal.

      • Slide the battery compartment cover down off of the camera body.

      Ask FixBot

      Add Comment

    2. Aiptek DZO-V58N Image Sensor Replacement: step 2, image 1 of 1
      • Pry up the battery from the bottom using a finger and remove the batter from the case.

      Ask FixBot

      Add Comment

    1. Aiptek DZO-V58N Image Sensor Replacement, Lens Protector: step 3, image 1 of 1
      • Remove the lanyard by pulling the grey lace through the black string loop.

      • Pull black string loop through the silver bracket.

      Ask FixBot

      Add Comment

    2. Aiptek DZO-V58N Image Sensor Replacement: step 4, image 1 of 1
      • Use a plastic opening tool to pry off the black control cover.

      • The face plates are glued, so use force to pry the face plates from the camera body.

      Ask FixBot

      Add Comment

    3. Aiptek DZO-V58N Image Sensor Replacement: step 5, image 1 of 1
      • Use a plastic opening tool to pry off the ridged back face plate and the black button.

      • The face plates are glued, so use force to pry the face plates from the camera body.

      • The button is loose and should come off with little or no effort.

      Ask FixBot

      Add Comment

    4. Aiptek DZO-V58N Image Sensor Replacement: step 6, image 1 of 1
      • Use a plastic opening tool to pry off the silver face plate.

      • The face plates are glued, so use force to pry the face plates from the camera body.

      Ask FixBot

      Add Comment

    5. Aiptek DZO-V58N Image Sensor Replacement: step 7, image 1 of 3 Aiptek DZO-V58N Image Sensor Replacement: step 7, image 2 of 3 Aiptek DZO-V58N Image Sensor Replacement: step 7, image 3 of 3
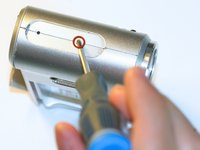
      • Open the USB cover to expose the small machine screw.

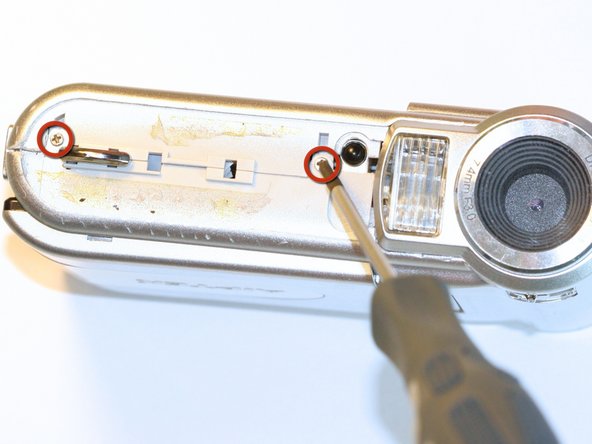
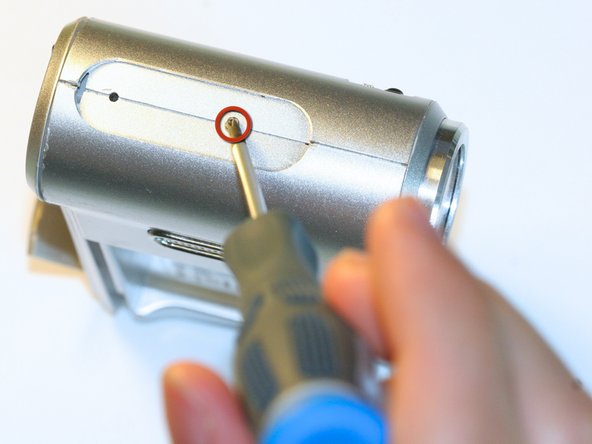
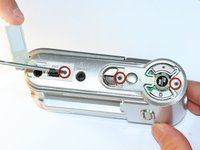
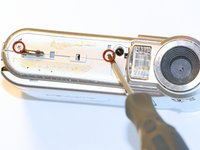
      • Use the Phillips #00 screwdriver to unscrew the six 0.5cm machine case screws (distributed around the camera body).

      • These small screws are easy to lose. Place the removed screws in an organized container to avoid losing them.

      Ask FixBot

      Add Comment

    6. Aiptek DZO-V58N Image Sensor Replacement: step 8, image 1 of 1
      • Pull off the side control panel.

      Ask FixBot

      Add Comment

    7. Aiptek DZO-V58N Image Sensor Replacement: step 9, image 1 of 2 Aiptek DZO-V58N Image Sensor Replacement: step 9, image 2 of 2
      Tool used on this step:
      Tweezers
      $4.99
      Buy
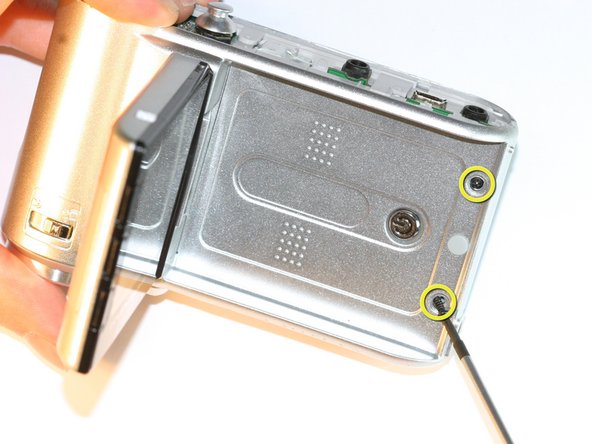
      • Flip open the screen by pulling the loose end of the screen away from the case.

      • Use tweezers to remove the two outside rubber dots to reveal the two 0.5cm machine screws.

      • Use the #00 Phillips Screwdriver to remove both screws.

      Ask FixBot

      Add Comment

    8. Aiptek DZO-V58N Image Sensor Replacement: step 10, image 1 of 2 Aiptek DZO-V58N Image Sensor Replacement: step 10, image 2 of 2
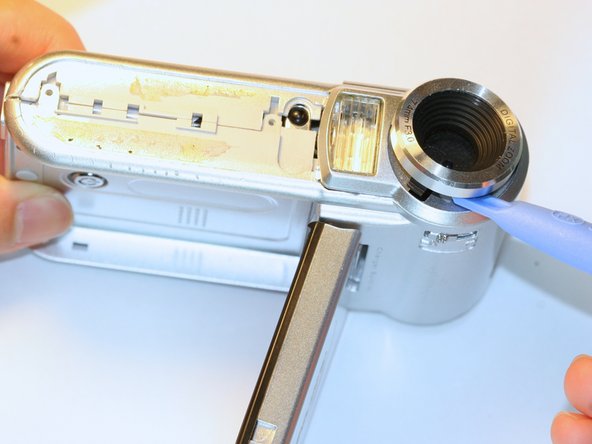
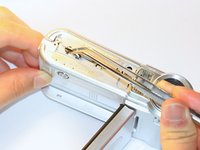
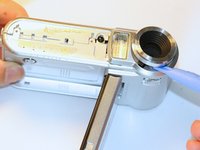
      • Pull the body apart from the bottom of device just enough to make space to remove the silver plastic strap holder.

      • Use tweezers to remove the silver plastic strap holder.

      • Use a plastic opening tool to pry off the lens protector.

      Ask FixBot

      Add Comment

    1. Aiptek DZO-V58N Image Sensor Replacement, Lens: step 11, image 1 of 3 Aiptek DZO-V58N Image Sensor Replacement, Lens: step 11, image 2 of 3 Aiptek DZO-V58N Image Sensor Replacement, Lens: step 11, image 3 of 3
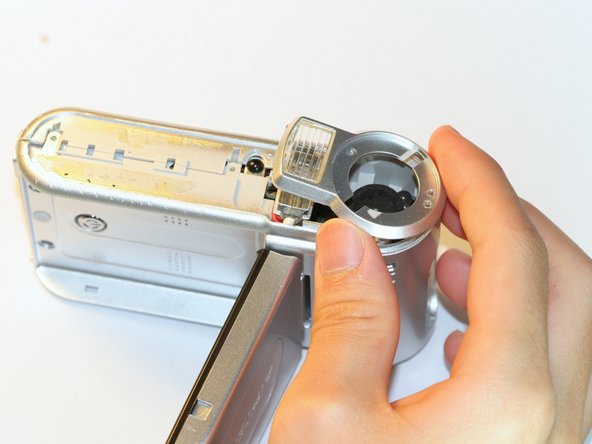
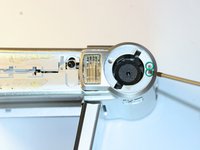
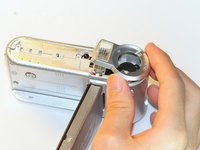
      • Unscrew the two silver 0.5cm machine screws with the #00 Phillips screwdriver.

      • Lift off the lens protector housing.

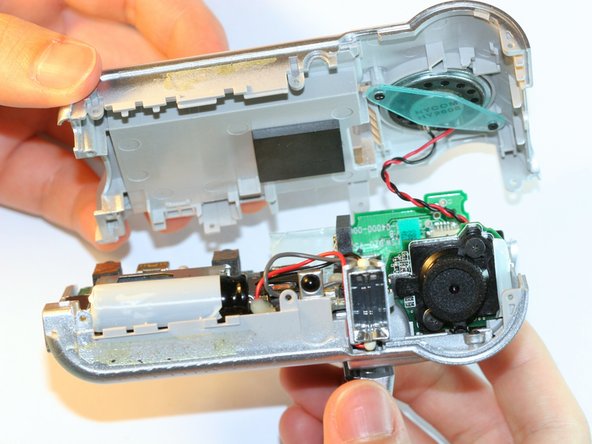
      • Pull apart the two halves of the camera body.

      • Do not pull the two halves apart too far because the wires may detach.

      Ask FixBot

      Add Comment

    2. Aiptek DZO-V58N Image Sensor Replacement: step 12, image 1 of 1
      • Unscrew both black machine screws holding the lens in place with the #00 Phillips screwdriver.

      Ask FixBot

      Add Comment

    3. Aiptek DZO-V58N Image Sensor Replacement: step 13, image 1 of 1
      • Carefully remove the compressed springs underneath each of the two screws that were removed in the previous step.

      • Be careful not to lose the springs. The springs are in compression and will launch from the camera if not held onto.

      Ask FixBot

      Add Comment

    4. Aiptek DZO-V58N Image Sensor Replacement: step 14, image 1 of 1
      • Lift off the lens.

      Ask FixBot

      Add Comment

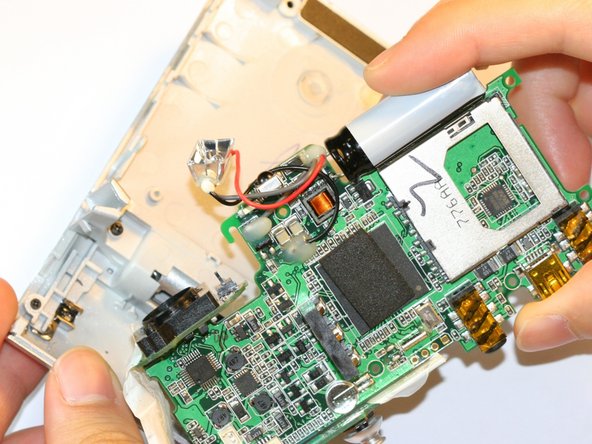
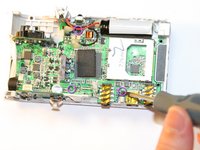
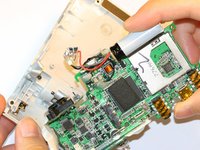
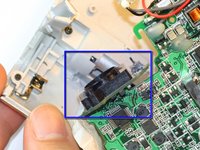
    1. Aiptek DZO-V58N Image Sensor Replacement, Image Sensor: step 15, image 1 of 2 Aiptek DZO-V58N Image Sensor Replacement, Image Sensor: step 15, image 2 of 2
      • Use the #00 Phillips Screwdriver to unscrew the 3 circuit board screws.

      • Slightly separate circuit board from plastic case by lifting the circuit board straight out.

      Ask FixBot

      Add Comment

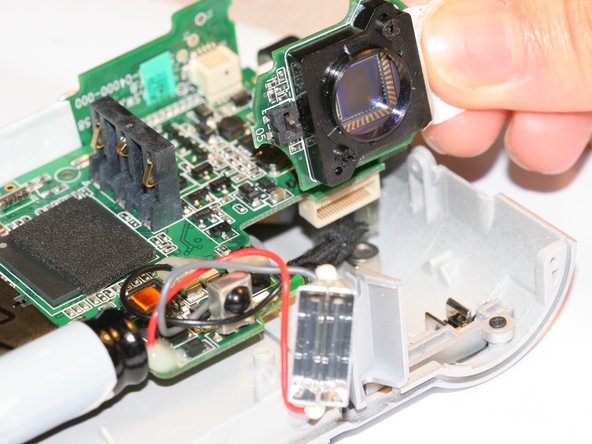
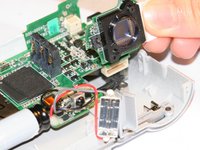
    2. Aiptek DZO-V58N Image Sensor Replacement: step 16, image 1 of 2 Aiptek DZO-V58N Image Sensor Replacement: step 16, image 2 of 2
      • Unplug the image sensor from the circuit board.

      • Pull the image sensor straight out to avoid damage to the pin connectors.

      Ask FixBot

      Add Comment

Conclusion

To reassemble your device, follow these instructions in reverse order.

Cancel: I did not complete this guide.

Zachary Yun

Member since: 04/03/12

28 Reputation

5 Guides authored

Team

Cal Poly, Team 5-5, Forte Spring 2012 Member of Cal Poly, Team 5-5, Forte Spring 2012

CPSU-FORTE-S12S5G5

5 Members

60 Guides authored

0 Guide Comments

Add Comment

View Statistics:

Past 24 Hours: 0

Past 7 Days: 5

Past 30 Days: 24

All Time: 1,166