Free Shipping on Domestic Orders $75+

Afterglow Wireless PS3 Controller Vibration Motor Replacement

What you need

  1. Afterglow Wireless PS3 Controller Vibration Motor Replacement, Back Cover: step 1, image 1 of 2 Afterglow Wireless PS3 Controller Vibration Motor Replacement, Back Cover: step 1, image 2 of 2
    • Lay the controller face down on a flat surface and remove the seven 9mm Phillips #0 screws on the back of the controller.

    • Lift up and remove the controller back plate.

    Ask FixBot

    Add Comment

  2. Afterglow Wireless PS3 Controller Vibration Motor Replacement, Vibration Motor: step 2, image 1 of 2 Afterglow Wireless PS3 Controller Vibration Motor Replacement, Vibration Motor: step 2, image 2 of 2
    • Carefully remove the battery by lifting it straight up from its place.

    • Keep in mind that the red and black battery wires are attached to the motherboard. Handle these with care.

    Ask FixBot

    Add Comment

  3. Afterglow Wireless PS3 Controller Vibration Motor Replacement: step 3, image 1 of 1
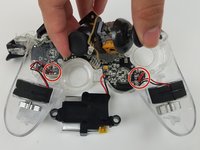
    • Unscrew the four 9mm Phillips #0 screws that are attached to both joy stick control mini-motherboards. There are two screws for each mini-motherboard.

    Ask FixBot

    Add Comment

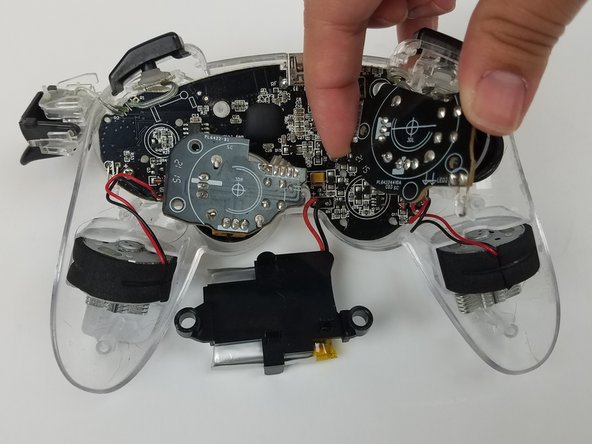
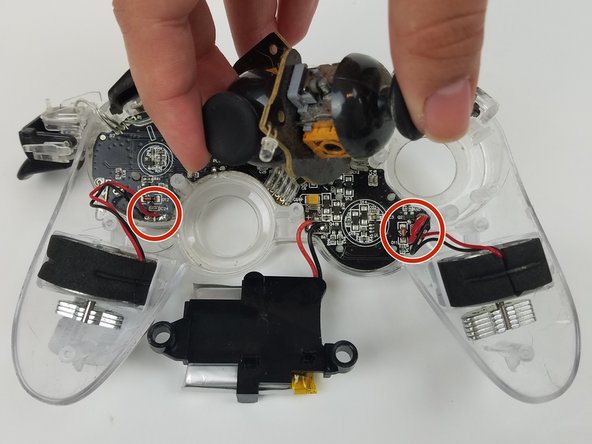
  4. Afterglow Wireless PS3 Controller Vibration Motor Replacement: step 4, image 1 of 3 Afterglow Wireless PS3 Controller Vibration Motor Replacement: step 4, image 2 of 3 Afterglow Wireless PS3 Controller Vibration Motor Replacement: step 4, image 3 of 3
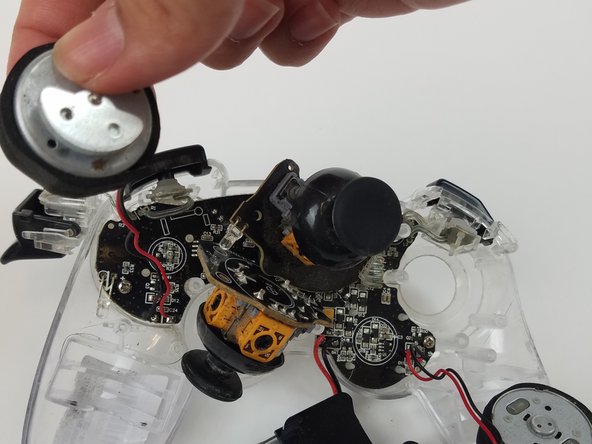
    • Jiggle both joy stick control mini-motherboards out of their holding place.

    • Set aside the mini-motherboards so that the vibration motor wire connections are accessible.

    Ask FixBot

    Add Comment

  5. Afterglow Wireless PS3 Controller Vibration Motor Replacement: step 5, image 1 of 2 Afterglow Wireless PS3 Controller Vibration Motor Replacement: step 5, image 2 of 2
    • Pull both vibration motors straight up from their holding place.

    Ask FixBot

    Add Comment

  6. Afterglow Wireless PS3 Controller Vibration Motor Replacement: step 6, image 1 of 1
    • Use the soldering tool to heat the solder connecting the red and black vibration motor wires to the motherboard to detach the vibration motors.

    • Use this guide for further details on how to solder.

    Ask FixBot

    Add Comment

Conclusion

To reassemble your device, follow these instructions in reverse order.

Cancel: I did not complete this guide.

Natalie Cox

Member since: 02/17/17

207 Reputation

2 Guides authored

Team

USF Tampa, Team S19-G5, Hoffman Spring 2017 Member of USF Tampa, Team S19-G5, Hoffman Spring 2017

USFT-HOFFMAN-S17S19G5

4 Members

20 Guides authored

0 Guide Comments

Add Comment

View Statistics:

Past 24 Hours: 1

Past 7 Days: 9

Past 30 Days: 35

All Time: 1,502