Free Shipping on Domestic Orders $75+

Afridev Tank Replacement

What you need

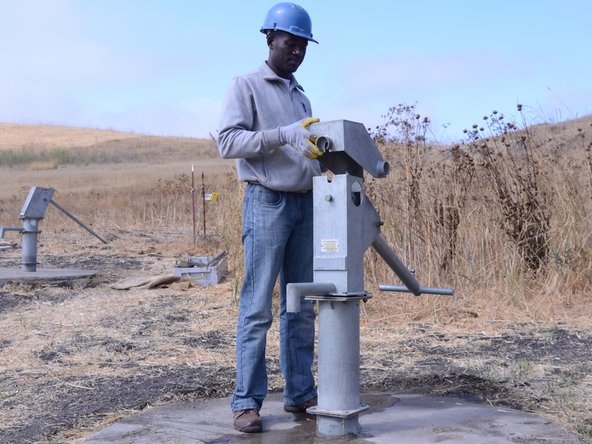
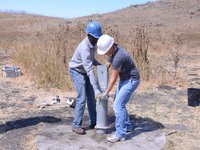
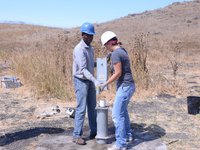
    1. Afridev Tank Replacement, Head: step 1, image 1 of 2 Afridev Tank Replacement, Head: step 1, image 2 of 2
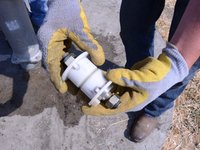
      • Assemble the required tools, including the Afridev tool and crescent wrenches.

      Ask FixBot

      Add Comment

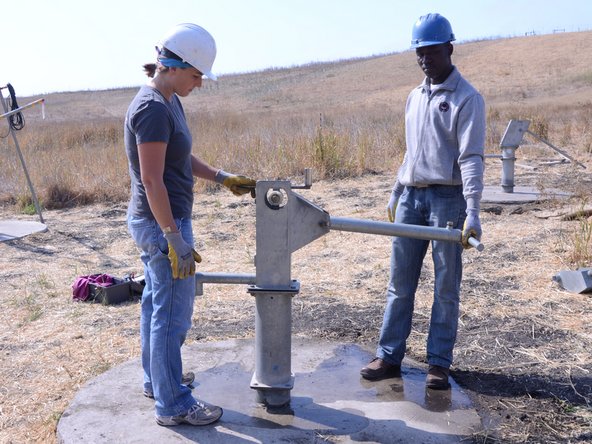
    2. Afridev Tank Replacement: step 2, image 1 of 3 Afridev Tank Replacement: step 2, image 2 of 3 Afridev Tank Replacement: step 2, image 3 of 3
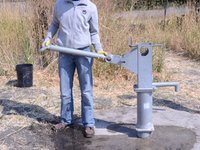
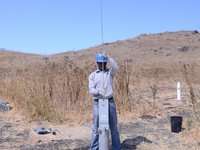
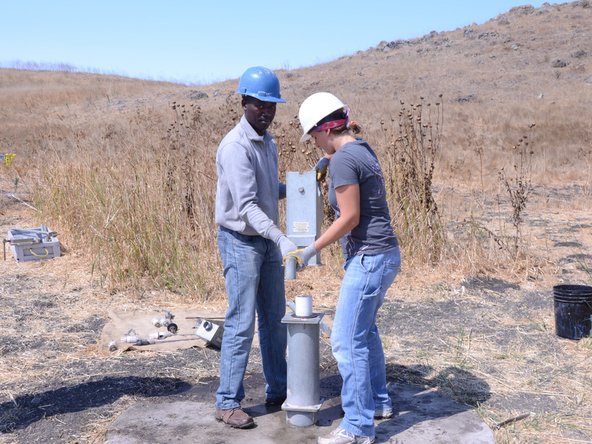
      • Perform a water test on the pump, by raising and lowering the handle a full 40 strokes. A properly performing pump will yield greater than 10 liters.

      Ask FixBot

      Add Comment

    3. Afridev Tank Replacement: step 3, image 1 of 2 Afridev Tank Replacement: step 3, image 2 of 2
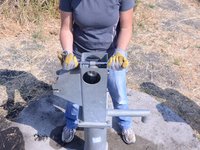
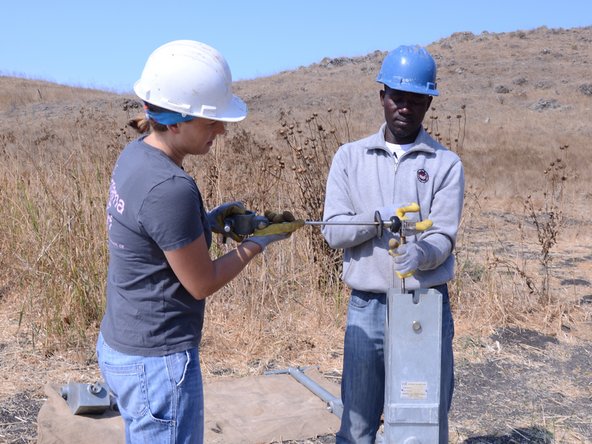
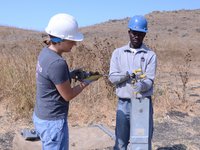
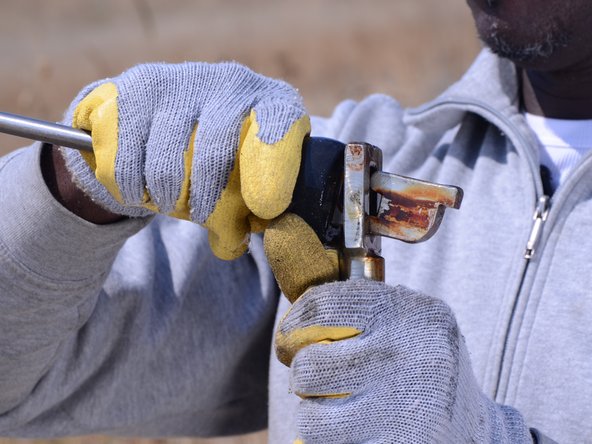
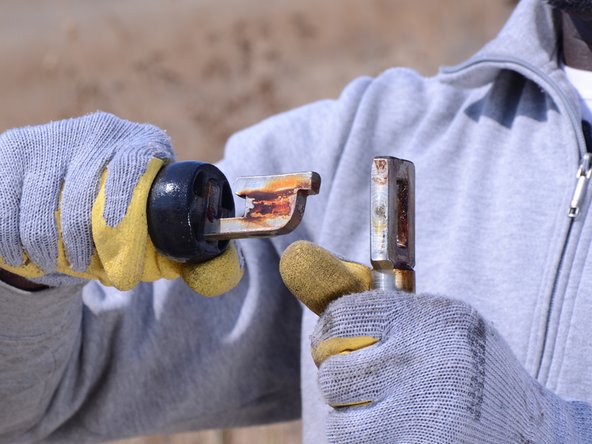
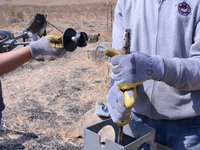
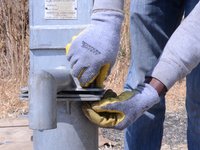
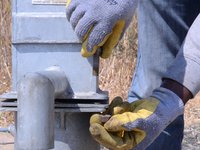
      • Loosen the bolt on front of the face plate with the Afridev tool.

      • Remove the plate from the pump by lifting it straight up.

      Ask FixBot

      Add Comment

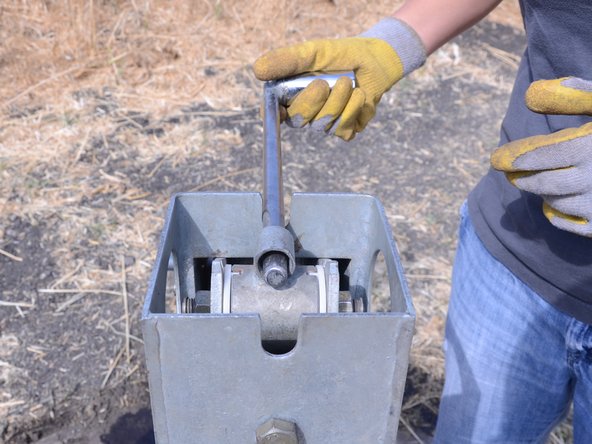
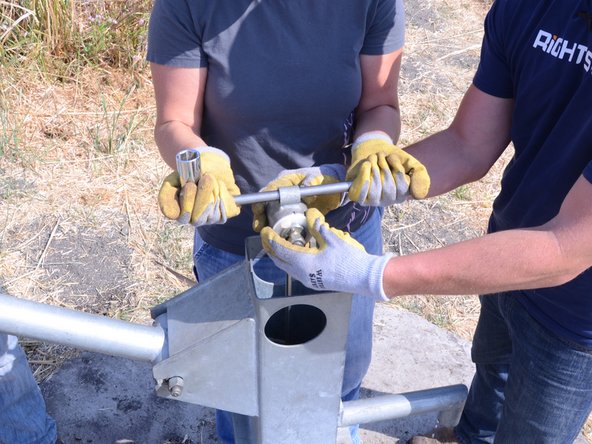
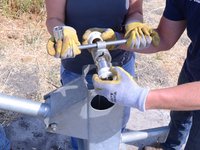
    1. Afridev Tank Replacement, Axle and Handle: step 4, image 1 of 3 Afridev Tank Replacement, Axle and Handle: step 4, image 2 of 3 Afridev Tank Replacement, Axle and Handle: step 4, image 3 of 3
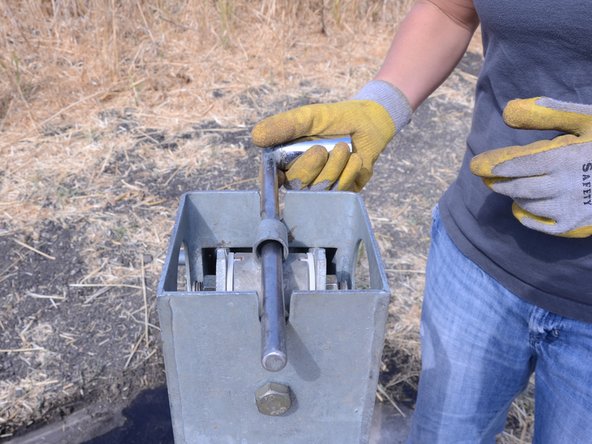
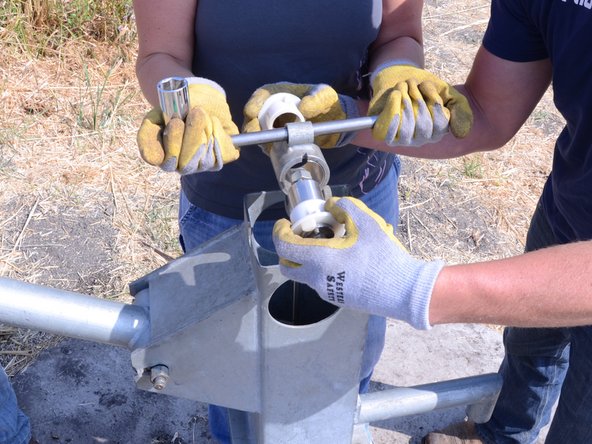
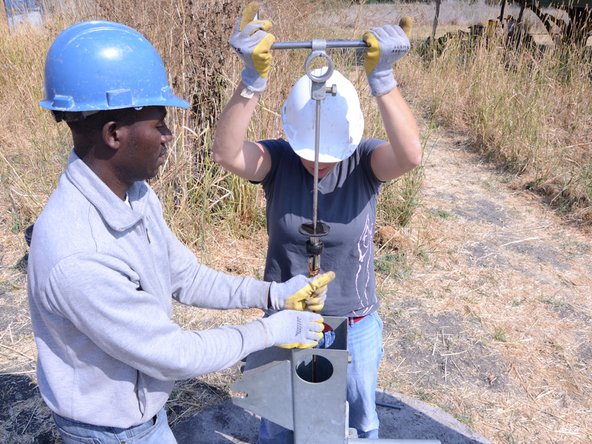
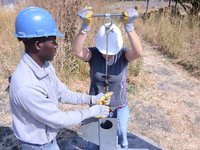
      • Insert the T-handle into the top cylinder of the exposed pump rod.

      Ask FixBot

      Add Comment

    2. Afridev Tank Replacement: step 5, image 1 of 2 Afridev Tank Replacement: step 5, image 2 of 2
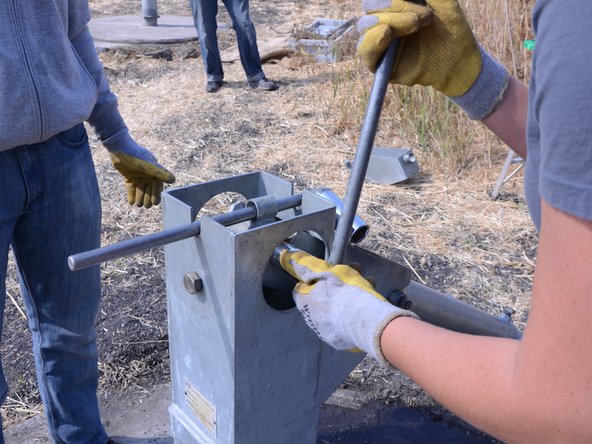
      • Loosen the 2 bolts on either side of handle.

      • It is not necessary to remove the bolt at this time; however, take caution to not let the bolt fall out of the handle.

      Ask FixBot

      Add Comment

    3. Afridev Tank Replacement: step 6, image 1 of 3 Afridev Tank Replacement: step 6, image 2 of 3 Afridev Tank Replacement: step 6, image 3 of 3
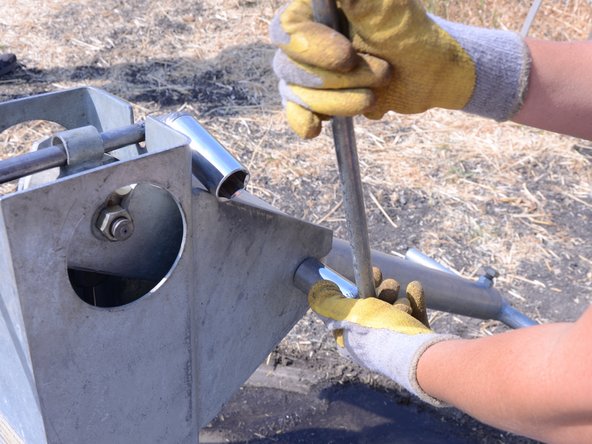
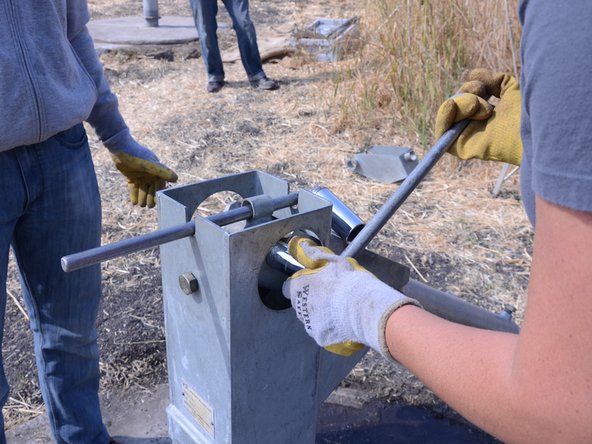
      • Loosen the 2 bolts on either side of the head to remove the handle from the pump rod.

      • It is not necessary to remove the bolt at this time; however, take caution to not let the bolt fall out of the handle.

      Ask FixBot

      Add Comment

    4. Afridev Tank Replacement: step 7, image 1 of 2 Afridev Tank Replacement: step 7, image 2 of 2
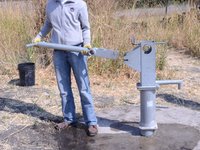
      • Lift the handle to a horizontal position.

      Ask FixBot

      Add Comment

    5. Afridev Tank Replacement: step 8, image 1 of 3 Afridev Tank Replacement: step 8, image 2 of 3 Afridev Tank Replacement: step 8, image 3 of 3
      • While one person lifts up on the T-handle, remove the bolt and connection pieces.

      Ask FixBot

      Add Comment

    6. Afridev Tank Replacement: step 9, image 1 of 3 Afridev Tank Replacement: step 9, image 2 of 3 Afridev Tank Replacement: step 9, image 3 of 3
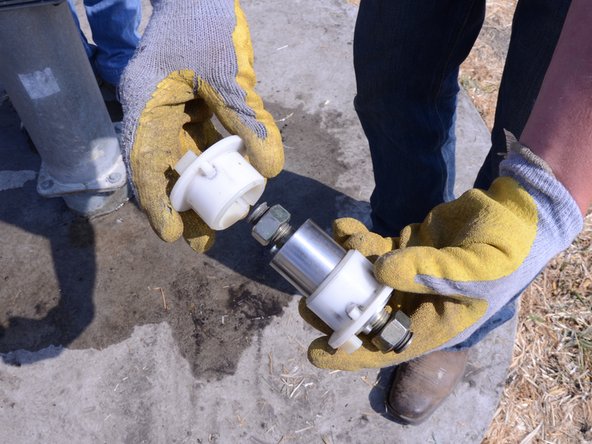
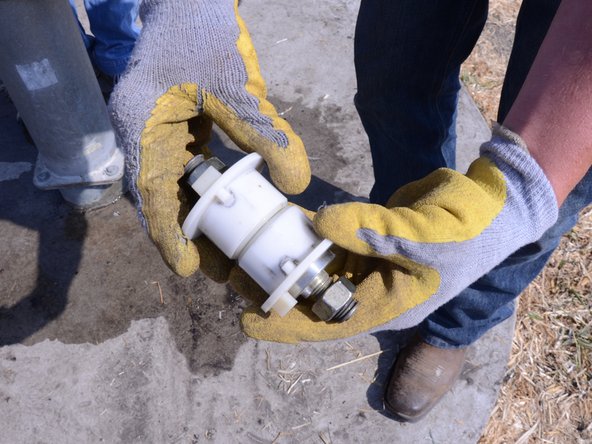
      • Remove the bolt and connection pieces from the handle.

      • Set the bolt pieces in a sanitary place, such as a bucket, to prevent contamination.

      Ask FixBot

      Add Comment

    7. Afridev Tank Replacement: step 10, image 1 of 2 Afridev Tank Replacement: step 10, image 2 of 2
      • Remove the handle from the pump.

      • Be sure to set the handle in a sanitary place to prevent contamination.

      Ask FixBot

      Add Comment

    1. Afridev Tank Replacement, Pump Rod: step 11, image 1 of 2 Afridev Tank Replacement, Pump Rod: step 11, image 2 of 2
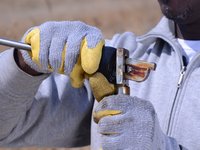
      • Grab firmly on the T-handle and lift the pump rod straight up.

      • Expose the first connection of the pump rod, and support the portion below the connection.

      Ask FixBot

      Add Comment

    2. Afridev Tank Replacement: step 12, image 1 of 2 Afridev Tank Replacement: step 12, image 2 of 2
      • While holding the pump rod below the first connection tightly, lower the first portion of the rod to a horizontal position.

      Ask FixBot

      Add Comment

    3. Afridev Tank Replacement: step 13, image 1 of 3 Afridev Tank Replacement: step 13, image 2 of 3 Afridev Tank Replacement: step 13, image 3 of 3
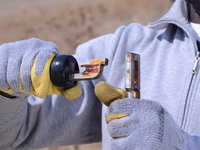
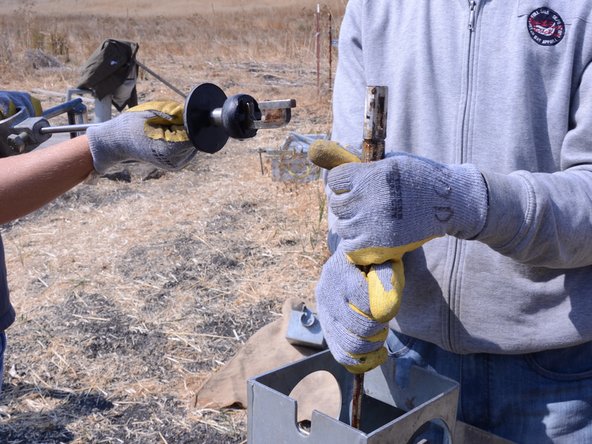
      • Unhook the first connection by pushing it out and down, then pulling it away from the rest of the rod.

      Ask FixBot

      Add Comment

    4. Afridev Tank Replacement: step 14, image 1 of 3 Afridev Tank Replacement: step 14, image 2 of 3 Afridev Tank Replacement: step 14, image 3 of 3
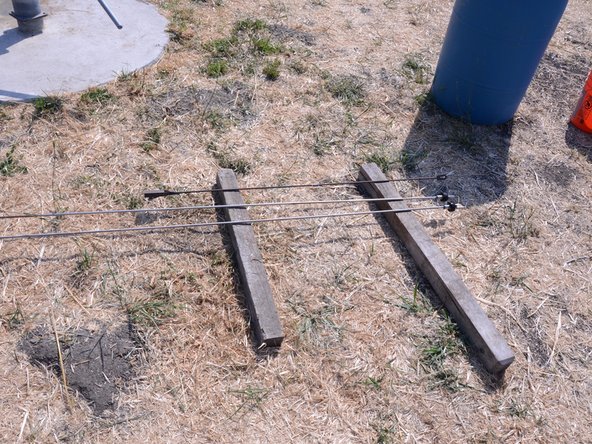
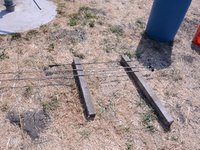
      • Repeat steps 11-13 for the remaining sections of pump rod.

      • Be sure to set the pump rod segments above the ground to avoid contamination.

      Ask FixBot

      Add Comment

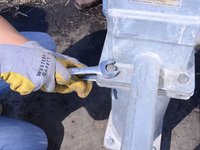
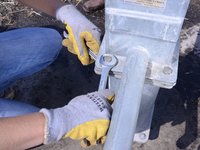
    1. Afridev Tank Replacement, Tank: step 15, image 1 of 2 Afridev Tank Replacement, Tank: step 15, image 2 of 2
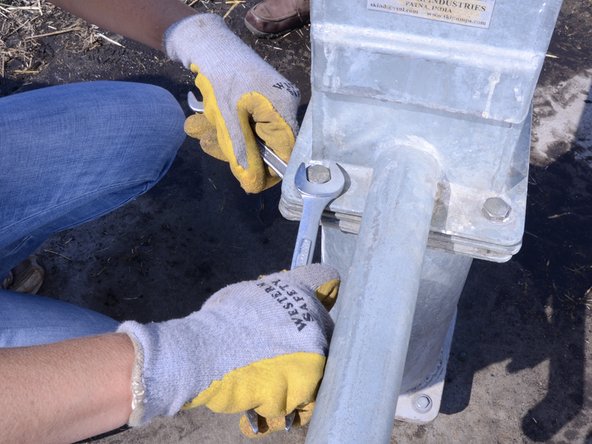
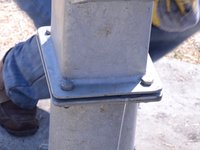
      • Place one wrench on the top side of the top base of the tank spout.

      • Place another wrench on the underside of the bolt in order to get more leverage.

      • Pull the top wrench to the right, and the bottom wrench to the left.

      Ask FixBot

      Add Comment

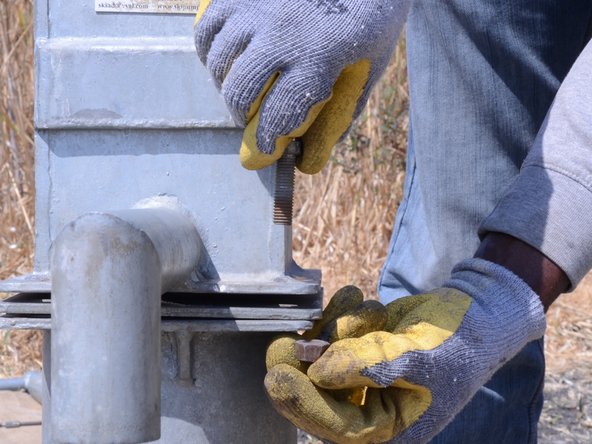
    2. Afridev Tank Replacement: step 16, image 1 of 3 Afridev Tank Replacement: step 16, image 2 of 3 Afridev Tank Replacement: step 16, image 3 of 3
      • Remove the loosened bolt from the pump.

      • Repeat this procedure for the 3 remaining bolts.

      Ask FixBot

      Add Comment

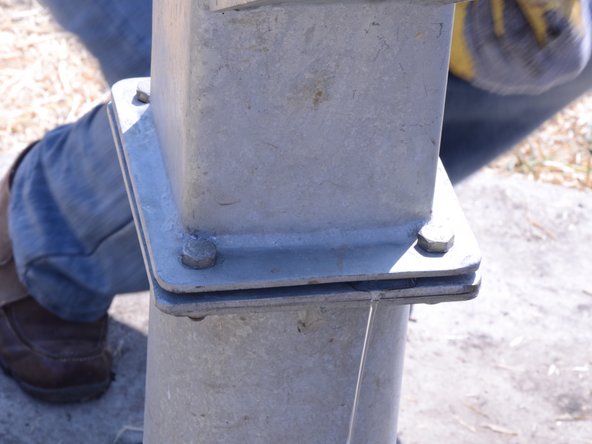
    3. Afridev Tank Replacement: step 17, image 1 of 2 Afridev Tank Replacement: step 17, image 2 of 2
      • Lift the tank straight up to remove it from the pump.

      • Be sure to place the tank in a sanitary place to prevent contamination.

      Ask FixBot

      Add Comment

Conclusion

To reassemble your device, follow these instructions in reverse order.

Cancel: I did not complete this guide.

One other person completed this guide.

Jake Devincenzi

Member since: 04/18/11

119,453 Reputation

57 Guides authored

0 Guide Comments

Add Comment

View Statistics:

Past 24 Hours: 3

Past 7 Days: 5

Past 30 Days: 23

All Time: 672