Free Shipping on Domestic Orders $75+

Acer TravelMate P653-V-6882 LCD Module Replacement

What you need

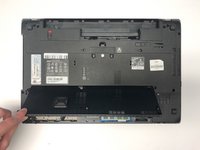
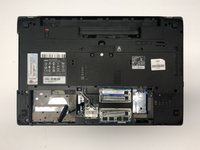
    1. Acer TravelMate P653-V-6882 LCD Module Replacement, Battery Pack: step 1, image 1 of 2 Acer TravelMate P653-V-6882 LCD Module Replacement, Battery Pack: step 1, image 2 of 2
      • Turn the computer over so the base is facing up.

      • Slide the battery lock to unlock position.

      Ask FixBot

      Add Comment

    2. Acer TravelMate P653-V-6882 LCD Module Replacement: step 2, image 1 of 1
      • Slide the battery release latch to the right.

      • The battery pack will pop out.

      Ask FixBot

      Add Comment

    3. Acer TravelMate P653-V-6882 LCD Module Replacement: step 3, image 1 of 1
      • Lift the battery up.

      • Pull out the battery.

      Ask FixBot

      Add Comment

    1. Acer TravelMate P653-V-6882 LCD Module Replacement, ODD Module: step 4, image 1 of 1
      • Slide the ODD module latch down.

      • The ODD module will pop out.

      Ask FixBot

      Add Comment

    2. Acer TravelMate P653-V-6882 LCD Module Replacement: step 5, image 1 of 1
      • Remove the ODD module.

      Ask FixBot

      Add Comment

    1. Acer TravelMate P653-V-6882 LCD Module Replacement, Base Door: step 6, image 1 of 1
      • Remove the five 7mm Phillips #1 screws.

      Ask FixBot

      Add Comment

    2. Acer TravelMate P653-V-6882 LCD Module Replacement: step 7, image 1 of 1
      • Use the opening tool to separate base door from the bottom of the laptop.

      • Be careful not to bend or crack the plastic back cover.

      Ask FixBot

      Add Comment

    3. Acer TravelMate P653-V-6882 LCD Module Replacement: step 8, image 1 of 2 Acer TravelMate P653-V-6882 LCD Module Replacement: step 8, image 2 of 2
      • Gently pry open the base door by pushing up.

      • Pull out the base door.

      • Be careful not to bend or crack the plastic back cover.

      Ask FixBot

      Add Comment

    1. Acer TravelMate P653-V-6882 LCD Module Replacement, Keyboard: step 9, image 1 of 1
      • Remove the two 7mm Phillips #1 screws.

      Ask FixBot

      Add Comment

    2. Acer TravelMate P653-V-6882 LCD Module Replacement: step 10, image 1 of 1
      • Flip the laptop so that the underside is now facing the bottom.

      • Open the LCD panel.

      • Use the flat end of a spudger to push in the six latches.

      • Be careful not to bend or crack the keyboard.

      Ask FixBot

      Add Comment

    3. Acer TravelMate P653-V-6882 LCD Module Replacement: step 11, image 1 of 1
      • When the latches are pushed in, the keyboard will pop out.

      • Gently pry up the keyboard.

      • Be careful not to bend or crack the keyboard.

      Ask FixBot

      Add Comment

    4. Acer TravelMate P653-V-6882 LCD Module Replacement: step 12, image 1 of 1
      • Slide the keyboard forward to access the keyboard cable.

      • Flip the connector latch up to open it.

      • Pull out the keyboard cable gently.

      • Be careful not to damage the connector.

      Ask FixBot

      Add Comment

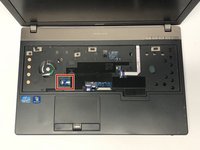
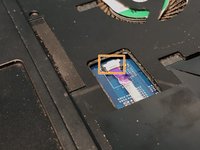
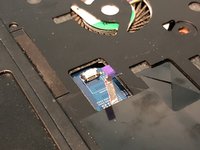
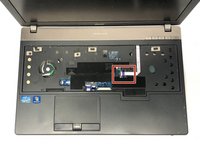
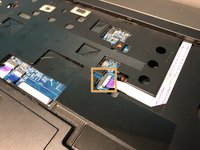
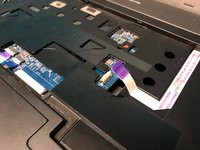
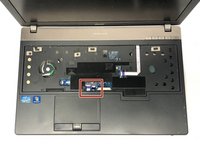
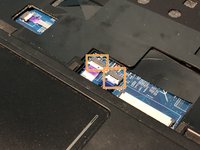
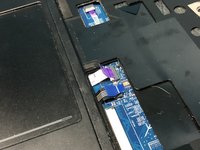
    1. Acer TravelMate P653-V-6882 LCD Module Replacement, Mainboard: step 13, image 1 of 3 Acer TravelMate P653-V-6882 LCD Module Replacement, Mainboard: step 13, image 2 of 3 Acer TravelMate P653-V-6882 LCD Module Replacement, Mainboard: step 13, image 3 of 3
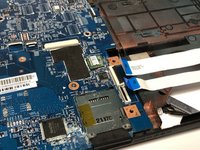
      • Turn the computer over, open the LCD panel, and find the smart card cable connector.

      • Open the smart card cable connector latch.

      • Disconnect the cable.

      • Be careful not to damage the connector.

      Ask FixBot

      Add Comment

    2. Acer TravelMate P653-V-6882 LCD Module Replacement: step 14, image 1 of 3 Acer TravelMate P653-V-6882 LCD Module Replacement: step 14, image 2 of 3 Acer TravelMate P653-V-6882 LCD Module Replacement: step 14, image 3 of 3
      • Find the power button launch board cable connector.

      • Open the power button launch board cable connector latch.

      • Disconnect the cable.

      • Be careful not to damage the connector.

      Ask FixBot

      Add Comment

    3. Acer TravelMate P653-V-6882 LCD Module Replacement: step 15, image 1 of 3 Acer TravelMate P653-V-6882 LCD Module Replacement: step 15, image 2 of 3 Acer TravelMate P653-V-6882 LCD Module Replacement: step 15, image 3 of 3
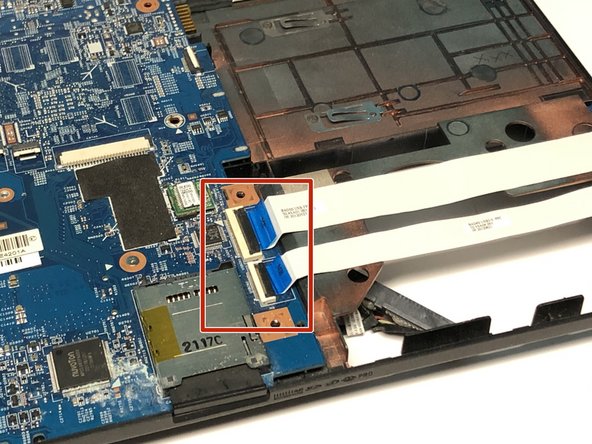
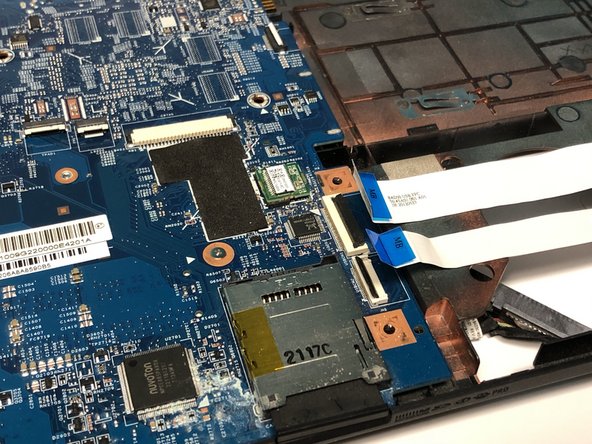
      • Find the touchpad and fingerprint board cable connector.

      • Open the touchpad and fingerprint board cable connector’s latches.

      • Disconnect the cables.

      • Be careful not to damage the connector.

      Ask FixBot

      Add Comment

    4. Acer TravelMate P653-V-6882 LCD Module Replacement: step 16, image 1 of 1
      • Using the #1 Phillips screwdriver, remove the two screws.

      Ask FixBot

      Add Comment

    5. Acer TravelMate P653-V-6882 LCD Module Replacement: step 17, image 1 of 1
      • Flip the laptop over so that the underside is facing up.

      • Remove the twelve 7mm Phillips #1 screws.

      • Remove the five 3mm Phillips #1 screws.

      • Disconnect the cables connecting to the WLAN module.

      Ask FixBot

      Add Comment

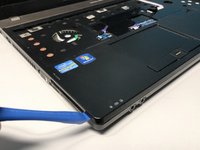
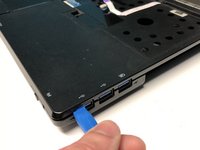
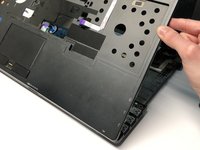
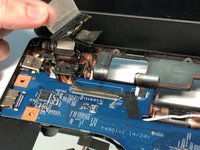
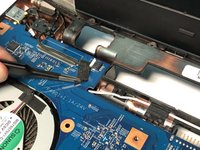
    6. Acer TravelMate P653-V-6882 LCD Module Replacement: step 18, image 1 of 3 Acer TravelMate P653-V-6882 LCD Module Replacement: step 18, image 2 of 3 Acer TravelMate P653-V-6882 LCD Module Replacement: step 18, image 3 of 3
      • Flip the laptop so that the underside is now facing the bottom.

      • Open the LCD panel.

      • Locate the small gaps between the upper cover and lower case on the left and right side of the laptop.

      • Insert the opening tool into each gap to separate the one from the other.

      • Once the upper cover is separated, lift it from the lower case.

      • Be careful not to damage the upper and lower case while removing.

      Ask FixBot

      Add Comment

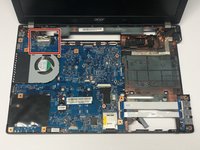
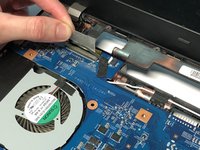
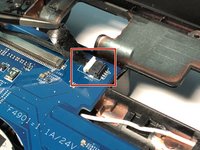
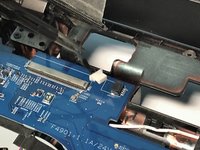
    7. Acer TravelMate P653-V-6882 LCD Module Replacement: step 19, image 1 of 3 Acer TravelMate P653-V-6882 LCD Module Replacement: step 19, image 2 of 3 Acer TravelMate P653-V-6882 LCD Module Replacement: step 19, image 3 of 3
      • Detach the transparent tape securing the LCD cable.

      • Disconnect the LCD cable from the mainboard.

      • Be careful not to damage the LCD cable connector.

      Ask FixBot

      Add Comment

    8. Acer TravelMate P653-V-6882 LCD Module Replacement: step 20, image 1 of 3 Acer TravelMate P653-V-6882 LCD Module Replacement: step 20, image 2 of 3 Acer TravelMate P653-V-6882 LCD Module Replacement: step 20, image 3 of 3
      • Detach the black tape covering the microphone cable.

      • Disconnect the microphone cable from the mainboard.

      Ask FixBot

      Add Comment

    9. Acer TravelMate P653-V-6882 LCD Module Replacement: step 21, image 1 of 3 Acer TravelMate P653-V-6882 LCD Module Replacement: step 21, image 2 of 3 Acer TravelMate P653-V-6882 LCD Module Replacement: step 21, image 3 of 3
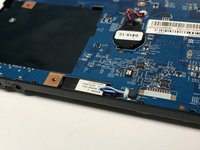
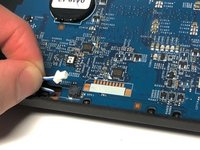
      • Open the USB board cable's connector latches.

      • Disconnect the cables.

      • Be careful not to damage the connectors.

      Ask FixBot

      Add Comment

    10. Acer TravelMate P653-V-6882 LCD Module Replacement: step 22, image 1 of 3 Acer TravelMate P653-V-6882 LCD Module Replacement: step 22, image 2 of 3 Acer TravelMate P653-V-6882 LCD Module Replacement: step 22, image 3 of 3
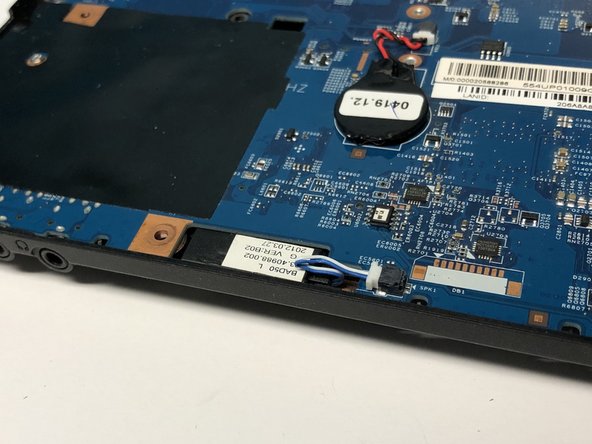
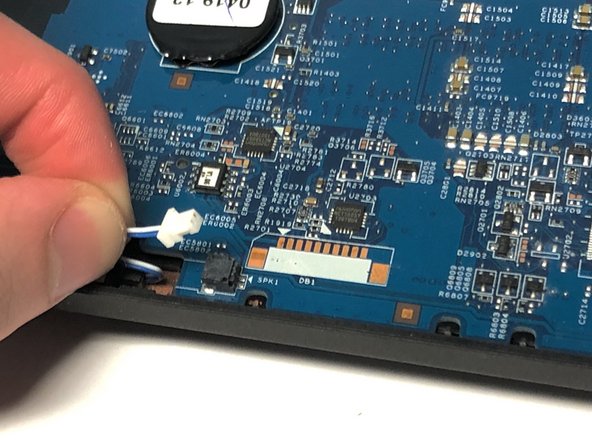
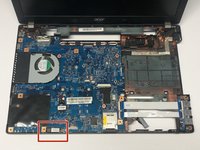
      • Disconnect the left speaker cable from the mainboard.

      Ask FixBot

      Add Comment

    11. Acer TravelMate P653-V-6882 LCD Module Replacement: step 23, image 1 of 1
      • Remove the one 7mm Phillips #1 screw.

      Ask FixBot

      Add Comment

    12. Acer TravelMate P653-V-6882 LCD Module Replacement: step 24, image 1 of 2 Acer TravelMate P653-V-6882 LCD Module Replacement: step 24, image 2 of 2
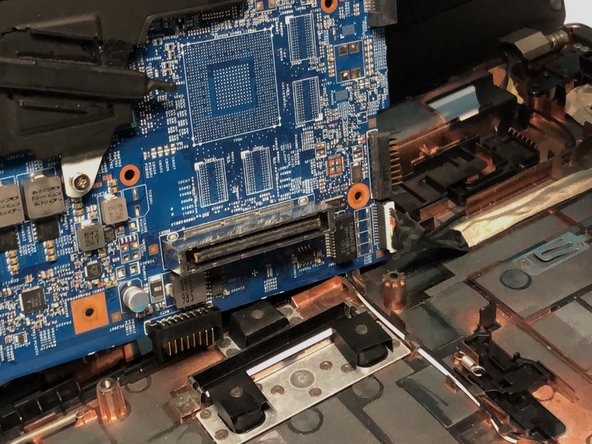
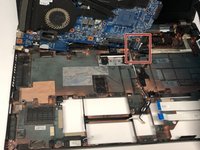
      • Lift the mainboard at an angle and gently turn it on its side.

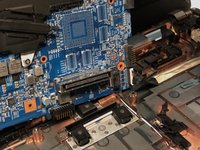
      • Disconnect the LAN cable from the mainboard.

      Ask FixBot

      Add Comment

    1. Acer TravelMate P653-V-6882 LCD Module Replacement, LCD Module: step 25, image 1 of 3 Acer TravelMate P653-V-6882 LCD Module Replacement, LCD Module: step 25, image 2 of 3 Acer TravelMate P653-V-6882 LCD Module Replacement, LCD Module: step 25, image 3 of 3
      Tool used on this step:
      Tweezers
      $4.99
      Buy
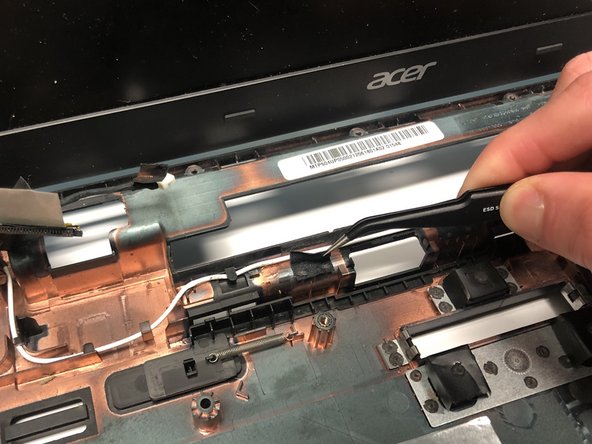
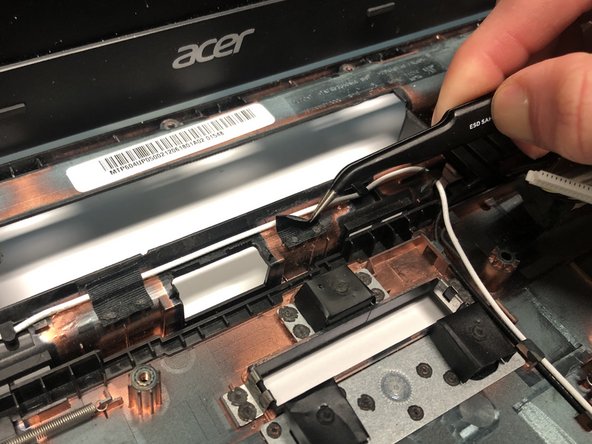
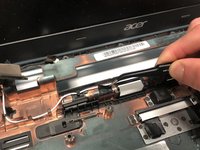
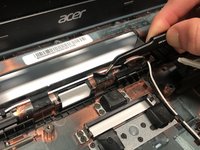
      • Carefully remove the two pieces of black tape securing the antenna cables to the lower case using tweezers.

      Ask FixBot

      Add Comment

    2. Acer TravelMate P653-V-6882 LCD Module Replacement: step 26, image 1 of 1
      • Release the white antenna cable from its top side latches.

      • Be careful not to damage the cable.

      Ask FixBot

      Add Comment

    3. Acer TravelMate P653-V-6882 LCD Module Replacement: step 27, image 1 of 1
      • Release the black antenna cable from its top side latches.

      • Be careful not to damage the cable.

      Ask FixBot

      Add Comment

    4. Acer TravelMate P653-V-6882 LCD Module Replacement: step 28, image 1 of 1
      • Remove the two 7mm Phillips #1 screws.

      • Make sure to hold onto the LCD module when removing the screws as the display may fall back.

      Ask FixBot

      Add Comment

    5. Acer TravelMate P653-V-6882 LCD Module Replacement: step 29, image 1 of 1
      • Carefully remove the LCD module from the lower case.

      Ask FixBot

      Add Comment

Conclusion

To reassemble your device, follow these instructions in reverse order.

Cancel: I did not complete this guide.

Daniel Popovic

Member since: 01/13/20

991 Reputation

7 Guides authored

0 Guide Comments

Add Comment

View Statistics:

Past 24 Hours: 2

Past 7 Days: 11

Past 30 Days: 31

All Time: 883