
Acer Swift 3 2022 Fan Replacement

Anna Miller and 2 other contributors
Last updated on Dec 22, 2022
Views: 1.9K
View statistics:
- Past 24 Hours:
- 2
- Past 7 Days:
- 36
- Past 30 Days:
- 123
- All Time:
- 1,864
Comments: 2
2 guide comments.
Go to guide commentsCompleted: 0 1
No one has marked this guide "completed." Will you be the first?
1 person has marked this guide "completed." It's you — great job!
Favorites: 0 1
No one has favorited (and subscribed to) this guide. Will you be the first?
1 person has favorited (and subscribed to) this guide — and that's you!
Introduction
Go to step 1 ↓Acer Swift 3 2022 Model Number: N20C12
If your Acer Swift 3 2022 is exhibiting a constant buzzing and humming noise and is overheating, use this guide to remedy those problems. This relatively easy procedure will have your computer as silent as when you first got it and no longer hot to the touch.
Before following this guide, try to remove dust and debris from the fan. This can be accomplished by using an ESD-safe brush or small dust blower and directing it at the fan located in the inner portion of the laptop. This should be completed before following through with the replacement. To view more information view our troubleshooting page.
What you need
Tools


-
-
-
Remove the eleven 5 mm screws from the back of the device using a TR6 Torx screwdriver.
-
-
-
Use the iFixit opening tool to pry open the back of the device.
-
Remove the bottom cover from the laptop.
-
-
-
-
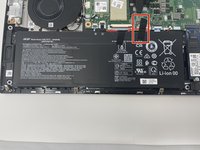
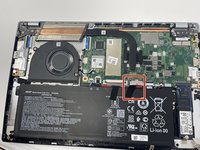
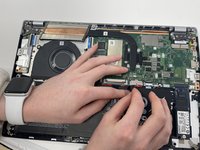
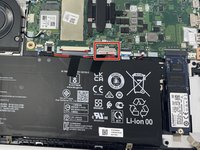
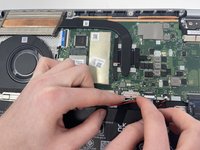
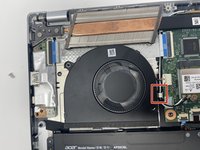
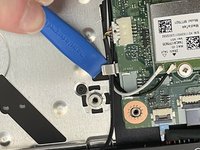
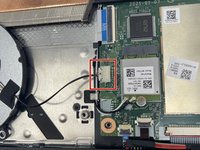
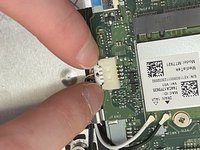
Unplug the group of wires by pulling the white plastic piece towards yourself.
-
-
-
-
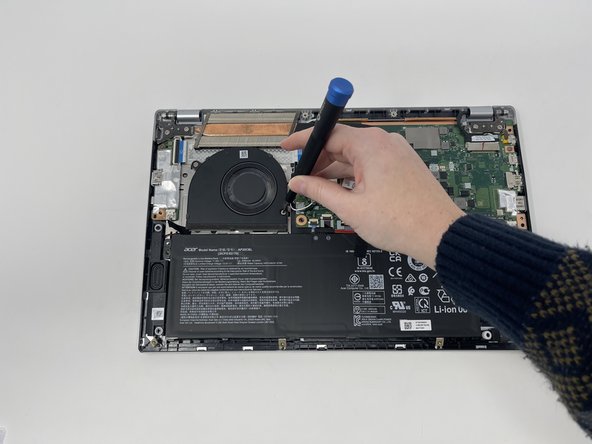
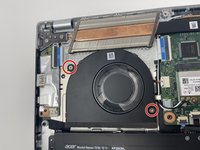
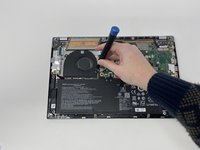
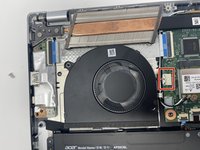
Remove the two 4.5 mm screws from the fan using a Phillips #00 screwdriver.
-
-
-

 Ask FixBot










To reassemble your device, follow these instructions in reverse order.

Team

Utah Tech University, Team 1-2, McMurrin Fall 2022 Member of Utah Tech University, Team 1-2, McMurrin Fall 2022
UTAHTECH-MCMURRIN-F22S1G2
2 Members
72 Guides authored
2 Guide Comments
Yup, the flat bit of the fan goes to the outside of the laptop....... through the cooling grill, not the battery!
