Introduction
Use this guide to repair or replace the battery for your Predator Helios 300 PH315-53. Prior to replacing parts or repairing your laptop, you must first remove the bottom case.
The Acer Predator Helios 300 PH315-53 battery is a 4-cell Lithium Ion battery with a maximum run time of six hours. The part number for this battery is AP18E8M.
Before using this guide, ensure that you understand electrostatic discharge (ESD), and how it can damage your laptop. ESD refers to discharges of static electricity that can occur between objects that are not properly grounded, and these discharges can damage sensitive electronic components. Dell Technologies offers a short video explaining How To Avoid ESD Damage.
What you need
-
-
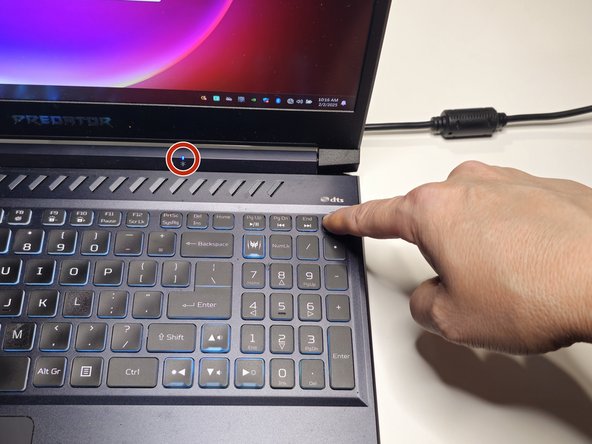
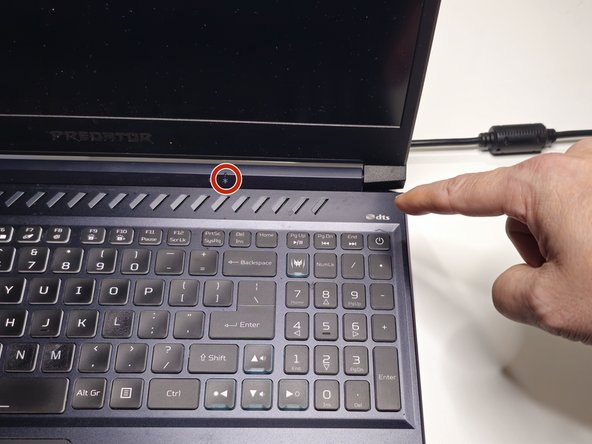
Turn off the laptop by holding down the power button for 7 seconds.
-
Verify that the blue power indicator light is turned off.
 Ask FixBot
-
-
-
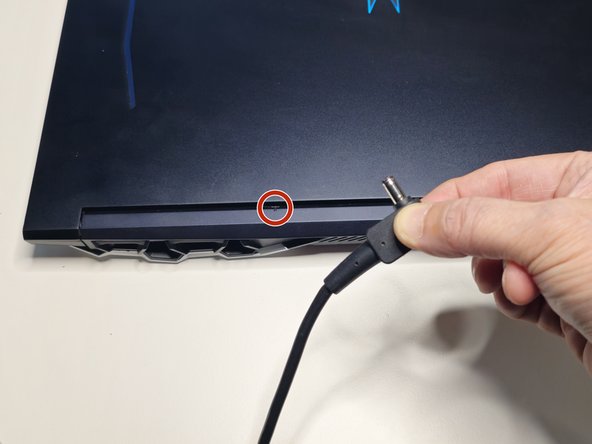
Remove the plug from the back of your laptop.
-
Verify that the charging light is off after you remove the plug.
-
-
-
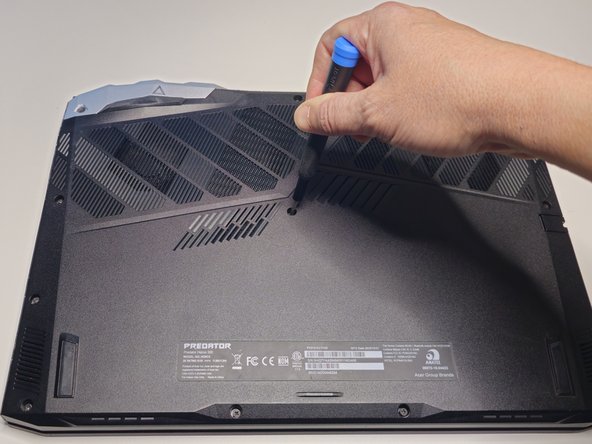
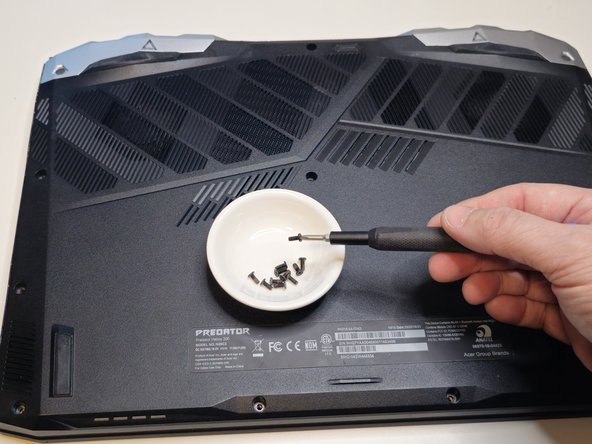
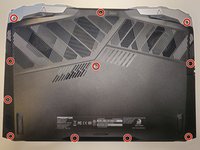
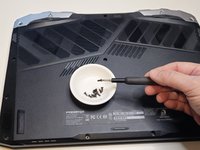
Remove the eleven screws from the bottom case with a Phillips #1 Screwdriver.
-
-
-
Tool used on this step:Spudger$3.99
-
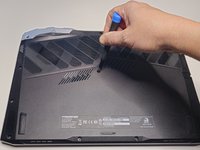
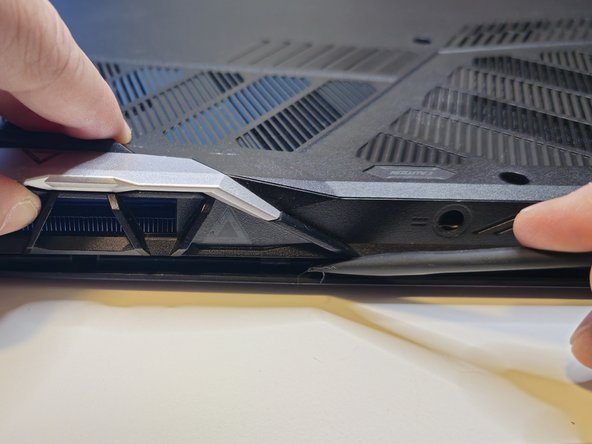
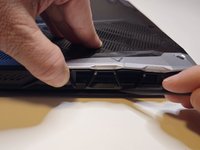
Use your thumb to apply gentle upward pressure on the laptop vent while using a spudger to separate the bottom case from the top case.
-
Work the spudger along the seam where the bottom case meets the top case.
-
Apply gentle upward pressure on the opposite laptop vent as you work the spudger across the back of the laptop.
-
-
-
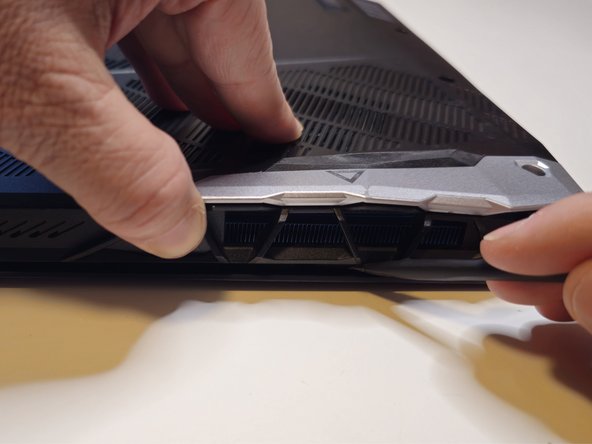
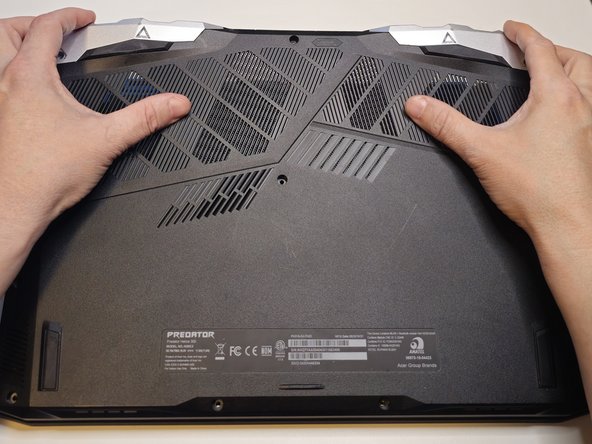
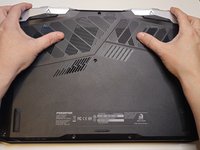
Turn the laptop so the laptop vents are facing away from you and the bottom case remains face up.
-
Use your fingertips to pull gently upward on the vents while using your palms to apply gentle downward pressure on the bottom case.
-
Move your hands outward from the center of the laptop to each side, continuing to pull the bottom case gently upward with your fingertips.
-
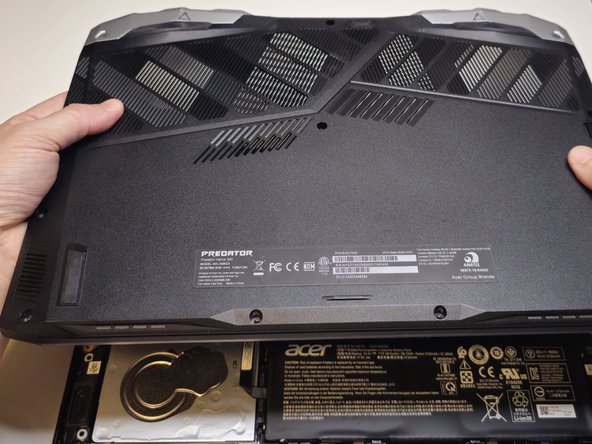
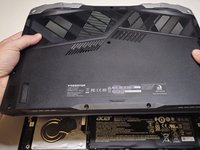
Lift the bottom case away from the laptop.
-
-
-
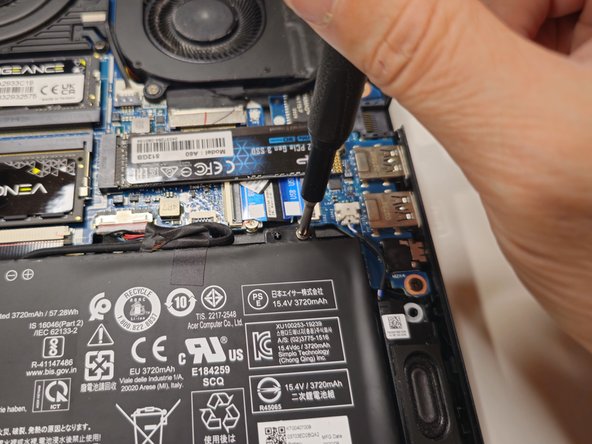
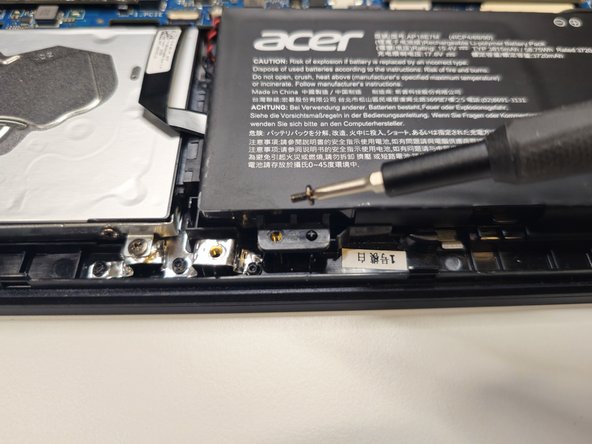
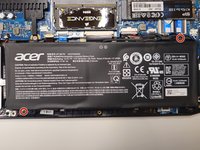
Remove the two screws securing the battery to the top case with a Phillips #0 Screwdriver.
-
-
-
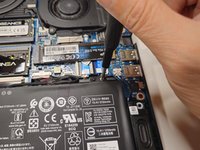
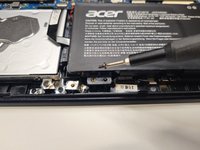
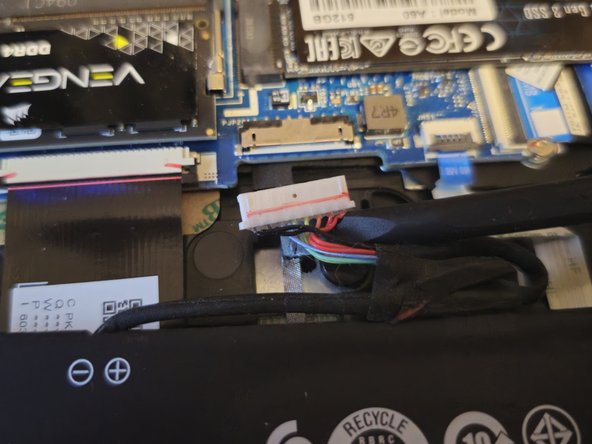
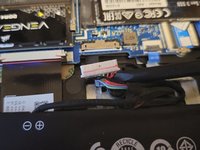
Lift the battery up and away from the motherboard to expose its connection wire.
-
-
-
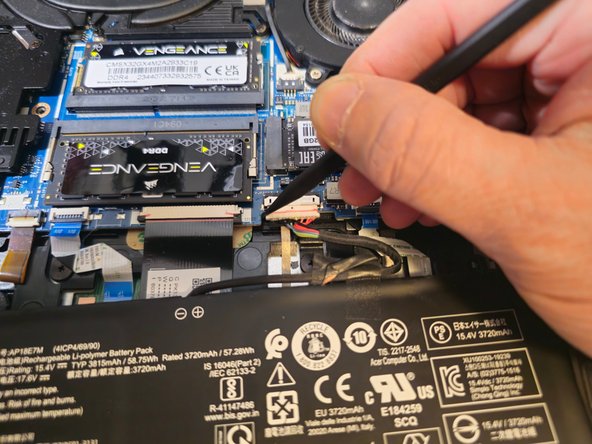
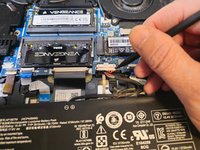
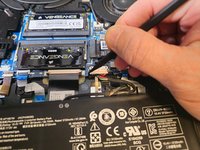
Gently remove the connection wire from the motherboard using a spudger.
-
Lift the disconnected battery out of the laptop.
-











To reassemble your device, follow these instructions in reverse order.
Attached Documents

Team

Northern Arizona University, Team 1-2, Konrad Spring 2025 Member of Northern Arizona University, Team 1-2, Konrad Spring 2025
NAU-KONRAD-S25S1G2
4 Members
4 Guides authored
