
Acer Iconia One 7 Motherboard Replacement

Michael and 6 other contributors
Last updated on Jun 28, 2018
Views: 3.2K
View statistics:
- Past 24 Hours:
- 1
- Past 7 Days:
- 24
- Past 30 Days:
- 96
- All Time:
- 3,151
Comments: 1
1 comment on steps.
Completed: 4 5
4 people have marked this guide "completed." Will you be next?
5 people have marked this guide "completed." Including you — great job!
Favorites: 2 3
2 people have favorited (and subscribed to) this guide. Will you be next?
3 people have favorited (and subscribed to) this guide — including you!
Introduction
Go to step 1 ↓Tablet motherboard's can wear out and sometimes they need to be replaced. This guide walks you through the necessary steps to replace it effectively. The motherboard embedded into this device requires specific tools and techniques to remove and replace it.
What you need
Tools
-
Tweezers4.9
-
-


-
-
-
Begin at any side of the tablet.
-
With a plastic opening tool, begin taking apart the back cover from the tablet by working along the edges.
-
-
-
Using a plastic opening tool, separate the back cover from the main device
-
Open each side continuously to ensure all sides have been separated,
-
-
-
Turn tablet over.
-
Lay the tablet on a flat surface with the screen facing down. Locate the copper cover along the outside of the tablet.
-
-
-
-
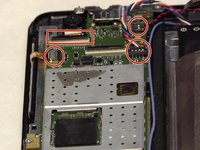
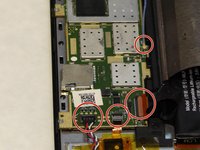
There are several sets of wires connected to the motherboard as shown in the images. Carefully disconnect each set of wires.
-
-
-
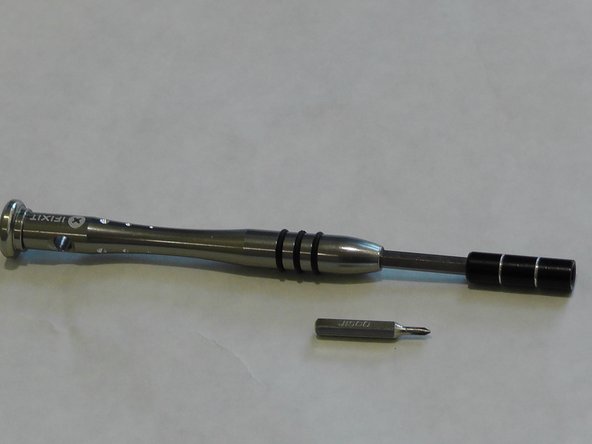
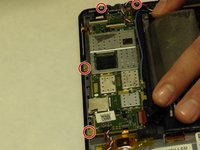
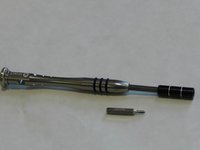
Use a JIS screw bit #00 to remove screws around the motherboard using the provided image to locate each screw.
-
 Ask FixBot




To reassemble your device, follow these instructions in reverse order.
Cancel: I did not complete this guide.
4 other people completed this guide.

Team

USF Tampa, Team 8-5, Eyestone Fall 2015 Member of USF Tampa, Team 8-5, Eyestone Fall 2015
USFT-EYESTONE-F15S8G5
3 Members
60 Guides authored
