Free Shipping on Domestic Orders $75+

Acer Iconia B1-720 Front Facing Camera Replacement

What you need

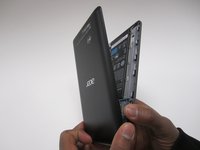
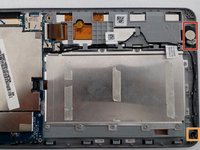
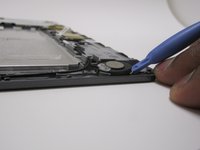
  1. Acer Iconia B1-720 Front Facing Camera Replacement, Rear Case: step 1, image 1 of 3 Acer Iconia B1-720 Front Facing Camera Replacement, Rear Case: step 1, image 2 of 3 Acer Iconia B1-720 Front Facing Camera Replacement, Rear Case: step 1, image 3 of 3
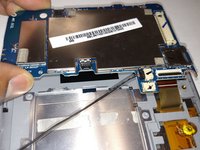
    • Insert a plastic opening tool into a gap near the charging port at the top of the device. Slide the tool in either direction along the device.

    Ask FixBot

    Add Comment

  2. Acer Iconia B1-720 Front Facing Camera Replacement: step 2, image 1 of 3 Acer Iconia B1-720 Front Facing Camera Replacement: step 2, image 2 of 3 Acer Iconia B1-720 Front Facing Camera Replacement: step 2, image 3 of 3
    • Slide the tool along until you have completely separated the rear cover.

    • If needed, place the first tool in the gap created to hold this gap open and use a second tool to pry the remaining portion of the rear cover off.

    Ask FixBot

    Add Comment

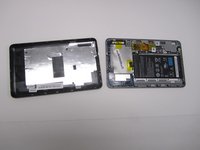
  3. Acer Iconia B1-720 Front Facing Camera Replacement: step 3, image 1 of 2 Acer Iconia B1-720 Front Facing Camera Replacement: step 3, image 2 of 2
    • Once all the sides have been separated, you should be able to simply lift the cover off of the device.

    Ask FixBot

    Add Comment

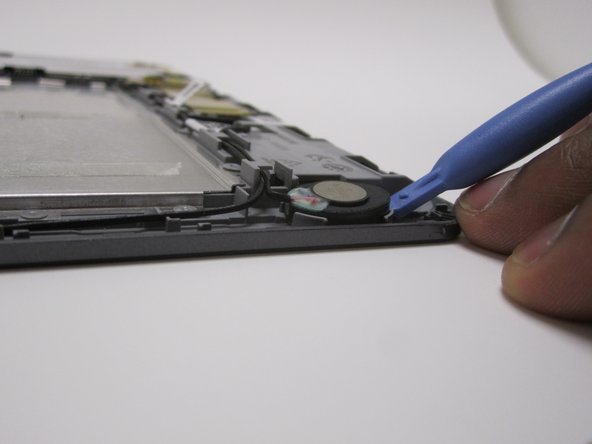
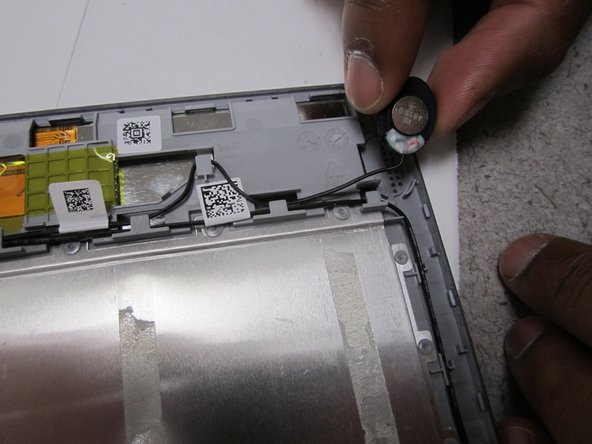
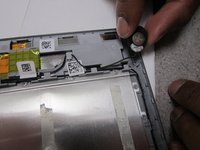
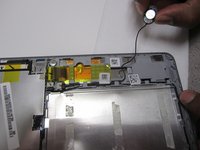
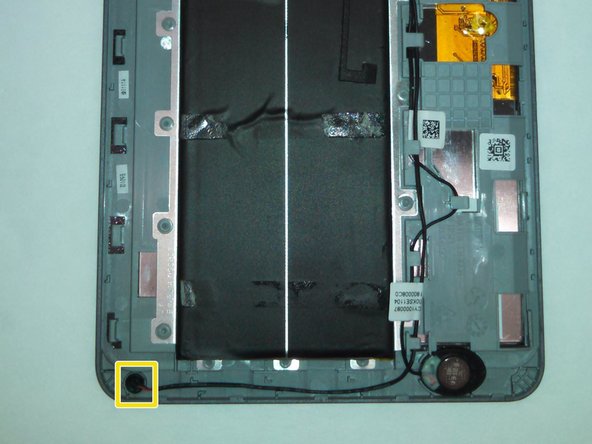
  4. Acer Iconia B1-720 Front Facing Camera Replacement, Microphone/Speaker: step 4, image 1 of 3 Acer Iconia B1-720 Front Facing Camera Replacement, Microphone/Speaker: step 4, image 2 of 3 Acer Iconia B1-720 Front Facing Camera Replacement, Microphone/Speaker: step 4, image 3 of 3
    • Pry the speaker away from the device using the plastic opening tool. This may require a little force due to the adhesive that is on the device.(Battery is not shown in this picture for image

    • Tug gently on microphone to remove from slot.

    Ask FixBot

    Add Comment

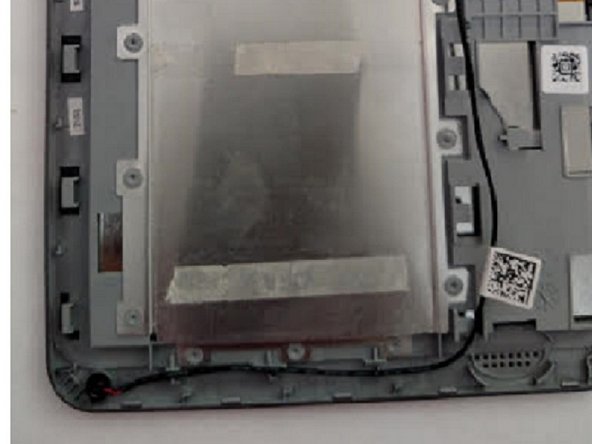
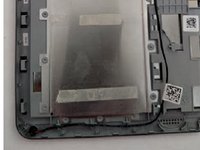
  5. Acer Iconia B1-720 Front Facing Camera Replacement: step 5, image 1 of 2 Acer Iconia B1-720 Front Facing Camera Replacement: step 5, image 2 of 2
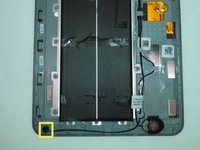
    • Unwind the wire from the running channel.

    • To remove microphone, follow same steps.

    Ask FixBot

    Add Comment

  6. Acer Iconia B1-720 Front Facing Camera Replacement: step 6, image 1 of 2 Acer Iconia B1-720 Front Facing Camera Replacement: step 6, image 2 of 2
    • Unplug connector from motherboard.

    • Follow same procedure to remove microphone.

    • Unplug the microphone in a similar fashion as with the speaker.

    Ask FixBot

    Add Comment

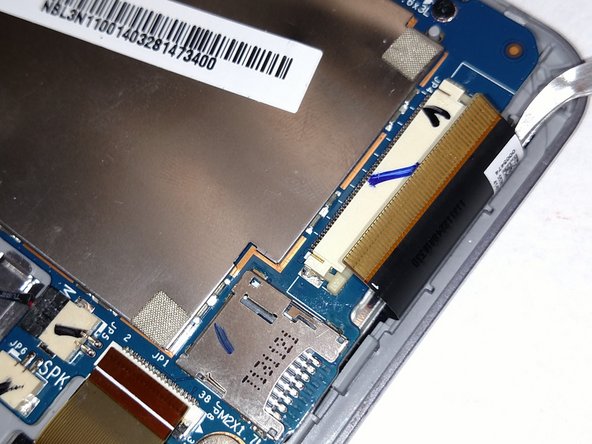
  7. Acer Iconia B1-720 Front Facing Camera Replacement, Motherboard: step 7, image 1 of 3 Acer Iconia B1-720 Front Facing Camera Replacement, Motherboard: step 7, image 2 of 3 Acer Iconia B1-720 Front Facing Camera Replacement, Motherboard: step 7, image 3 of 3
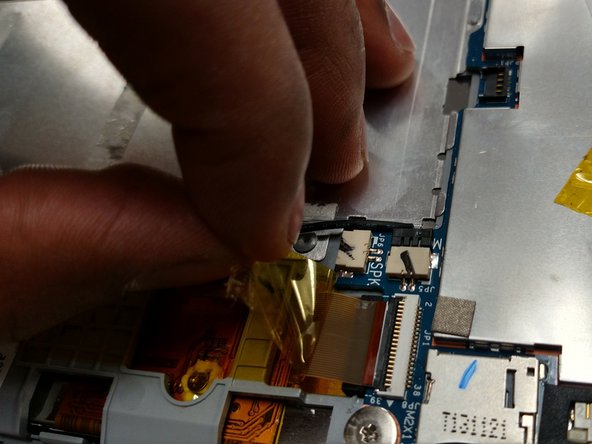
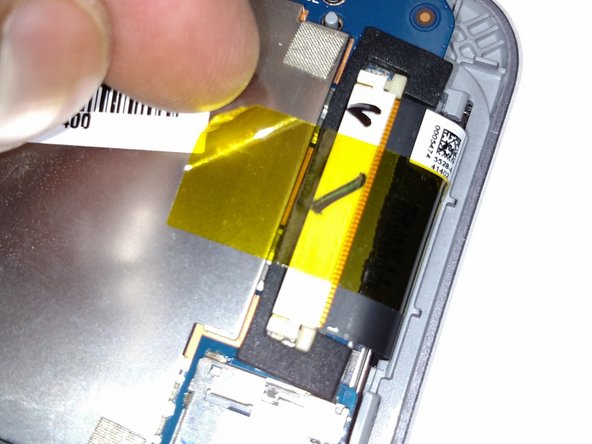
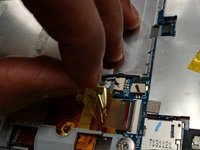
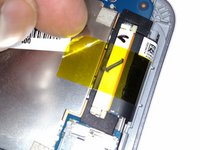
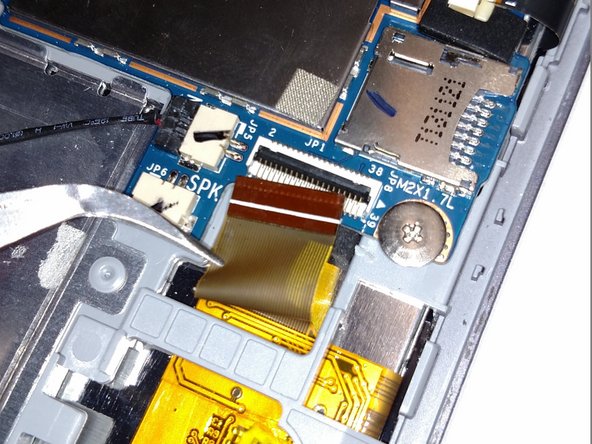
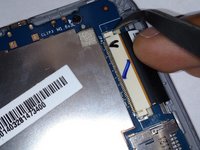
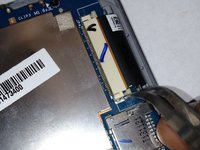
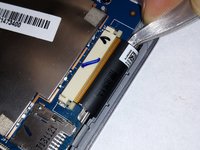
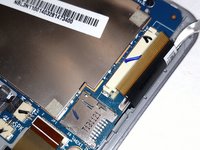
    • Remove the yellow tape covering both ribbons in the two photos shown.

    Ask FixBot

    Add Comment

  8. Acer Iconia B1-720 Front Facing Camera Replacement: step 8, image 1 of 2 Acer Iconia B1-720 Front Facing Camera Replacement: step 8, image 2 of 2
    Tool used on this step:
    Tweezers
    $4.99
    Buy
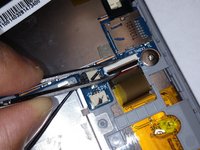
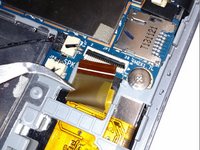
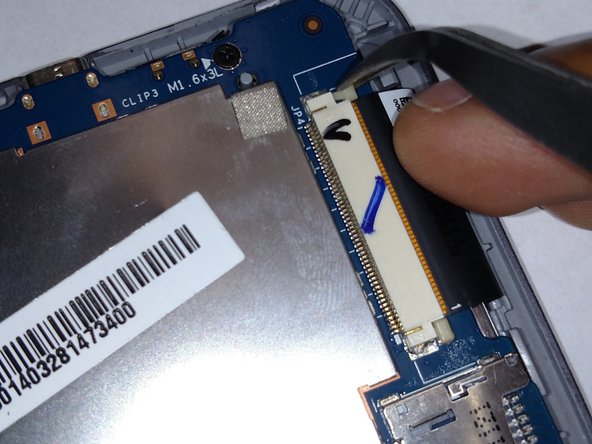
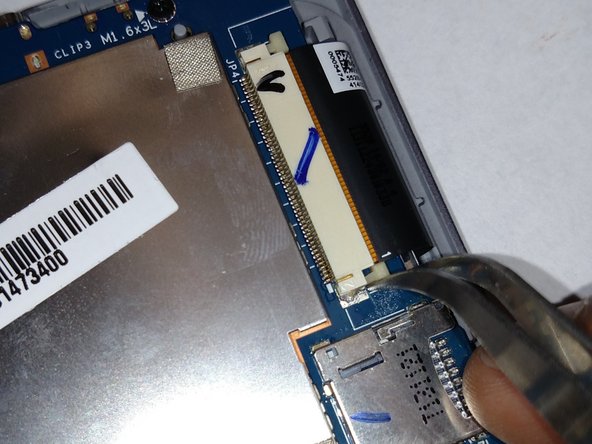
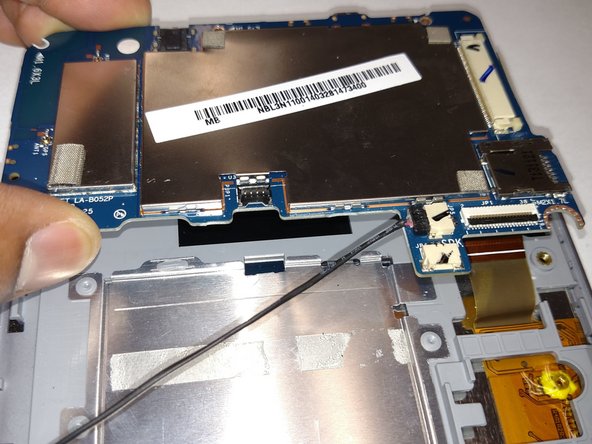
    • Use tweezers to lift the small black locking tab off of the orange ribbon

    • Remove the orange ribbon from the lock using tweezers

    Ask FixBot

    Add Comment

  9. Acer Iconia B1-720 Front Facing Camera Replacement: step 9, image 1 of 3 Acer Iconia B1-720 Front Facing Camera Replacement: step 9, image 2 of 3 Acer Iconia B1-720 Front Facing Camera Replacement: step 9, image 3 of 3
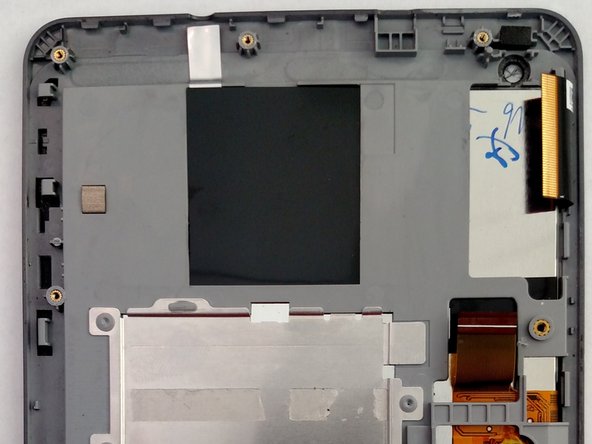
    • Use tweezers to remove rubber black wrap surrounding lock.

    • Use the tweezers to pull plastic tabs on each side of the black ribbon

    Ask FixBot

    Add Comment

  10. Acer Iconia B1-720 Front Facing Camera Replacement: step 10, image 1 of 2 Acer Iconia B1-720 Front Facing Camera Replacement: step 10, image 2 of 2
    • Use tweezers to gently remove black ribbon from locking mechanism.

    Ask FixBot

    Add Comment

  11. Acer Iconia B1-720 Front Facing Camera Replacement: step 11, image 1 of 3 Acer Iconia B1-720 Front Facing Camera Replacement: step 11, image 2 of 3 Acer Iconia B1-720 Front Facing Camera Replacement: step 11, image 3 of 3
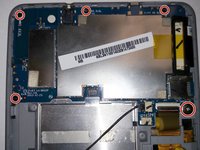
    • Remove the 5 screws shown in the photograph

    • Lift the motherboard from the front panel of the device.

    Ask FixBot

    Add Comment

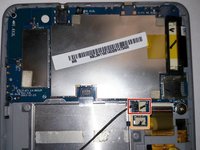
  12. Acer Iconia B1-720 Front Facing Camera Replacement, Front Facing Camera: step 12, image 1 of 1
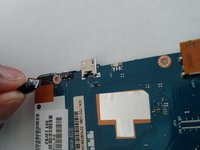
    • Flip the motherboard over so that you see the camera, micro usb port, and headphone jack.

    • The object marked in red is the camera.

    Ask FixBot

    Add Comment

  13. Acer Iconia B1-720 Front Facing Camera Replacement: step 13, image 1 of 2 Acer Iconia B1-720 Front Facing Camera Replacement: step 13, image 2 of 2
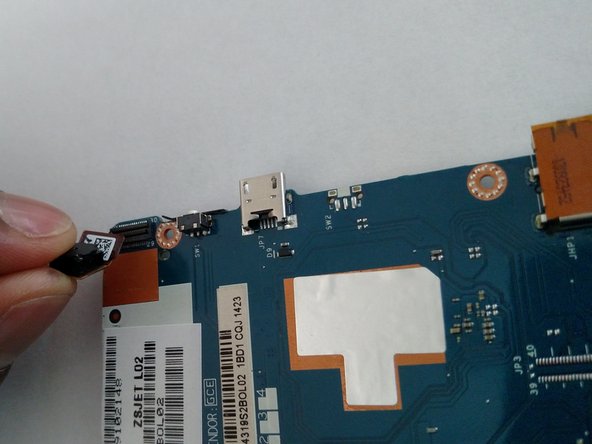
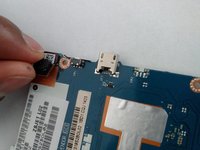
    • Grab and gently lift the camera up from the motherboard until it becomes disconnected.

    Ask FixBot

    Add Comment

Conclusion

To reassemble your device, follow these instructions in reverse order.

Cancel: I did not complete this guide.

One other person completed this guide.

Kervis Boston

Member since: 03/18/15

479 Reputation

3 Guides authored

Team

0 Guide Comments

Add Comment

View Statistics:

Past 24 Hours: 0

Past 7 Days: 3

Past 30 Days: 19

All Time: 585