Free Shipping on Domestic Orders $75+

Acer Iconia B1-711 LCD Display Replacement

What you need

Video Overview

    1. Acer Iconia B1-711 LCD Display Replacement, Back Cover: step 1, image 1 of 3 Acer Iconia B1-711 LCD Display Replacement, Back Cover: step 1, image 2 of 3 Acer Iconia B1-711 LCD Display Replacement, Back Cover: step 1, image 3 of 3
      • Switch-off the tablet.

      • Remove any SIM and/or Memory Card.

      • Start opening near to the Volume Up/Down buttons. It's more well to use a plastic opening tool to avoid damaging the cover.

      • When lifting the cover, be careful not to tear the Loudspeaker cable at the bottom right side.

      • Disconnect the Loudspeaker cable from the Logic board.

      Ask FixBot

      Add Comment

    2. Acer Iconia B1-711 LCD Display Replacement: step 2, image 1 of 2 Acer Iconia B1-711 LCD Display Replacement: step 2, image 2 of 2
      • Before doing anything, disconnect the battery.

      Ask FixBot

      Add Comment

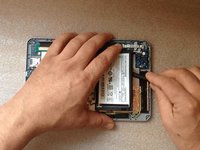
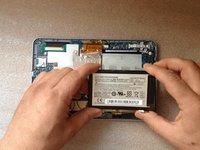
    1. Acer Iconia B1-711 LCD Display Replacement, Battery: step 3, image 1 of 2 Acer Iconia B1-711 LCD Display Replacement, Battery: step 3, image 2 of 2
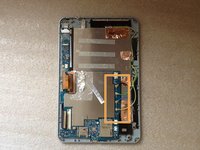
      • With a long plastic tool like a spudger, unstick the battery from the metal LCD shield.

      • Lithium Ion Battery Pack - 3.8V, 2710mAh
      Ask FixBot

      Add Comment

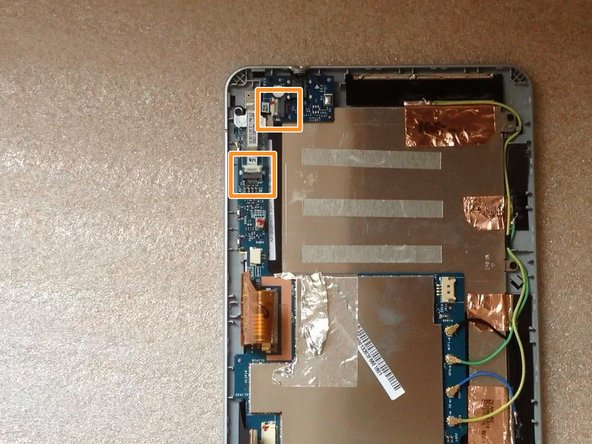
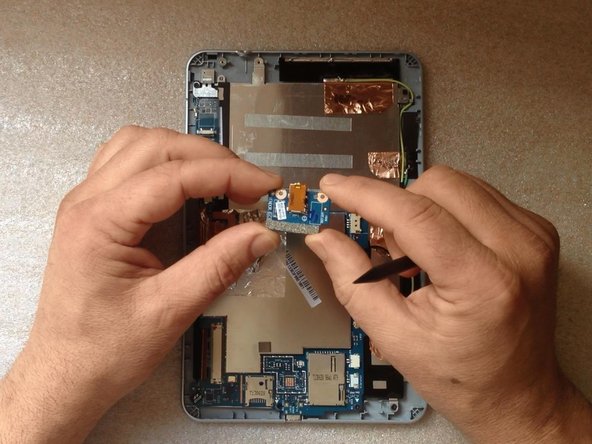
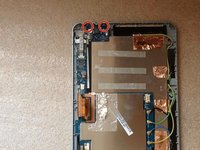
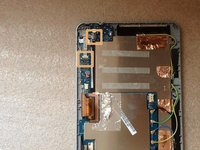
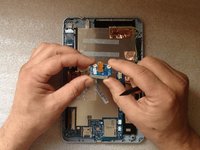
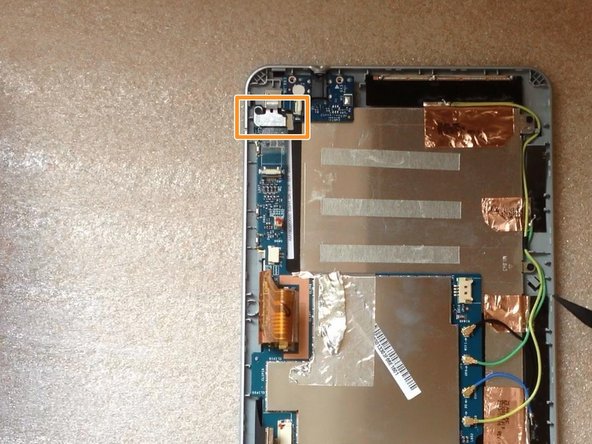
    1. Acer Iconia B1-711 LCD Display Replacement, Audio Jack Connector: step 4, image 1 of 3 Acer Iconia B1-711 LCD Display Replacement, Audio Jack Connector: step 4, image 2 of 3 Acer Iconia B1-711 LCD Display Replacement, Audio Jack Connector: step 4, image 3 of 3
      • Unscrew 2x Philips screws

      • Disconnect and remove the Audio Jack Board flex cable.

      • Remove the board with the Audio Jack Connector.

      Ask FixBot

      Add Comment

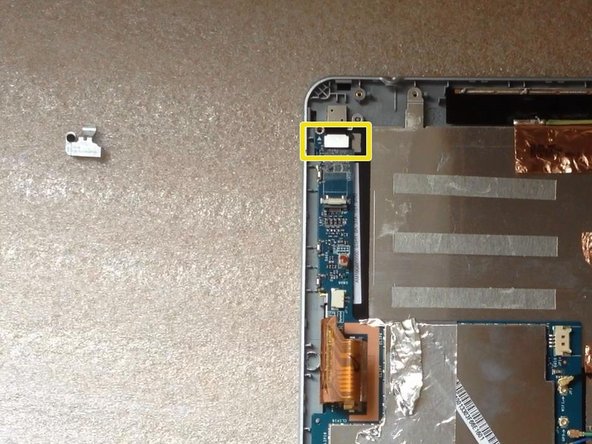
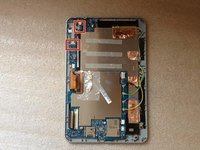
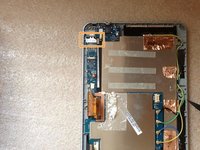
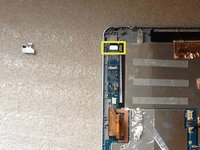
    1. Acer Iconia B1-711 LCD Display Replacement, Camera: step 5, image 1 of 3 Acer Iconia B1-711 LCD Display Replacement, Camera: step 5, image 2 of 3 Acer Iconia B1-711 LCD Display Replacement, Camera: step 5, image 3 of 3
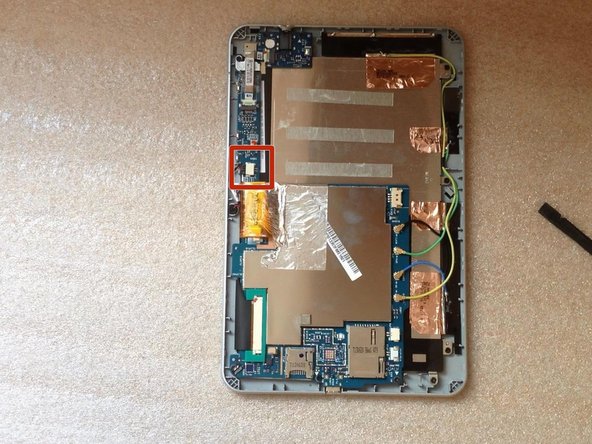
      • Remove the Audio jack flex cable.

      • Remove the metal plate which is placed on the camera connector.

      • Disconnect the camera flex cable.

      Ask FixBot

      Add Comment

    2. Acer Iconia B1-711 LCD Display Replacement: step 6, image 1 of 1
      • Remove the camera.

      Ask FixBot

      Add Comment

    1. Acer Iconia B1-711 LCD Display Replacement, Microphone: step 7, image 1 of 3 Acer Iconia B1-711 LCD Display Replacement, Microphone: step 7, image 2 of 3 Acer Iconia B1-711 LCD Display Replacement, Microphone: step 7, image 3 of 3
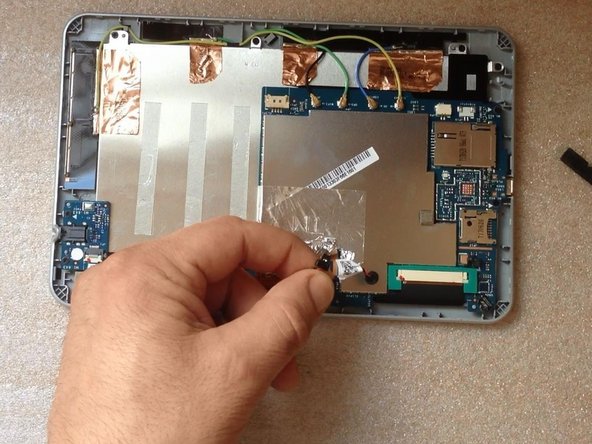
      • Remove the tape from the microphone.

      • Disconnect the Microphone wires and remove the Microphone.

      Ask FixBot

      Add Comment

    1. Acer Iconia B1-711 LCD Display Replacement, Logic Board: step 8, image 1 of 3 Acer Iconia B1-711 LCD Display Replacement, Logic Board: step 8, image 2 of 3 Acer Iconia B1-711 LCD Display Replacement, Logic Board: step 8, image 3 of 3
      • Remove the green rubber and disconnect the touch screen flex cable.

      • Disconnect the 4 coaxial antenna cables (Wi-Fi, GPS, 3G).

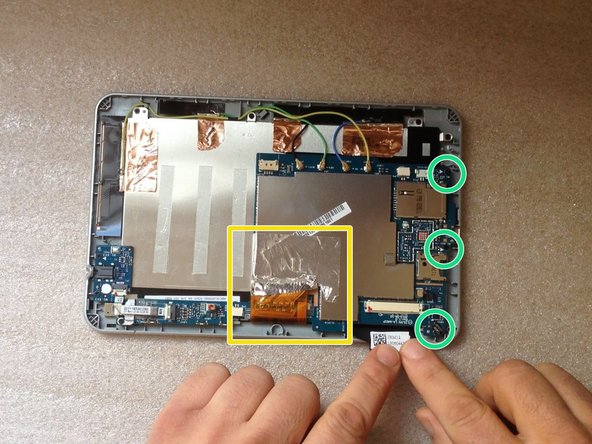
      • Carefully unstuck the metal folio from the LCD display flex cable.

      • Remove the 3x Phillips screws.

      Ask FixBot

      Add Comment

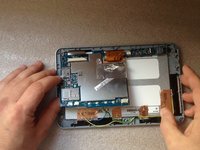
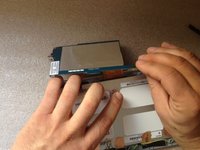
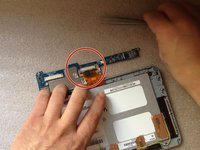
    2. Acer Iconia B1-711 LCD Display Replacement: step 9, image 1 of 3 Acer Iconia B1-711 LCD Display Replacement: step 9, image 2 of 3 Acer Iconia B1-711 LCD Display Replacement: step 9, image 3 of 3
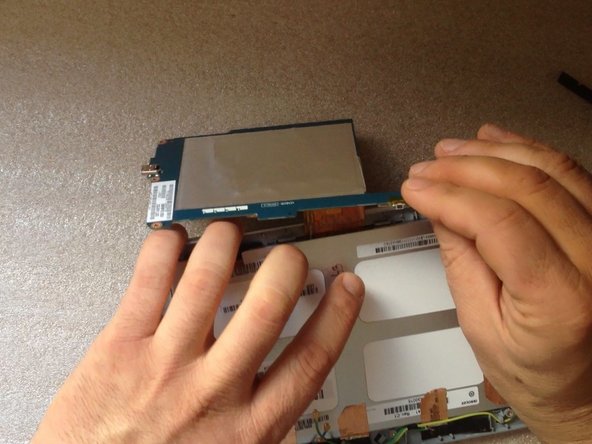
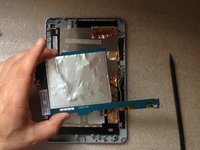
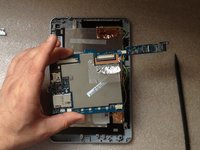
      • Lift the board from the side of the battery connector and turn it around the display connector on 360 degrees.

      • Be careful for the flex cable!

      • Disconnect the LCD display flex cable.

      Ask FixBot

      Add Comment

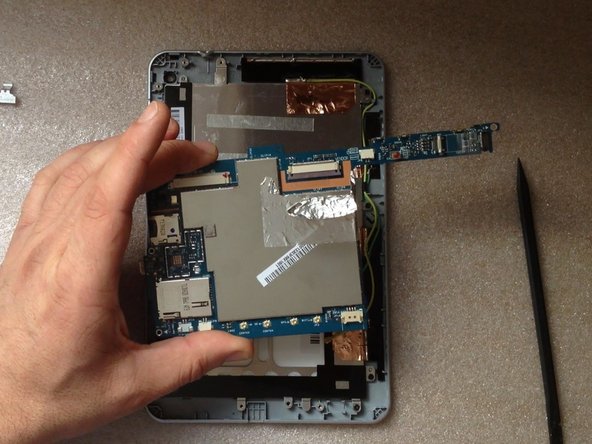
    3. Acer Iconia B1-711 LCD Display Replacement: step 10, image 1 of 2 Acer Iconia B1-711 LCD Display Replacement: step 10, image 2 of 2
      • This is the Logic board.

      Ask FixBot

      Add Comment

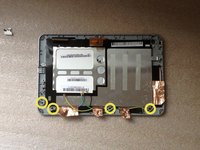
    1. Acer Iconia B1-711 LCD Display Replacement, LCD Display: step 11, image 1 of 2 Acer Iconia B1-711 LCD Display Replacement, LCD Display: step 11, image 2 of 2
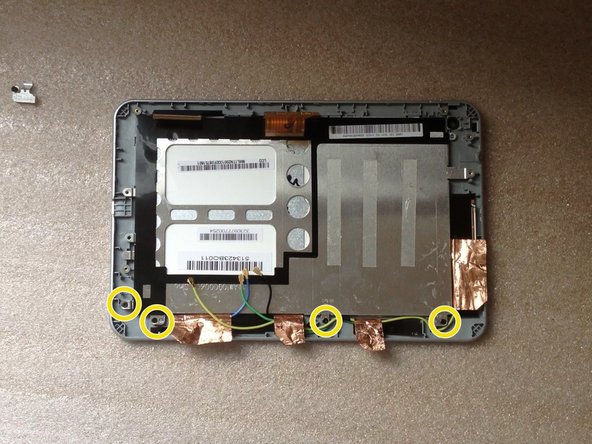
      • Careful unstuck the metal folio from the screen shield.

      • Remove the 4x Phillips screws.

      Ask FixBot

      Add Comment

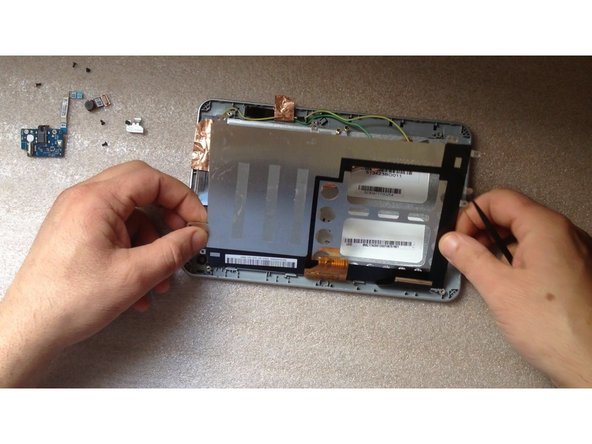
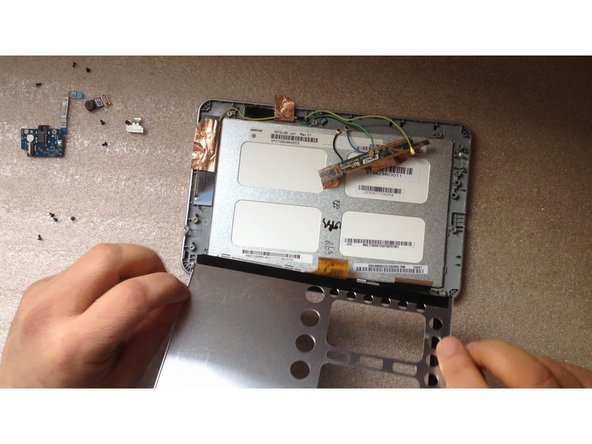
    2. Acer Iconia B1-711 LCD Display Replacement: step 12, image 1 of 3 Acer Iconia B1-711 LCD Display Replacement: step 12, image 2 of 3 Acer Iconia B1-711 LCD Display Replacement: step 12, image 3 of 3
      • lift the screen shield from one side and open it like a door, then remove it.

      Ask FixBot

      Add Comment

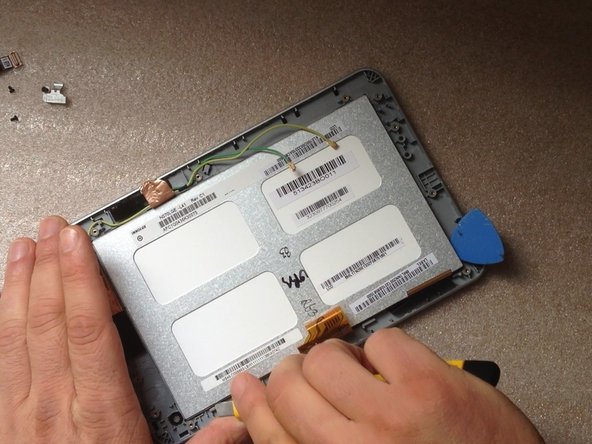
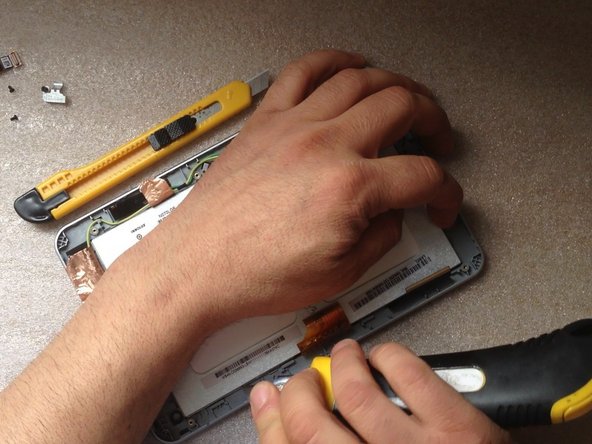
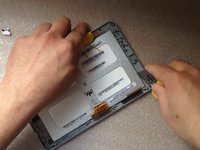
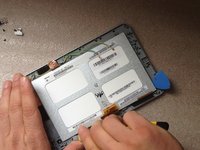
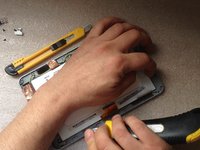
    3. Acer Iconia B1-711 LCD Display Replacement: step 13, image 1 of 3 Acer Iconia B1-711 LCD Display Replacement: step 13, image 2 of 3 Acer Iconia B1-711 LCD Display Replacement: step 13, image 3 of 3
      • The LCD display is held from the metal screen frame by several locking clips.

      • Very careful using a tool with sharp edge, release the screen from the one side.

      Ask FixBot

      Add Comment

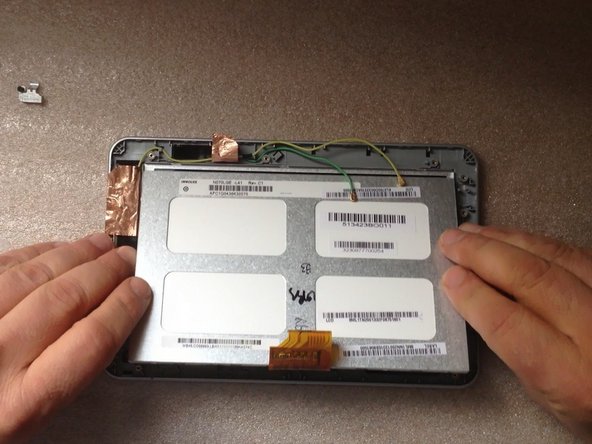
    4. Acer Iconia B1-711 LCD Display Replacement: step 14, image 1 of 3 Acer Iconia B1-711 LCD Display Replacement: step 14, image 2 of 3 Acer Iconia B1-711 LCD Display Replacement: step 14, image 3 of 3
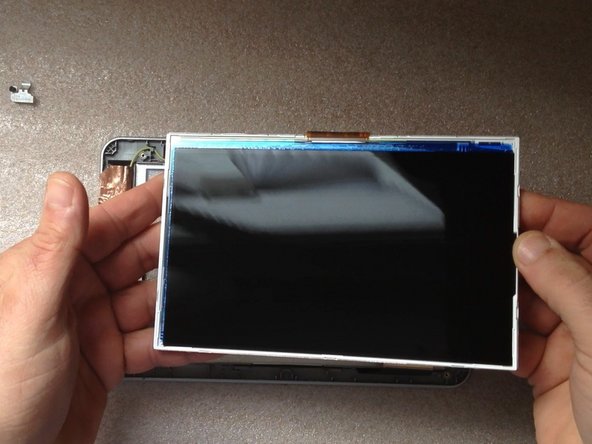
      • Lift the display up and remove it.

      Ask FixBot

      Add Comment

Conclusion

To reassemble your device, follow these instructions in reverse order.

Cancel: I did not complete this guide.

2 other people completed this guide.

ZFix

Member since: 12/09/13

197,636 Reputation

330 Guides authored

Team

Master Techs Member of Master Techs

Community

335 Members

8,260 Guides authored

1 Guide Comment

Display milega kya

Hussain Ahmad - Reply Share
Add Comment

View Statistics:

Past 24 Hours: 6

Past 7 Days: 15

Past 30 Days: 31

All Time: 2,700