Free Shipping on Domestic Orders $75+

Acer Iconia A100 Light Sensor Replacement

What you need

    1. Acer Iconia A100 Light Sensor  Replacement, Battery: step 1, image 1 of 1
      • Start at any side of the tablet.

      • Begin to take apart the tablet with a plastic opening tool along the sides of the tablet.

      • Work your way around the tablet.

      • There are four side pieces in total.

      Ask FixBot

      Add Comment

    2. Acer Iconia A100 Light Sensor  Replacement: step 2, image 1 of 1
      • Remove the five 4 mm screws from the edges of the tablet with a Phillips #00 screwdriver.

      Ask FixBot

      Add Comment

    3. Acer Iconia A100 Light Sensor  Replacement: step 3, image 1 of 1
      • Carefully separate the back piece from the device using a plastic opening tool.

      • Remember to open along the entire perimeter of the tablet.

      Ask FixBot

      Add Comment

    4. Acer Iconia A100 Light Sensor  Replacement: step 4, image 1 of 1
      • Turn the tablet over so that the battery is facing upwards.

      • Remove the four 4mm screws located around the battery.

      Ask FixBot

      Add Comment

    5. Acer Iconia A100 Light Sensor  Replacement: step 5, image 1 of 2 Acer Iconia A100 Light Sensor  Replacement: step 5, image 2 of 2
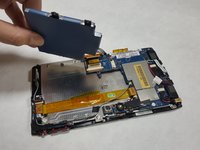
      • Use the tip of a plastic spudger or opening tool to gently push the connector head out of its socket.

      • Use your fingers or the flat edge of a plastic opening tool to lift the battery up and off of the device.

      • Be sure to not have any water around the device while removing the battery.

      • Be sure to be cautious while removing the battery and remove carefully; avoid ripping the wires attached to the battery.

      Ask FixBot

      Add Comment

    1. Acer Iconia A100 Light Sensor  Replacement, I/O Board: step 6, image 1 of 1
      • Gently peel off any tape securing the FPC to the main plate.

      Ask FixBot

      Add Comment

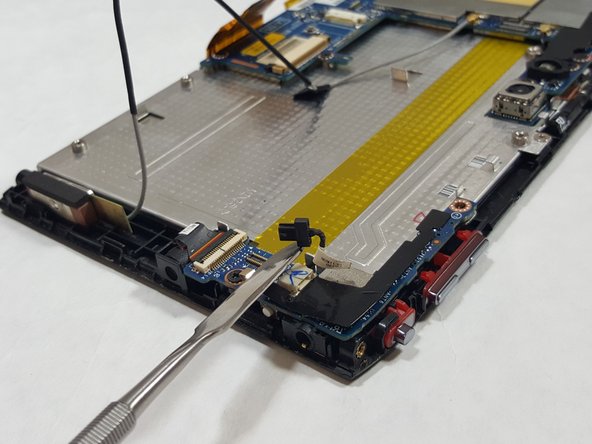
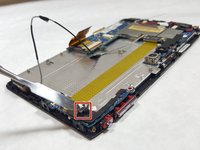
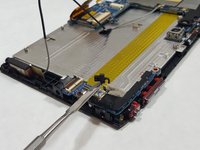
    2. Acer Iconia A100 Light Sensor  Replacement: step 7, image 1 of 3 Acer Iconia A100 Light Sensor  Replacement: step 7, image 2 of 3 Acer Iconia A100 Light Sensor  Replacement: step 7, image 3 of 3
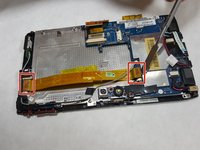
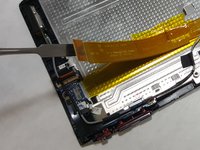
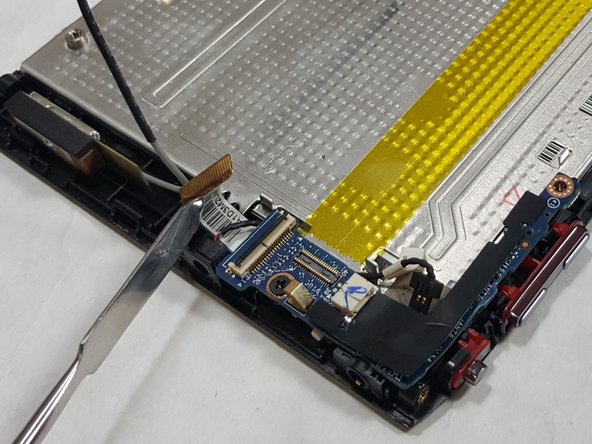
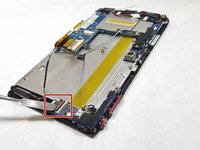
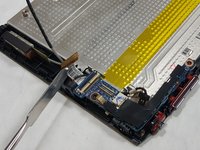
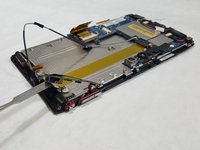
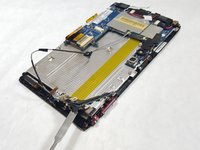
      • Locate the two connectors at each end of the FPC.

      • Use the flat edge of a spudger tool or your fingernail to gently pry each connector straight upwards out of its socket, then remove the FPC cable from the unit.

      • While a metal spudger tool is shown here, it is best to use a plastic spudger / opening tool when possible, and only use a metal spudger as a last resort!

      • You should now see the yellow-colored strip on the metal base marking the location of the FPC

      Ask FixBot

      Add Comment

    3. Acer Iconia A100 Light Sensor  Replacement: step 8, image 1 of 1
      • Locate the L-shaped I/O Board.

      • Locate the gray 3G Antenna wire.

      • If the gray 3G Antenna wire is connected to your I/O Board, disconnect it. If for some reason the 3G Antenna wire is already disconnected from the I/O Board (as it was in this device) simply lift it out of the way.

      Ask FixBot

      Add Comment

    4. Acer Iconia A100 Light Sensor  Replacement: step 9, image 1 of 2 Acer Iconia A100 Light Sensor  Replacement: step 9, image 2 of 2
      • Locate the microphone cable.

      • You should be able to gently pull it out of its socket using only your fingers.

      • The spudger is used in the photo merely to hold up / identify the disconnected mic cable head.

      Ask FixBot

      Add Comment

    5. Acer Iconia A100 Light Sensor  Replacement: step 10, image 1 of 3 Acer Iconia A100 Light Sensor  Replacement: step 10, image 2 of 3 Acer Iconia A100 Light Sensor  Replacement: step 10, image 3 of 3
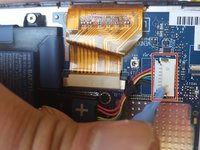
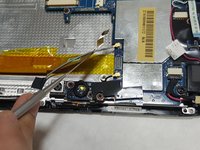
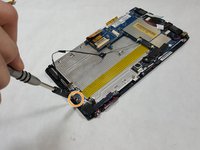
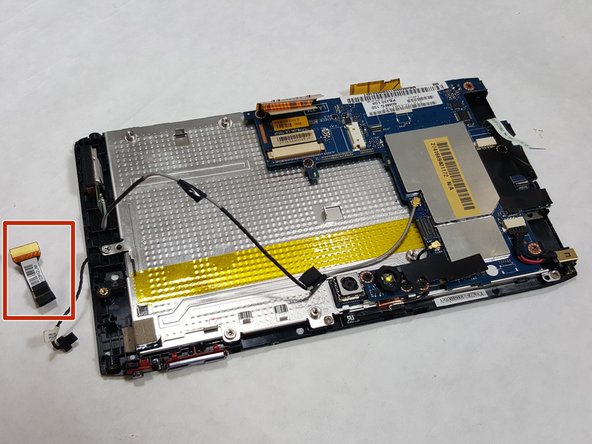
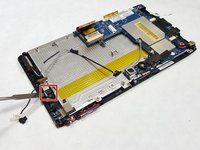
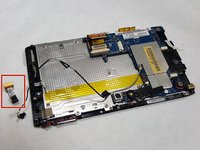
      • Locate the light sensor connector.

      • Use the tip of a spudger or your fingernail to lift up and flip the small retaining flap on the connector. The light sensor ribbon cable should now be free, so simply pull it out.

      • This is a ZIF (zero insertion force) connector, which requires no force to remove / plug in the connector.

      • Please make sure you lift up on the small retaining flap on the connector, not the connector itself!

      • Use a Phillips #00 screwdriver to unscrew the single 3.0mm Phillips screw next to the light sensor connector.

      Ask FixBot

      Add Comment

    6. Acer Iconia A100 Light Sensor  Replacement: step 11, image 1 of 2 Acer Iconia A100 Light Sensor  Replacement: step 11, image 2 of 2
      • Carefully lift the I/O Board off the device.

      Ask FixBot

      Add Comment

    1. Acer Iconia A100 Light Sensor  Replacement, Light Sensor: step 12, image 1 of 2 Acer Iconia A100 Light Sensor  Replacement, Light Sensor: step 12, image 2 of 2
      • To remove the light sensor, use the flat edge of a spudger, plastic opening tool, or your fingernail to gently pry the top of the square connector straight up and out of its socket.

      • While a metal spudger tool is shown here, it is best to use a plastic spudger / opening tool when possible, and only use a metal spudger as a last resort!

      Ask FixBot

      Add Comment

Conclusion

To reassemble your device, follow these instructions in reverse order.

Cancel: I did not complete this guide.

Bree Abernathy

Member since: 03/01/17

341 Reputation

3 Guides authored

Team

IUPUI, Team S1-G4, Harley Spring 2017 Member of IUPUI, Team S1-G4, Harley Spring 2017

IUPUI-HARLEY-S17S1G4

4 Members

48 Guides authored

0 Guide Comments

Add Comment

View Statistics:

Past 24 Hours: 0

Past 7 Days: 4

Past 30 Days: 16

All Time: 375