Free Shipping on Domestic Orders $75+

Acer Icona W510 Charging Port Replacement

What you need

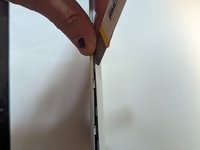
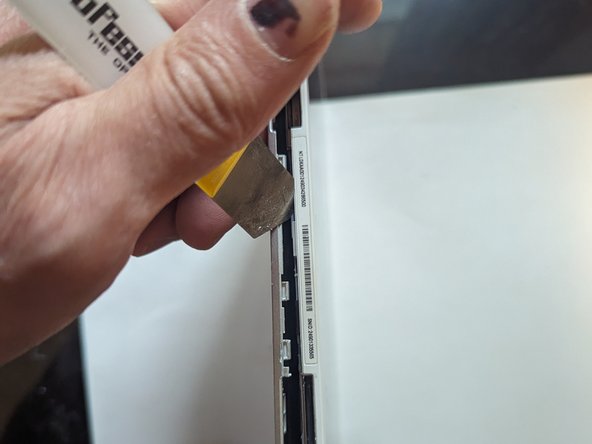
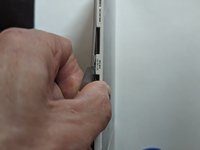
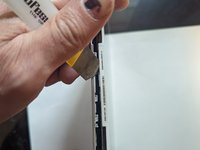
  1. Acer Icona W510 Charging Port Replacement, Rear Cover: step 1, image 1 of 3 Acer Icona W510 Charging Port Replacement, Rear Cover: step 1, image 2 of 3 Acer Icona W510 Charging Port Replacement, Rear Cover: step 1, image 3 of 3
    • Carefully insert your metal pry tool between the back cover and the frame at an angle as shown.

    • Give the tool a twist to the left to start separating the clips.

    • Work your way to the corner, prying and twisting to pop the clips as you go.

    Ask FixBot
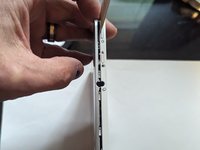
  2. Acer Icona W510 Charging Port Replacement, Right Side: step 2, image 1 of 3 Acer Icona W510 Charging Port Replacement, Right Side: step 2, image 2 of 3 Acer Icona W510 Charging Port Replacement, Right Side: step 2, image 3 of 3
    • Insert an opening pick to make sure the clips don't close down again as you round the corner and start working on the right side of the tablet.

    • Continue as before, prying and twisting to release the catches.

    Ask FixBot
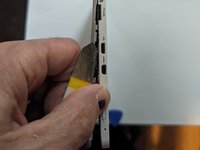
  3. Acer Icona W510 Charging Port Replacement, Top Edge: step 3, image 1 of 2 Acer Icona W510 Charging Port Replacement, Top Edge: step 3, image 2 of 2
    • Continue along the top edge as before

    • When you get to the corner, be careful not to insert the tool in the space below the power on symbol. There is a delicate clip there that is easy to break if you're prying with the tool. (Yes, I'm speaking from experience. Don't be me.)

    Ask FixBot
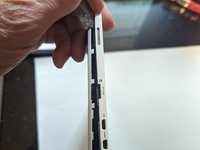
  4. Acer Icona W510 Charging Port Replacement, Left Side: step 4, image 1 of 2 Acer Icona W510 Charging Port Replacement, Left Side: step 4, image 2 of 2
    • Unclip the left side of the tablet.

    Ask FixBot
  5. Acer Icona W510 Charging Port Replacement, Bottom Edge: step 5, image 1 of 2 Acer Icona W510 Charging Port Replacement, Bottom Edge: step 5, image 2 of 2
    • Back to the bottom side again, this little part by itself is a little finicky to get unclipped, just follow the same procedure as with the first one.

    • And finally the home stretch between the keyboard/power connector and the right hand guide pin, back to where you started.

    Ask FixBot
  6. Acer Icona W510 Charging Port Replacement: step 6, image 1 of 1
    • The rear cover is removed.

    Ask FixBot
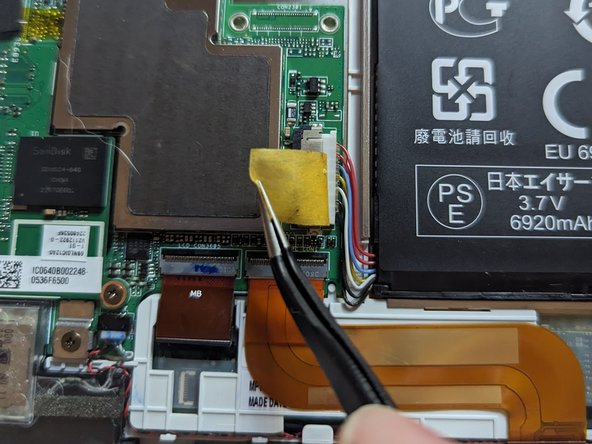
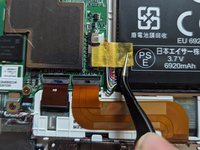
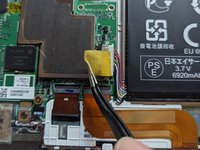
  7. Acer Icona W510 Charging Port Replacement, Unplug the Tablet Battery: step 7, image 1 of 2 Acer Icona W510 Charging Port Replacement, Unplug the Tablet Battery: step 7, image 2 of 2
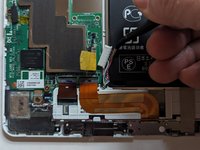
    • Peel back the tape securing the battery connector.

    Ask FixBot
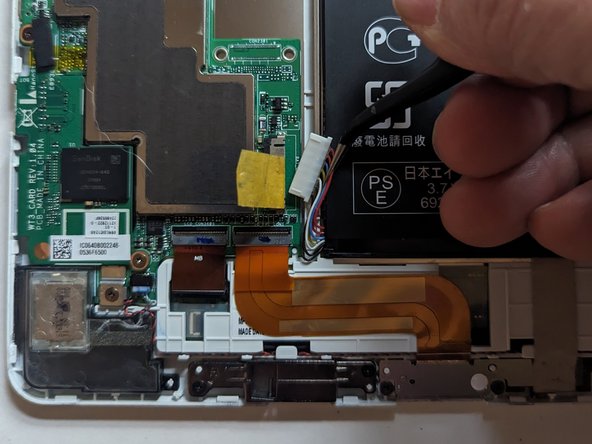
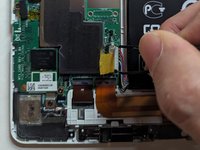
  8. Acer Icona W510 Charging Port Replacement: step 8, image 1 of 2 Acer Icona W510 Charging Port Replacement: step 8, image 2 of 2
    • Grasp the plug by the tabs on either side and pull it straight out from the connector.

    Ask FixBot
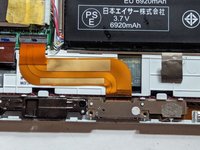
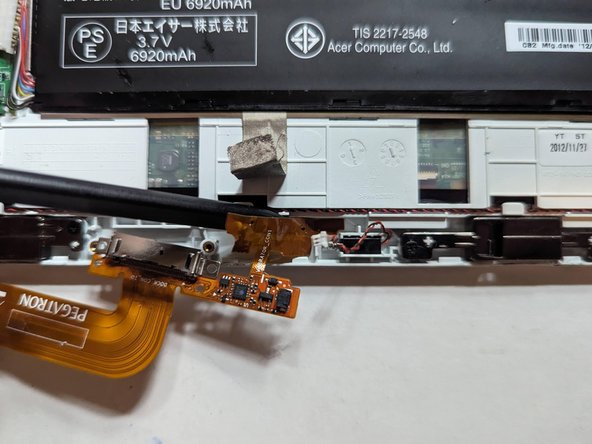
  9. Acer Icona W510 Charging Port Replacement, Charging Port Disconnection: step 9, image 1 of 3 Acer Icona W510 Charging Port Replacement, Charging Port Disconnection: step 9, image 2 of 3 Acer Icona W510 Charging Port Replacement, Charging Port Disconnection: step 9, image 3 of 3
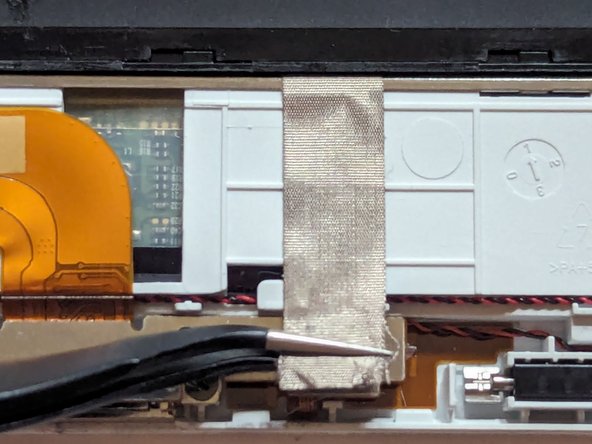
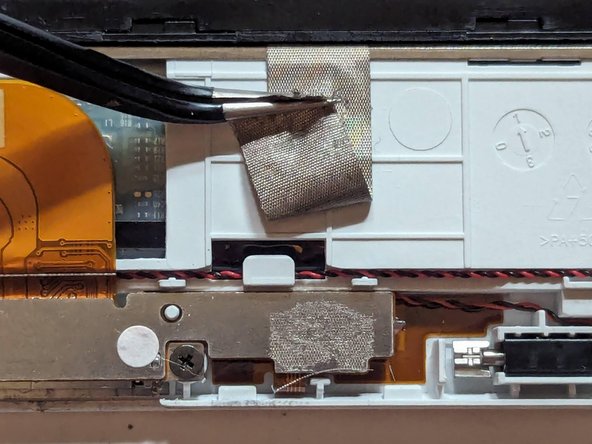
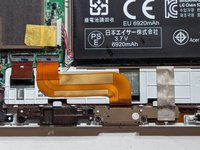
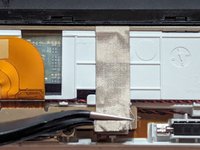
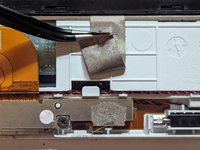
    • Unstick the grounding tape from the charging connector.

    Ask FixBot
  10. Acer Icona W510 Charging Port Replacement: step 10, image 1 of 2 Acer Icona W510 Charging Port Replacement: step 10, image 2 of 2
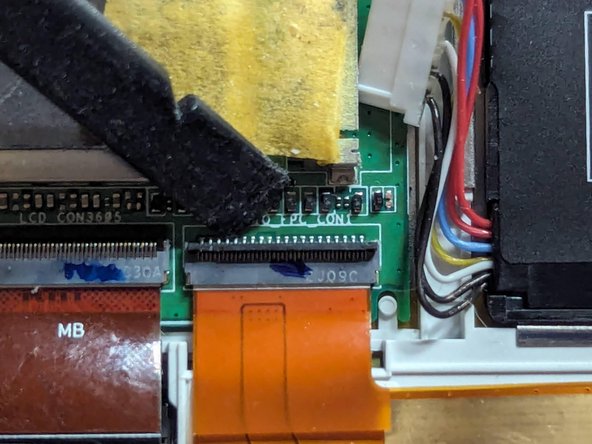
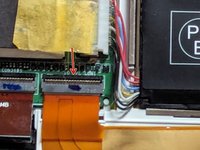
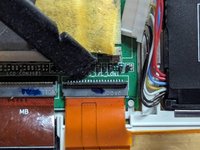
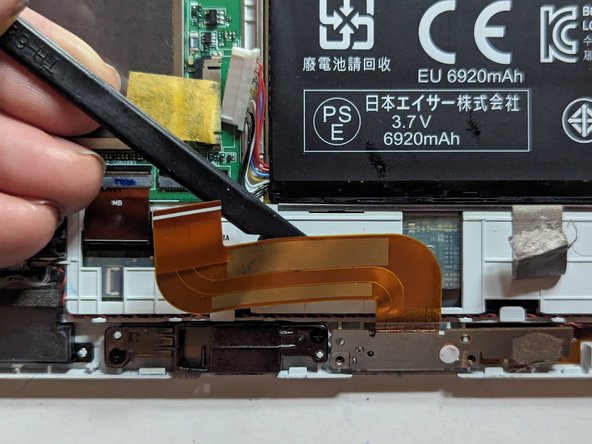
    • Using a spudger, flip up the latch securing the charge port flex cable.

    Ask FixBot
  11. Acer Icona W510 Charging Port Replacement: step 11, image 1 of 1
    • Grasp the pull tab on the flex cable and use it to pull the cable out of the connector.

    Ask FixBot
  12. Acer Icona W510 Charging Port Replacement: step 12, image 1 of 2 Acer Icona W510 Charging Port Replacement: step 12, image 2 of 2
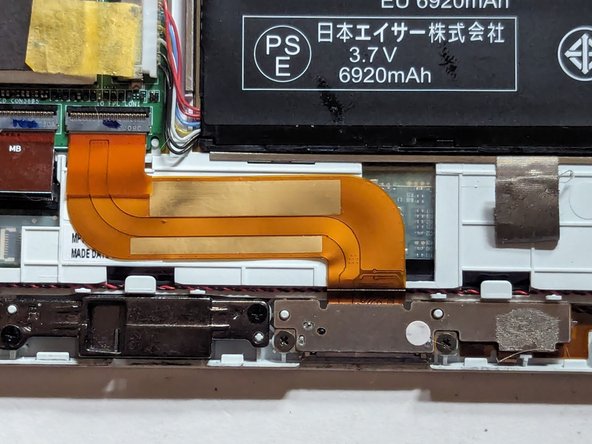
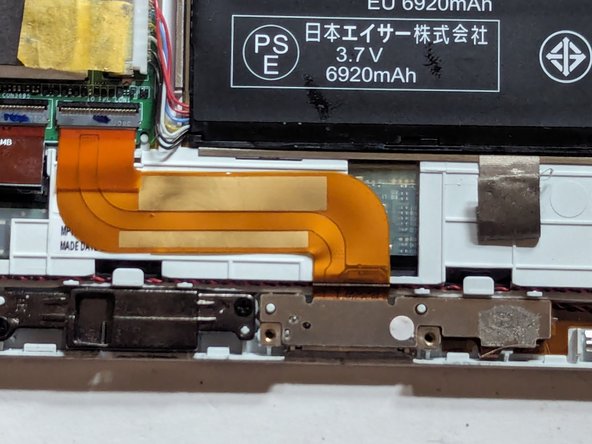
    • The flex cable is lightly adhered to the display frame, so use a spudger to separate it.

    Ask FixBot
  13. Acer Icona W510 Charging Port Replacement, Vibrator Motor Disconnection: step 13, image 1 of 3 Acer Icona W510 Charging Port Replacement, Vibrator Motor Disconnection: step 13, image 2 of 3 Acer Icona W510 Charging Port Replacement, Vibrator Motor Disconnection: step 13, image 3 of 3
    • Remove the two 2.1mm Phillips screws.

    Ask FixBot
  14. Acer Icona W510 Charging Port Replacement: step 14, image 1 of 1
    • Flip the cable assembly over carefully, as it is still adhered to the frame by a thin strip of flex cable. Be careful not to break that strip.

    Ask FixBot
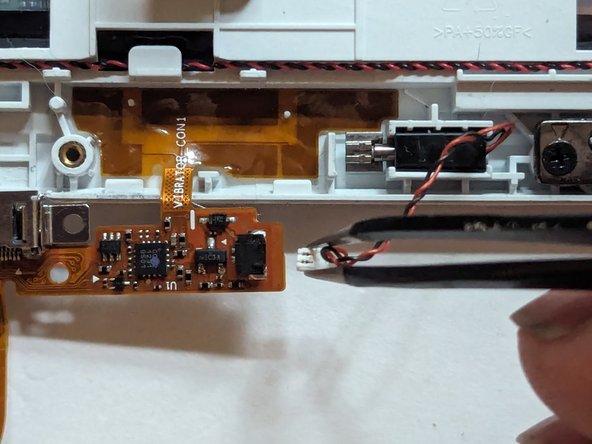
  15. Acer Icona W510 Charging Port Replacement: step 15, image 1 of 2 Acer Icona W510 Charging Port Replacement: step 15, image 2 of 2
    • Unplug the vibration motor from the charging port circuit board.

    Ask FixBot
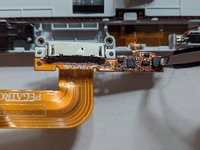
  16. Acer Icona W510 Charging Port Replacement, Charging Port: step 16, image 1 of 2 Acer Icona W510 Charging Port Replacement, Charging Port: step 16, image 2 of 2
    • The flex cable is tightly secured to the frame and requires care to remove. Use a spudger and work slowly and methodically to separate it from the case.

    Ask FixBot
  17. Acer Icona W510 Charging Port Replacement: step 17, image 1 of 1
    • The flex cable is now free of the tablet.

    Ask FixBot
Conclusion

To reassemble your device, follow these instructions in reverse order.

Jerry Wheeler

Member since: 03/21/22

94,111 Reputation

92 Guides authored

0 Guide Comments

Add Comment

View Statistics:

Past 24 Hours: 0

Past 7 Days: 4

Past 30 Days: 34

All Time: 417