
Free Shipping on Domestic Orders $75+

Acer Extensa 4420 Keyboard Replacement

What you need

  1. Acer Extensa 4420 Keyboard Replacement, Battery: step 1, image 1 of 2 Acer Extensa 4420 Keyboard Replacement, Battery: step 1, image 2 of 2
    • First, make sure that the battery lock is turned off.

    • The battery lock makes it so the battery doesn't accidentally fall out of your computer while it is running.

    Ask FixBot

    Add Comment

  2. Acer Extensa 4420 Keyboard Replacement: step 2, image 1 of 3 Acer Extensa 4420 Keyboard Replacement: step 2, image 2 of 3 Acer Extensa 4420 Keyboard Replacement: step 2, image 3 of 3
    • Then, slide the other battery lock while pulling the battery out.

    Ask FixBot

    Add Comment

  3. Acer Extensa 4420 Keyboard Replacement, Keyboard Cover: step 3, image 1 of 3 Acer Extensa 4420 Keyboard Replacement, Keyboard Cover: step 3, image 2 of 3 Acer Extensa 4420 Keyboard Replacement, Keyboard Cover: step 3, image 3 of 3
    Tool used on this step:
    Spudger
    $3.99
    Buy
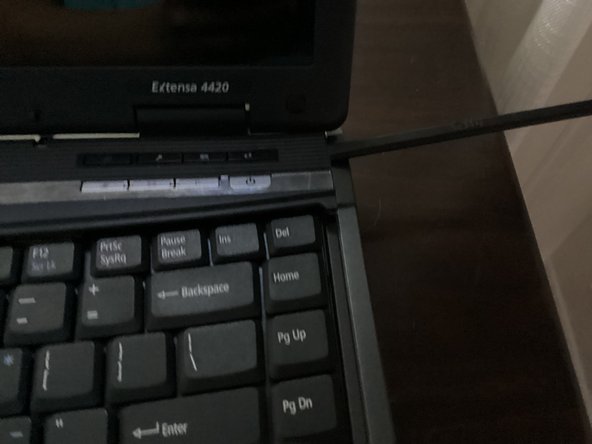
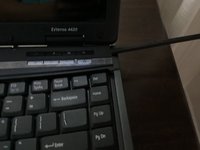
    • Open the keyboard cover with a spudger

    • You will need to fold the display all the way back, or else the keyboard cover will get stuck on it.

    Ask FixBot

    Add Comment

  4. Acer Extensa 4420 Keyboard Replacement, Keyboard: step 4, image 1 of 3 Acer Extensa 4420 Keyboard Replacement, Keyboard: step 4, image 2 of 3 Acer Extensa 4420 Keyboard Replacement, Keyboard: step 4, image 3 of 3
    Tool used on this step:
    Phillips #000 Screwdriver
    $5.49
    Buy
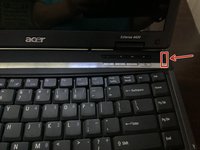
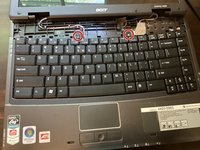
    • Unscrew these 2 screws with a phillips #000 screwdriver.

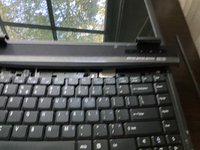
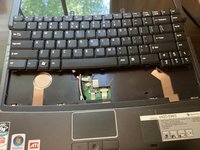
    • Pull the keyboard out. It should come out pretty easily.

    • DO NOT PULL IT OUT TOO HARD, AS YOU WOULD BREAK THE RIBBON CABLE!

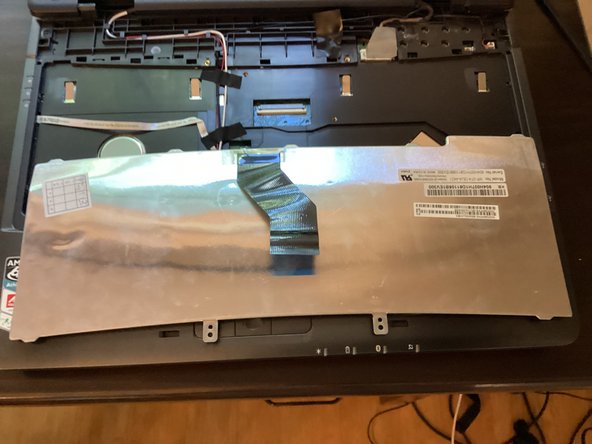
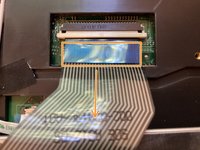
    • Flip the keyboard around, so you have access to the ribbon cable on the back of the keyboard

    Ask FixBot

    Add Comment

  5. Acer Extensa 4420 Keyboard Replacement: step 5, image 1 of 3 Acer Extensa 4420 Keyboard Replacement: step 5, image 2 of 3 Acer Extensa 4420 Keyboard Replacement: step 5, image 3 of 3
    • Pull the white part of the connector towards you.

    • Doing so will unlock the ribbon cable.

    • Take the blue tag and pull it towards you.

    Ask FixBot

    Add Comment

Conclusion

To reassemble your device, follow these instructions in reverse order.

Cancel: I did not complete this guide.

TheMasterG

Member since: 07/19/24

1,424 Reputation

12 Guides authored

0 Guide Comments

Add Comment

View Statistics:

Past 24 Hours: 1

Past 7 Days: 5

Past 30 Days: 24

All Time: 218