
Acer E5-571-54FL CPU Replacement

Jennifer Hancock and 6 other contributors
Last updated on Jun 19, 2024
Views: 1.5K
View statistics:
- Past 24 Hours:
- 2
- Past 7 Days:
- 15
- Past 30 Days:
- 67
- All Time:
- 1,493
Comments: 6
5 comments on steps, 1 guide comment.
Go to guide commentsCompleted: 0 1
No one has marked this guide "completed." Will you be the first?
1 person has marked this guide "completed." It's you — great job!
Favorites: 0 1
No one has favorited (and subscribed to) this guide. Will you be the first?
1 person has favorited (and subscribed to) this guide — and that's you!
Incorrect Tools
Help make this guide better by using the correct tools in images and/or text.
Needs More Images
A few more images would make this guide's procedures crystal clear.
Mismatched Prerequisites
This guide does not have a proper prerequisite guide. Help match it to its ideal partner by finding it or writing one!
Missing Steps
Oops! This guide is currently missing one or more important steps.
Introduction
Go to step 1 ↓The central processing unit (CPU) is the brain of your computer. It is responsible for executing program instructions and performing basic arithmetic and logical operations. If your Acer E5-571-54FL is experiencing glitches or displaying a blue screen, the CPU may need repairs. Follow the instructions in this guide to replace the CPU in your Acer E5-571-54FL laptop. Before beginning, power off the device and unplug it from the charger.
What you need


-
-
-
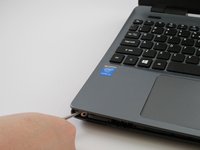
Place the pointed end of a spudger into the battery lock. Slide the battery lock to the left using the spudger. A "click" sound will accompany the release of the battery.
-
-
-
-
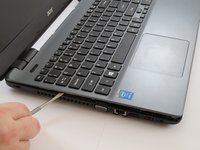
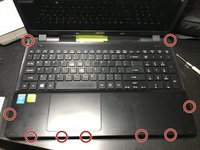
Carefully pry apart the clips holding the keyboard in place by moving a metal spudger along the seam.
-
-
-
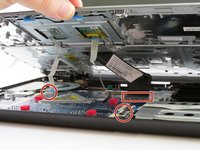
Carefully flip up the white hinge. Detach the three ZIF ribbons connected to the motherboard.
-
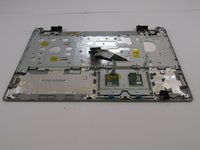
Remove the panel with the keyboard and the touchpad.
-
-
-
-
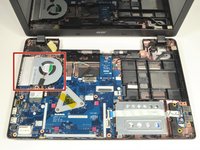
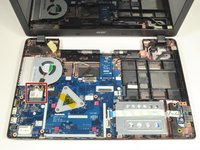
Locate the CPU cooling fan in the upper left corner of the laptop.
-
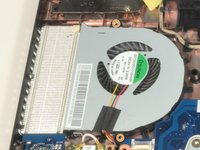
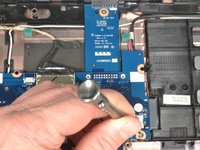
Using a Phillips #0 screwdriver, remove the two 4.5 mm screws that secure the fan to the case.
-
-
Tool used on this step:Tweezers$4.99
-
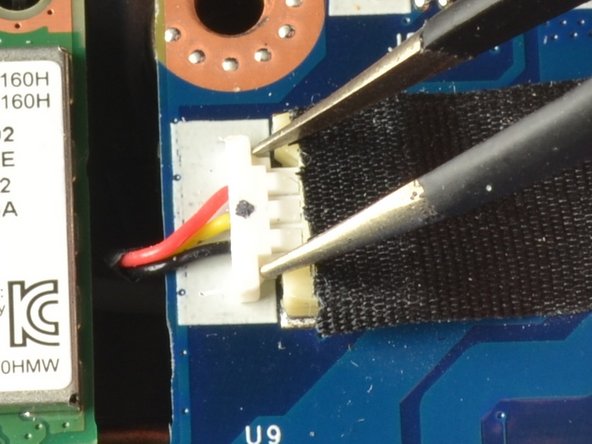
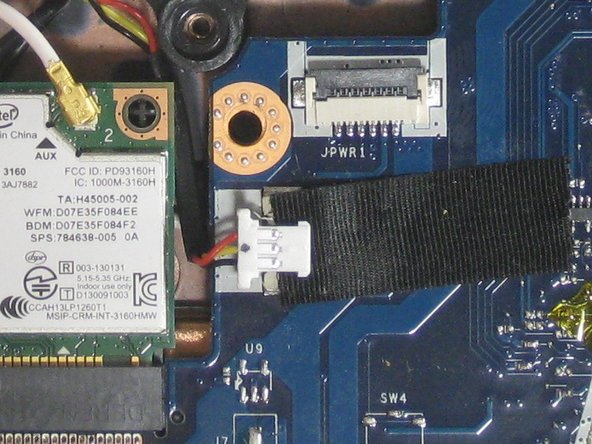
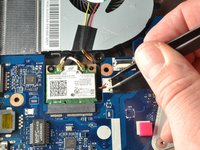
Place the tips of the ESD safe pointed tweezers between the plug and the socket of the fan connection.
-
Gently push the tweezers to the left to disconnect the fan plug.
-
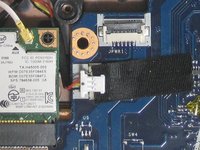
Move the fan connector and its wires to free them from the motherboard and the Wi-Fi card.
-
-
-
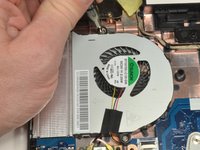
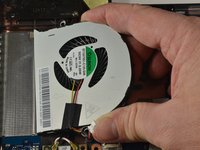
Lift the curved end of the fan by about 30 degrees.
-
Use your hand to lift the fan up and to the right until it is clear of the case.
-
-
-
-
Tool used on this step:Tweezers$4.99
-
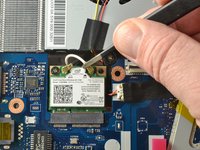
Locate the Wi-Fi card. It is just below the fan and has a white coaxial cable and a black coaxial cable attached to it.
-
Grab the section of the white coaxial cable behind the brass connection using ESD safe blunt nose metal tweezers.
-
Carefully lift the white and black coaxial cables up and forward to disconnect the them from the Wi-Fi card.
-
-
-
Use a Phillips #0 screwdriver to remove the 3 mm screw from the upper left corner of the Wi-Fi card.
-
-
-
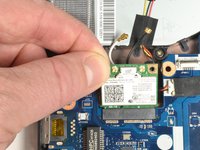
Grab the upper left corner of the Wi-Fi card with your fingers.
-
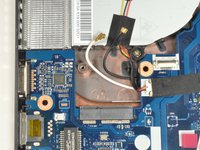
Gently pull the Wi-Fi card away from the socket.
-
-
-
-
-
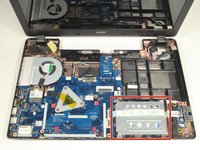
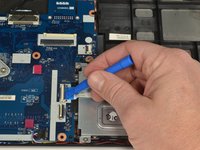
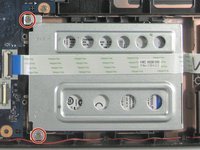
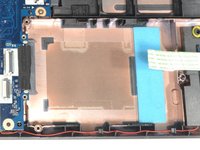
Locate the hard drive and its carriage at the lower right corner of the laptop.
-
Release the USB port ribbon cable by using the plastic opening tool to carefully lift up the black locking tab of the ZIF connector.
-
Move the USB port ribbon cable to the side.
-
-
-
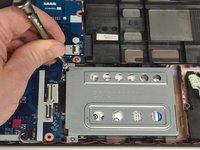
Use a Phillips #0 screwdriver to remove the two 4 mm screws securing the hard drive carriage in place.
-
-
-
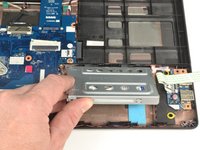
Hold the right side of the laptop in place with your right hand.
-
Put the fingers of your left hand along the top edge of the hard drive carriage.
-
Push the hard drive carriage towards your right hand to disconnect it from the motherboard.
-
-
-
Lift up the hard drive carriage on the edge closest to your body to remove it.
-
-
-
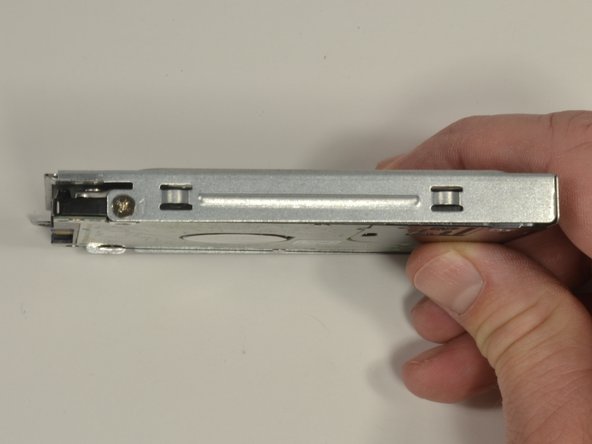
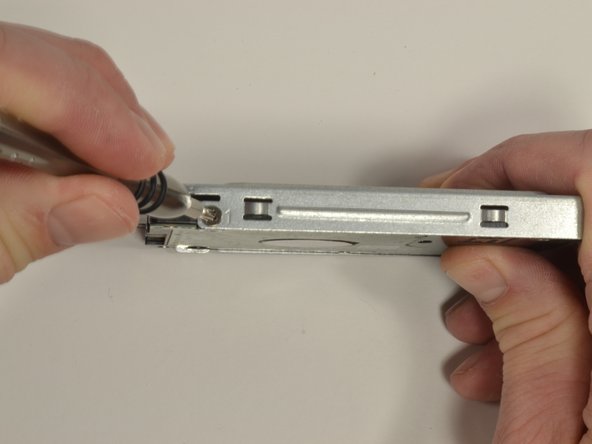
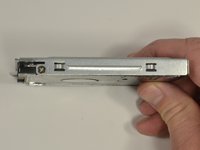
Hold the hard drive carriage with your non-dominant hand along one side. Ensure one of the Phillips screws is visible.
-
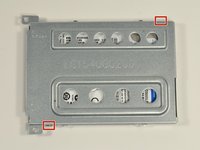
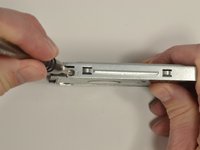
Using a Phillips #0 screwdriver, remove the 3 mm screw to release the side of the hard drive from the carriage.
-
Repeat the previous bullet to remove the second 3 mm Phillips #0 screw.
-
-
-
-
Tool used on this step:Tweezers$4.99
-
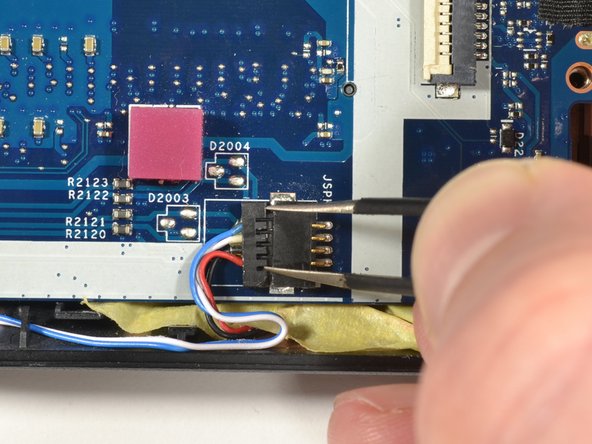
Place the tips of the ESD safe pointed tweezers between the plug and the socket of the speaker connection.
-
Gently push left to disconnect the speaker plug.
-
-
-
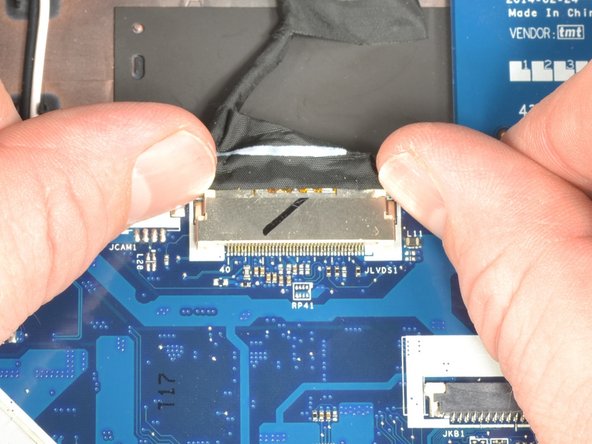
Place your fingernails on each side of the screen connection plug. Gently push away from your body to disconnect the plug.
-
-
-
-
Carefully lift up on the right edge of the motherboard near the hard drive connector.
-
With minimal force, pull the motherboard to the right freeing the ports on the left from the case.
-
Put down the right side and allow the motherboard to rest in the case.
-
Lift the left side of the motherboard up and turn it over so the ports are now facing right.
-
-
-
Grip the edge of the motherboard closest to your body with your non-dominant hand.
-
Grip the power connection wires with your dominant hand and gently pull away from your body to disconnect.
-
-
-
-
Shut down the laptop.
-
Flip the laptop upside down. Rotate the laptop so the battery faces you.
-
-
-
Place the pointed end of a spudger into the battery lock.
-
Slide the battery lock to the left using the spudger until you hear the battery release.
-
Pull the battery towards you to remove it from the laptop.
-
-
-
Remove the outer 6 mm screws located on both the top and the bottom sides of the fan.
-
Detach the power cable by pulling it out.
-
Remove the cooling fan.
-
-
-
Remove the two 4 mm Phillips head screws that connect the hard drive to the motherboard.
-
Carefully detach the ZIF ribbon.
-
Remove the hard drive.
-
-
-
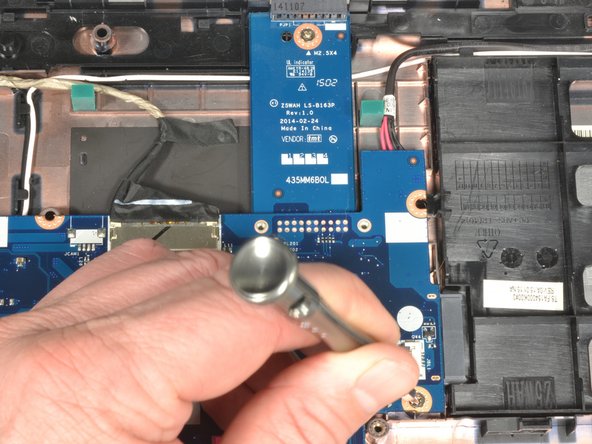
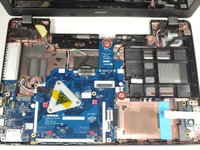
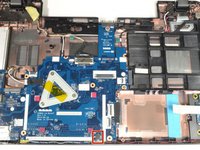
Remove any remaining screws holding down the motherboard.
-
Remove the motherboard.
-
-

 Ask FixBot


























To reassemble your device, follow these instructions in reverse order.

Team

University of North Alabama, Team S1-G2, Winner Fall 2019 Member of University of North Alabama, Team S1-G2, Winner Fall 2019
UNA-WINNER-F19S1G2
3 Members
36 Guides authored
