Free Shipping on Domestic Orders $75+

Acer Chromebook C720-2827 LED PCB Replacement

What you need

    1. Acer Chromebook C720-2827 LED PCB Replacement, Back Panel Assembly: step 1, image 1 of 2 Acer Chromebook C720-2827 LED PCB Replacement, Back Panel Assembly: step 1, image 2 of 2
      • Remove the thirteen 6.0mm screws on the back panel using your Phillips #1 screwdriver.

      Ask FixBot

      Add Comment

    2. Acer Chromebook C720-2827 LED PCB Replacement: step 2, image 1 of 2 Acer Chromebook C720-2827 LED PCB Replacement: step 2, image 2 of 2
      • Pry the back panel open with the plastic opening tool.

      Ask FixBot

      Add Comment

    1. Acer Chromebook C720-2827 LED PCB Replacement, Battery: step 3, image 1 of 1
      • Remove the two 6.0mm screws securing the battery with your Phillips #1 screwdriver.

      Ask FixBot

      Add Comment

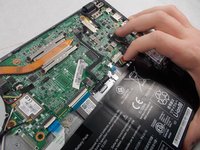
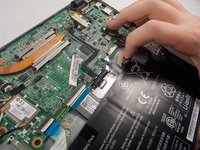
    2. Acer Chromebook C720-2827 LED PCB Replacement: step 4, image 1 of 2 Acer Chromebook C720-2827 LED PCB Replacement: step 4, image 2 of 2
      • Carefully pull out the battery wire connected to the battery port.

      Ask FixBot

      Add Comment

    3. Acer Chromebook C720-2827 LED PCB Replacement: step 5, image 1 of 1
      • Slowly lift the battery to remove it from the Chromebook.

      Ask FixBot

      Add Comment

    1. Acer Chromebook C720-2827 LED PCB Replacement, LED PCB: step 6, image 1 of 3 Acer Chromebook C720-2827 LED PCB Replacement, LED PCB: step 6, image 2 of 3 Acer Chromebook C720-2827 LED PCB Replacement, LED PCB: step 6, image 3 of 3
      • Use the Phillips #1 screwdriver to remove the two 3.1mm screws from the LED PCB.

      • Lift the LED PCB up with your fingers and flip it over revealing the ZIF connector.

      • The LED PCB is still tethered to the daughterboard via a ribbon cable so be sure not to yank it out or it could cause damage to the cable or its connectors.

      Ask FixBot

      Add Comment

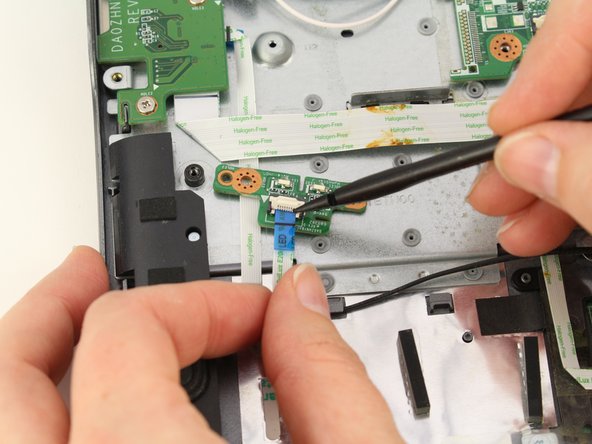
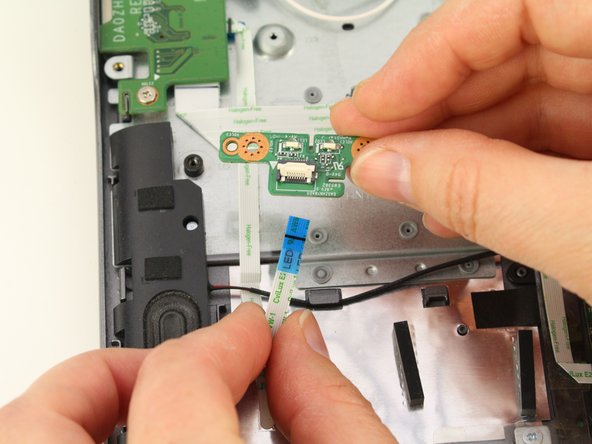
    2. Acer Chromebook C720-2827 LED PCB Replacement: step 7, image 1 of 3 Acer Chromebook C720-2827 LED PCB Replacement: step 7, image 2 of 3 Acer Chromebook C720-2827 LED PCB Replacement: step 7, image 3 of 3
      • Set the LED PCB down and use your spudger to flip up the white bar of the ZIF connector.

      • Pull the ribbon cable out with your fingers.

      Ask FixBot

      Add Comment

Conclusion

To reassemble your device, follow these instructions in reverse order.

Cancel: I did not complete this guide.

One other person completed this guide.

Sarah Westberg

Member since: 03/11/19

41,442 Reputation

72 Guides authored

0 Guide Comments

Add Comment

View Statistics:

Past 24 Hours: 1

Past 7 Days: 4

Past 30 Days: 26

All Time: 570