Free Shipping on Domestic Orders $75+

Acer Aspire V5-571 Upper Cover Replacement

What you need

    1. Acer Aspire V5-571 Upper  Cover Replacement, Keyboard: step 1, image 1 of 3 Acer Aspire V5-571 Upper  Cover Replacement, Keyboard: step 1, image 2 of 3 Acer Aspire V5-571 Upper  Cover Replacement, Keyboard: step 1, image 3 of 3
      • Turn off the laptop and remove the battery.

      • Remove two screws securing the Keyboard.

      • The Keyboard is held by two locking clips, under the battery. Use the sharp tip of a plastic tool to release the keyboard.

      Ask FixBot

      Add Comment

    2. Acer Aspire V5-571 Upper  Cover Replacement: step 2, image 1 of 3 Acer Aspire V5-571 Upper  Cover Replacement: step 2, image 2 of 3 Acer Aspire V5-571 Upper  Cover Replacement: step 2, image 3 of 3
      Ask FixBot

      Add Comment

    1. Acer Aspire V5-571 Upper  Cover Replacement, Optical Drive: step 3, image 1 of 3 Acer Aspire V5-571 Upper  Cover Replacement, Optical Drive: step 3, image 2 of 3 Acer Aspire V5-571 Upper  Cover Replacement, Optical Drive: step 3, image 3 of 3
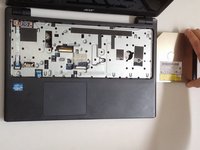
      • Remove the screw securing the Optical drive and gently press the drive to show slightly as at the second pic.

      • Slide the drive to the left and remove it.

      Ask FixBot

      Add Comment

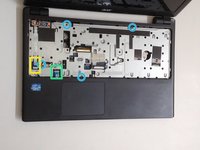
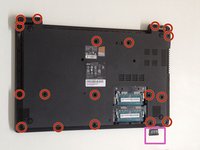
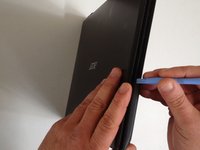
    1. Acer Aspire V5-571 Upper  Cover Replacement, Upper  Cover: step 4, image 1 of 3 Acer Aspire V5-571 Upper  Cover Replacement, Upper  Cover: step 4, image 2 of 3 Acer Aspire V5-571 Upper  Cover Replacement, Upper  Cover: step 4, image 3 of 3
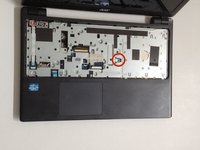
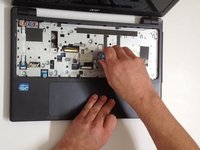
      • Remove 4x phillips screws and disconnect:

      • Power On button flex cable

      • Touch pad flex cable

      • Remove 18x Phillips screws from the bottom cover.

      • Remove any memory SD Card from the Card reader.

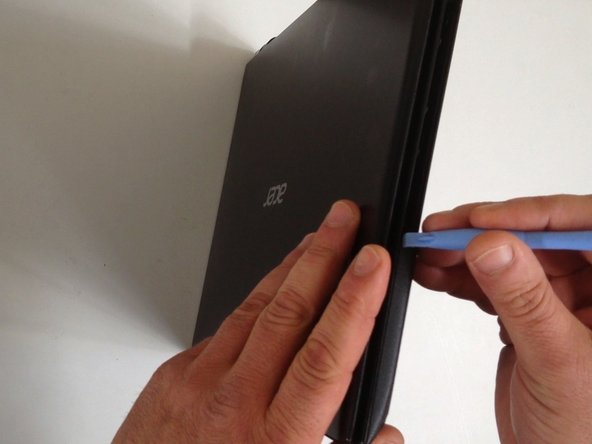
      • Start opening with a plastic opening tool.

      Ask FixBot

      Add Comment

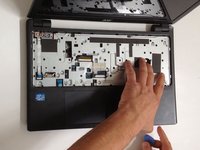
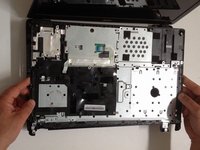
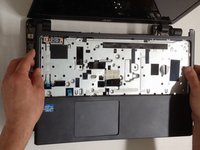
    2. Acer Aspire V5-571 Upper  Cover Replacement: step 5, image 1 of 3 Acer Aspire V5-571 Upper  Cover Replacement: step 5, image 2 of 3 Acer Aspire V5-571 Upper  Cover Replacement: step 5, image 3 of 3
      • Carefully separate the upper cover and remove it.

      Ask FixBot

      Add Comment

Conclusion

To reassemble your device, follow these instructions in reverse order.

Cancel: I did not complete this guide.

ZFix

Member since: 12/09/13

197,612 Reputation

330 Guides authored

Team

Master Techs Member of Master Techs

Community

334 Members

8,259 Guides authored

0 Guide Comments

Add Comment

View Statistics:

Past 24 Hours: 1

Past 7 Days: 5

Past 30 Days: 32

All Time: 3,539