Introduction
This guide shows you how to replace your computer’s RAM, this is a short simple process that only requires 1 phillips head screwdriver to complete.
What you need
-
-
-
Power down the laptop.
-
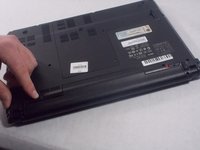
Turn the laptop over so the bottom is facing up and the battery is facing towards you.
 Ask FixBot
-
-
-
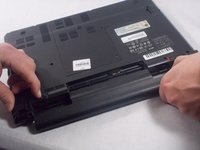
The tab on the right is a locking tab. Slide this tab to the right to unlock it (the red should now be showing).
-
Slide the left tab to the left and hold it there.
-
-
-
-
While holding the left tab to the left the battery should easily pull out of the laptop.
-
-
-
-
-
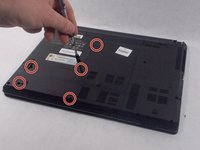
Flip the laptop over and locate the hard drive cover. This is a L shaped plastic cover and has 5 PH#1 8mm screws located around the outside edge. The screw locations are denoted by red circles in the figure.
-
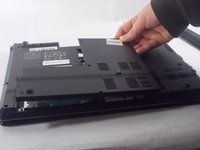
Remove those five screws and then remove the cover.
-
-
-
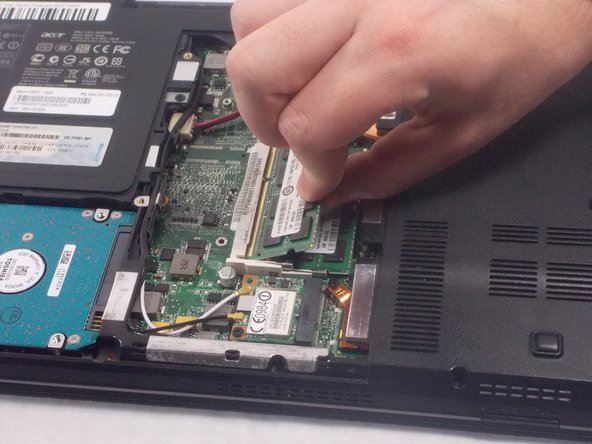
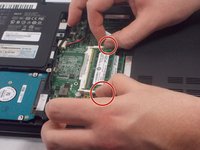
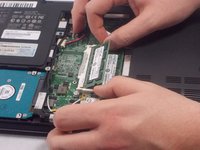
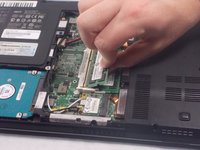
On either side of the RAM module, there will be two metal tabs. Slide both tabs away from the memory module and the RAM module will pop loose.
-
-






To reassemble your device, follow these instructions in reverse order.

Team

UMass Dartmouth, Team S4-G3, Valliere Spring 2019 Member of UMass Dartmouth, Team S4-G3, Valliere Spring 2019
UMASSD-VALLIERE-S19S4G3
4 Members
48 Guides authored
