
Acer Aspire One Happy Dissasembly

Smilzo and 3 other contributors
Last updated on Sep 15, 2022
Views: 11K
View statistics:
- Past 24 Hours:
- 9
- Past 7 Days:
- 53
- Past 30 Days:
- 232
- All Time:
- 10,872
Comments: 1
1 comment on steps.
Completed: 5 6
5 people have marked this guide "completed." Will you be next?
6 people have marked this guide "completed." Including you — great job!
Favorites: 1 2
1 person has favorited (and subscribed to) this guide. Will you be next?
2 people have favorited (and subscribed to) this guide — including you!
Grammar Police
Embrace your inner English teacher and help improve this guide's grammar!
Bullets!
Better coordination with markups and the color/type of bullets will help make this guide more clear!
Community-Contributed Guide
An awesome member of our community made this guide. It was not created by iFixit staff.
Introduction
Go to step 1 ↓Use this disassembly guide to learn how to disassemble certain parts of your Acer laptop.
-
-
-
Remove the keyboard by using a lever-like motion with thin tools on the joints along the keyboard.
-
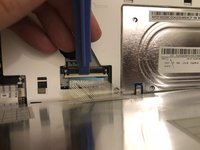
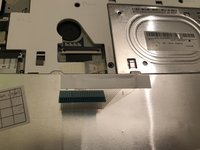
Carefully lift and disconnect the flat cable from the motherboard
 Ask FixBot
-
-
-
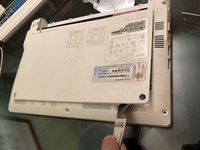
Remove the eight screws that secure the lower shell.
-
We recommend the use of a flat tool to help you out.
-
Now it's possible to remove the lower shell
-
-
-
Remove the screw that hold the hard drive in place
-
Disconnect the flat cable
-
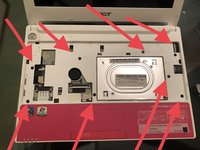
Using a thin tool, unclip the hooks that hold the upper shell to the middle shell by separating them.
-
-
-
Unclip the connectors
-
Remove the 3 screws securing the card in place. Remove the card after it is free
-
-
-
Remove the speaker
-
Release the connectors
-
Remove the 2 screws that secure the motherboard to the laptop
-
-
-
-
Release the connectors
-
Carefully remove the motherboard from the laptop
-
-
-
Remove both of the left and right screws holding the display assembly to the laptop
-
-
-
Remove the adhesive that covers the 2 screws.
-
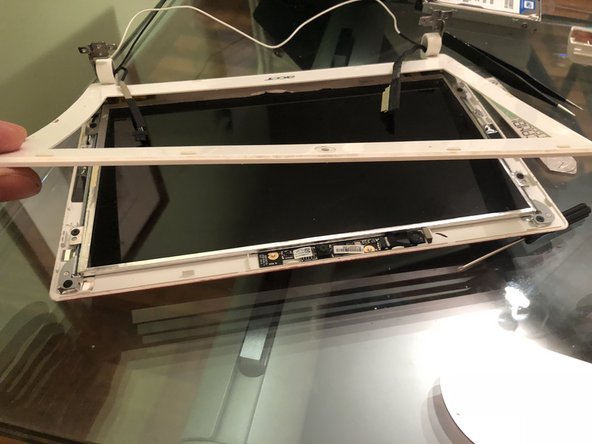
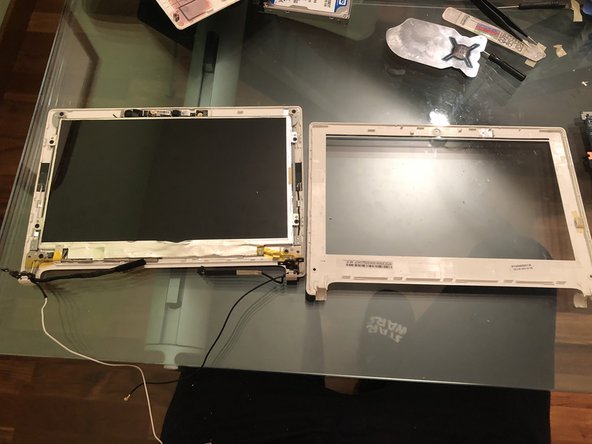
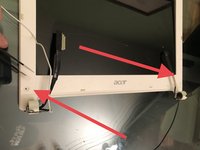
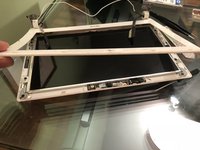
With an opening pick or Jimmy, seperate the bezel from the LCD assembly.
-
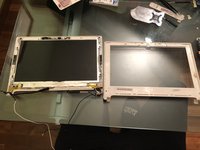
Remove the bezel
-
-
-
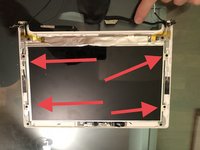
Remove the 4 screws on the display
-
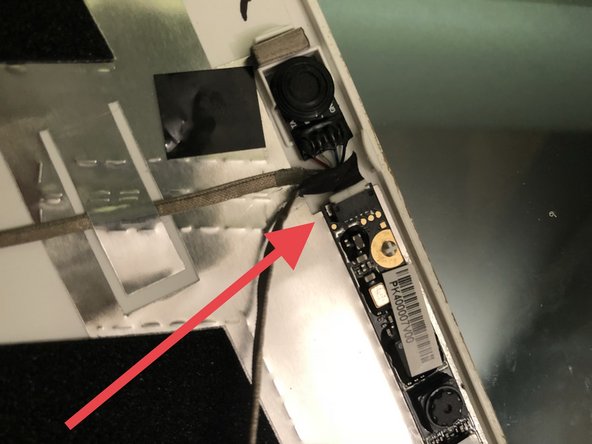
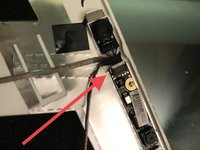
Disconnect the display cable
-
Remove the LCD
-
-




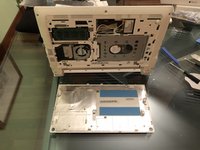

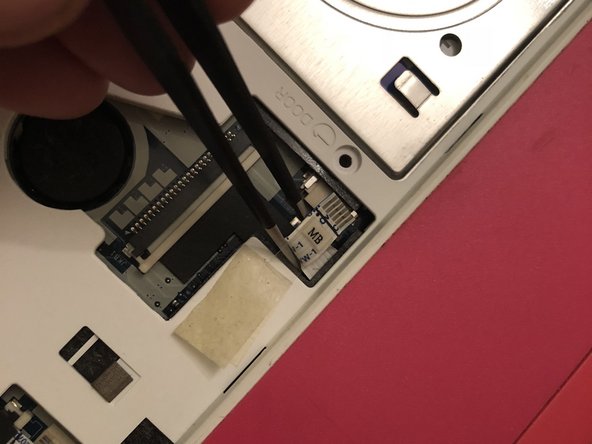

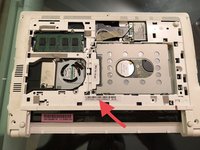
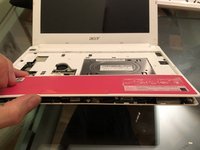


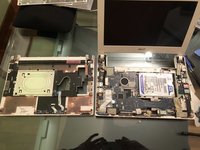
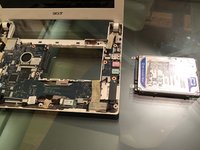


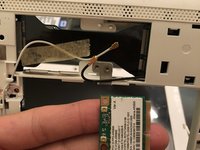
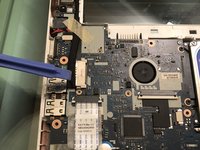
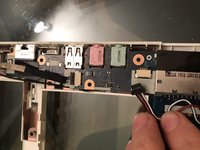

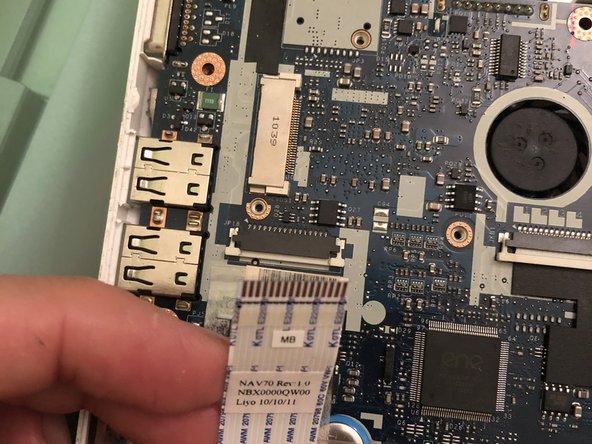
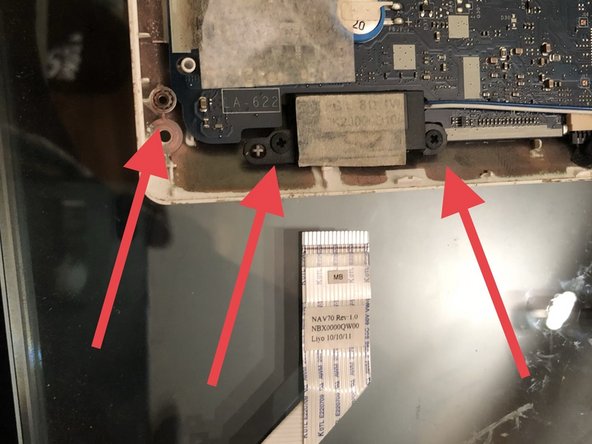
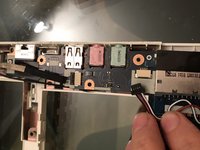
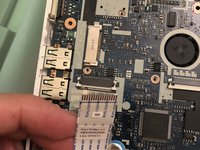
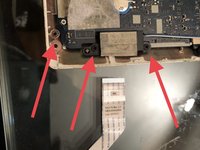

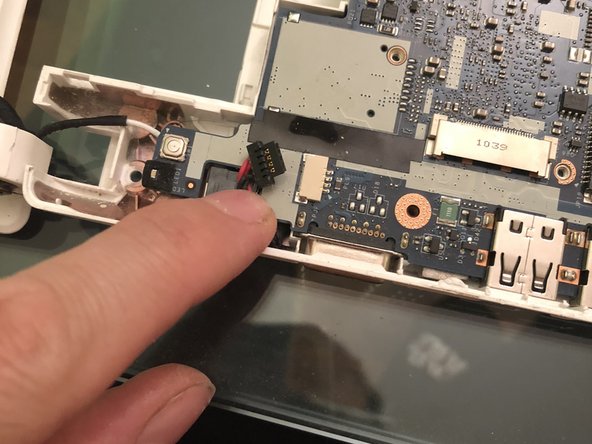

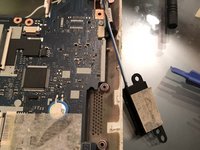
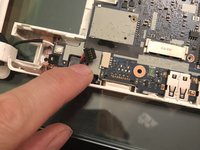
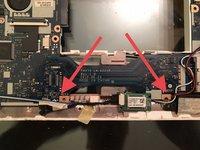

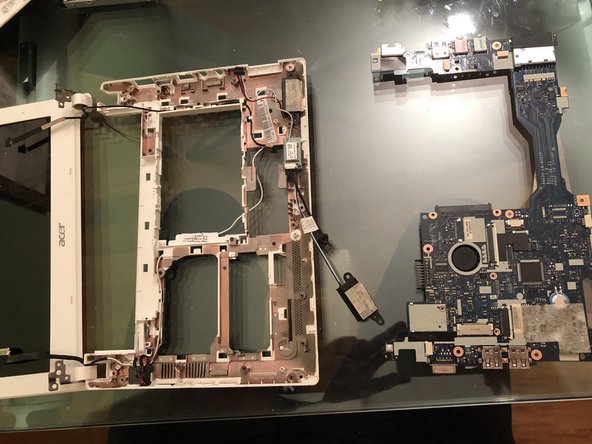
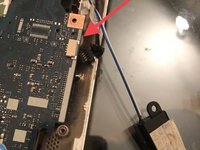
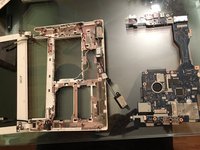

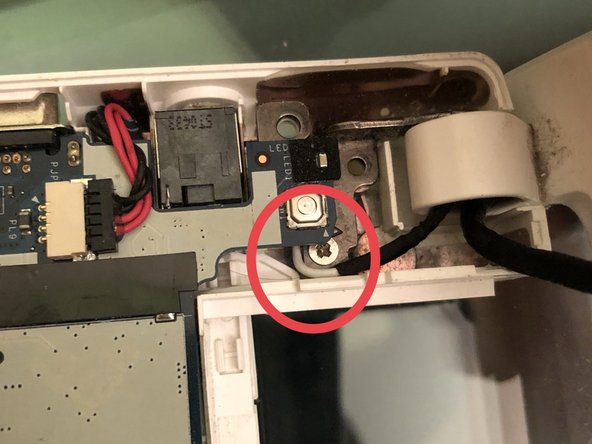

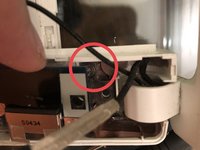
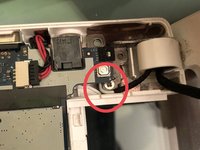
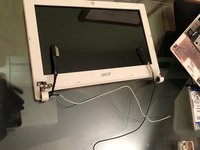


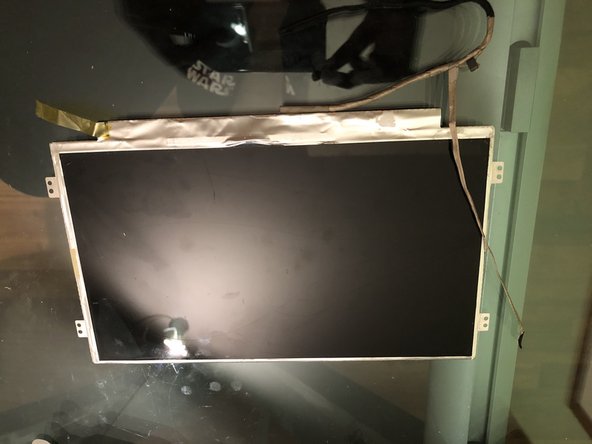
To reassemble your device, follow these steps in reverse order.
Cancel: I did not complete this guide.
5 other people completed this guide.
Special thanks to these translators:
100%


These translators are helping us fix the world! Want to contribute?
Start translating ›

