Free Shipping on Domestic Orders $75+

Acer Aspire One 751h-1948 Fan Replacement

What you need

    1. Acer Aspire One 751h-1948 Fan Replacement, Battery: step 1, image 1 of 1
      • Close the laptop and flip it over to view the back of the laptop.

      Ask FixBot
      Add Comment

    2. Acer Aspire One 751h-1948 Fan Replacement: step 2, image 1 of 3 Acer Aspire One 751h-1948 Fan Replacement: step 2, image 2 of 3 Acer Aspire One 751h-1948 Fan Replacement: step 2, image 3 of 3
      • Unlock the right side of the battery by sliding the battery lock to the right. Then slide the left lock to the left and remove the battery.

      Ask FixBot

      Add Comment

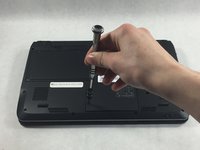
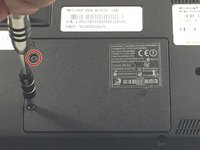
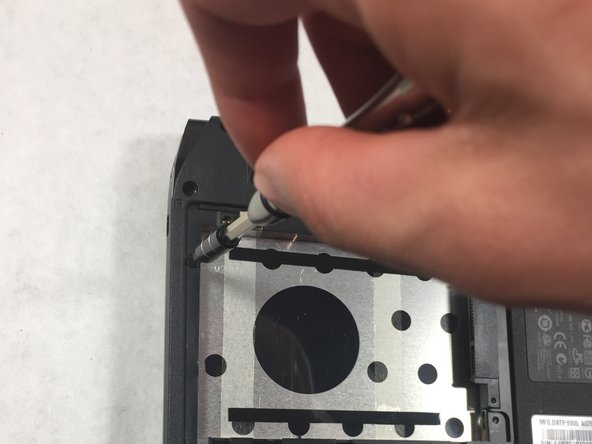
    1. Acer Aspire One 751h-1948 Fan Replacement, Network Card: step 3, image 1 of 2 Acer Aspire One 751h-1948 Fan Replacement, Network Card: step 3, image 2 of 2
      • Unscrew the two Phillips #0 (M2-L2.5 mm) holding down the network card panel.

      • These screws don't come all the way out.

      Ask FixBot
      Add Comment

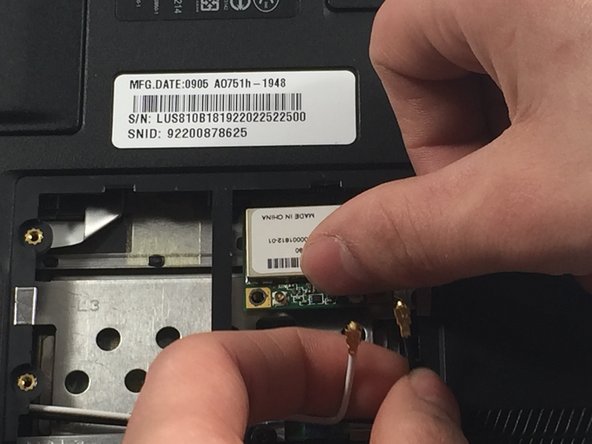
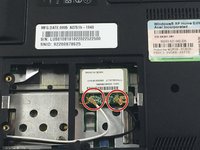
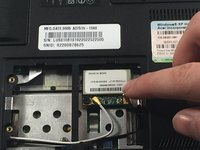
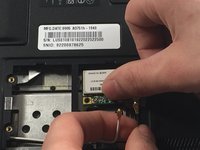
    2. Acer Aspire One 751h-1948 Fan Replacement: step 4, image 1 of 3 Acer Aspire One 751h-1948 Fan Replacement: step 4, image 2 of 3 Acer Aspire One 751h-1948 Fan Replacement: step 4, image 3 of 3
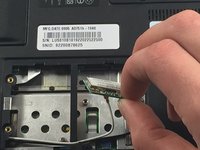
      • Unplug the two connecting cables by lifting them up. They should unclip easily.

      Ask FixBot
      Add Comment

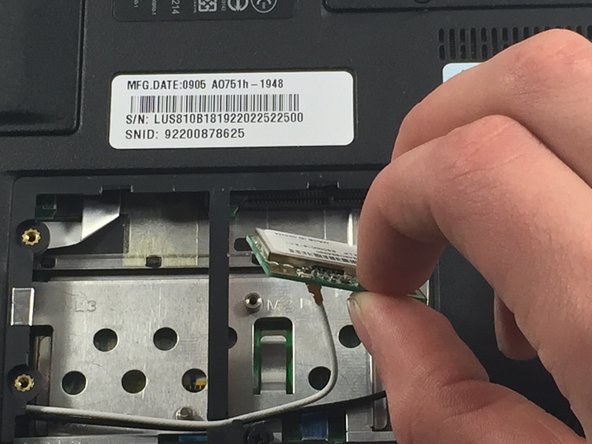
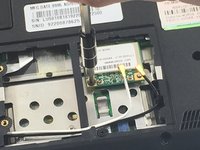
    3. Acer Aspire One 751h-1948 Fan Replacement: step 5, image 1 of 3 Acer Aspire One 751h-1948 Fan Replacement: step 5, image 2 of 3 Acer Aspire One 751h-1948 Fan Replacement: step 5, image 3 of 3
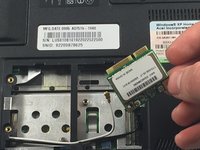
      • Remove the screw Phillips #0 (M2-L3 mm) holding down the network card. Pull out the card.

      Ask FixBot
      Add Comment

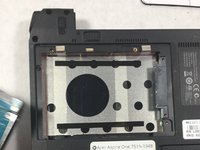
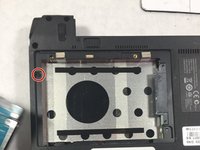
    1. Acer Aspire One 751h-1948 Fan Replacement, Hard Drive: step 6, image 1 of 1
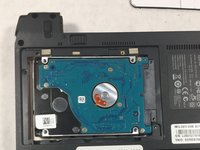
      • Unscrew the Phillips 0# (M2 L2.5 mm) screw and remove the cover panel.

      • These screws will not come out all the way.

      Ask FixBot

      Add Comment

    2. Acer Aspire One 751h-1948 Fan Replacement: step 7, image 1 of 3 Acer Aspire One 751h-1948 Fan Replacement: step 7, image 2 of 3 Acer Aspire One 751h-1948 Fan Replacement: step 7, image 3 of 3
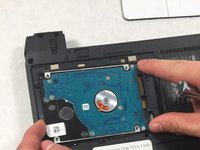
      • Remove the hard drive by sliding it to the left and pull it out.

      Ask FixBot
      Add Comment

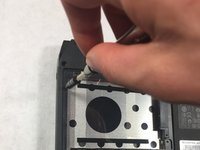
    3. Acer Aspire One 751h-1948 Fan Replacement: step 8, image 1 of 2 Acer Aspire One 751h-1948 Fan Replacement: step 8, image 2 of 2
      • Unscrew the Phillips #0 (M2-L2.5 mm) screws.

      Ask FixBot

      Add Comment

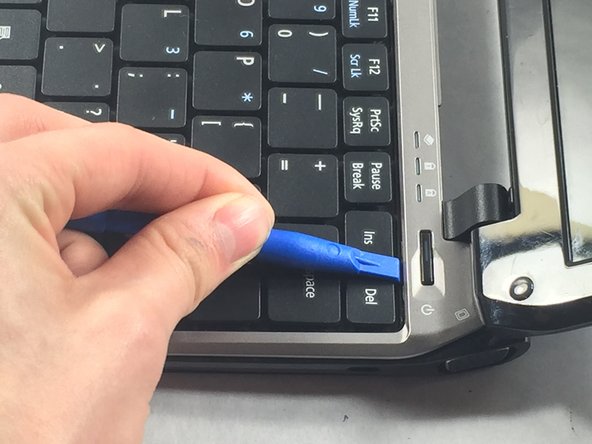
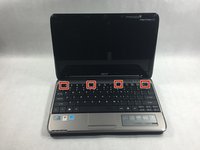
    1. Acer Aspire One 751h-1948 Fan Replacement, Keyboard: step 9, image 1 of 3 Acer Aspire One 751h-1948 Fan Replacement, Keyboard: step 9, image 2 of 3 Acer Aspire One 751h-1948 Fan Replacement, Keyboard: step 9, image 3 of 3
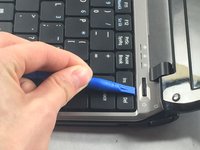
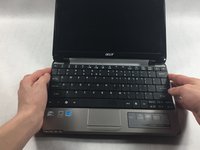
      • Use the plastic opening tool to push in each of the four clips and carefully lift the keyboard.

      • Don't lift the keyboard completely so that you don't damage the ribbon cable underneath.

      Ask FixBot
      Add Comment

    2. Acer Aspire One 751h-1948 Fan Replacement: step 10, image 1 of 2 Acer Aspire One 751h-1948 Fan Replacement: step 10, image 2 of 2
      • When you remove the keyboard, be careful not to damage the ribbon cable that attaches it to the motherboard.
      • Unplug the ribbon cable by gently lifting the black tab up. Then remove the cable.

      Ask FixBot

      Add Comment

    1. Acer Aspire One 751h-1948 Fan Replacement, Front Panel: step 11, image 1 of 1
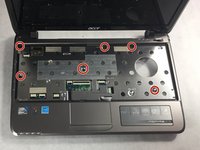
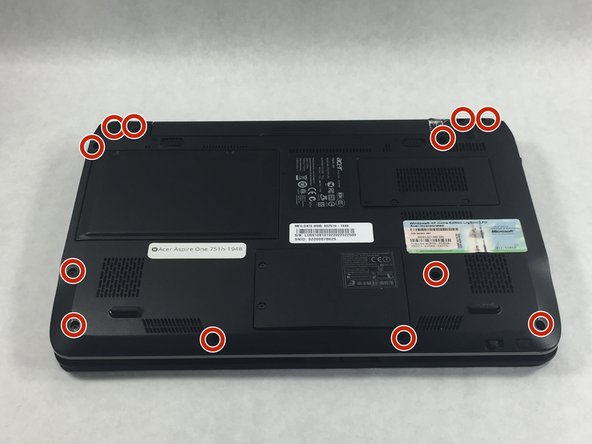
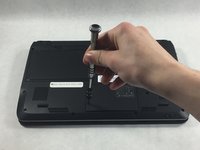
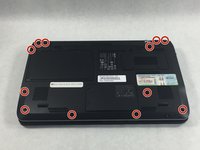
      • Use the screwdriver to remove all the Phillips #00 (M2-L2.5 mm) screws shown here.

      Ask FixBot

      Add Comment

    2. Acer Aspire One 751h-1948 Fan Replacement: step 12, image 1 of 3 Acer Aspire One 751h-1948 Fan Replacement: step 12, image 2 of 3 Acer Aspire One 751h-1948 Fan Replacement: step 12, image 3 of 3
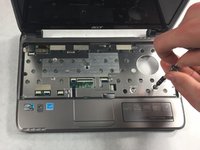
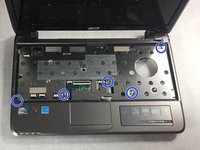
      • Flip the laptop over and remove all the Phillips #0 (M2-L5 mm) screws under the keyboard.

      • Remove all the Phillips #0 (M2-L2.5 mm) screws

      Ask FixBot

      Add Comment

    3. Acer Aspire One 751h-1948 Fan Replacement: step 13, image 1 of 2 Acer Aspire One 751h-1948 Fan Replacement: step 13, image 2 of 2
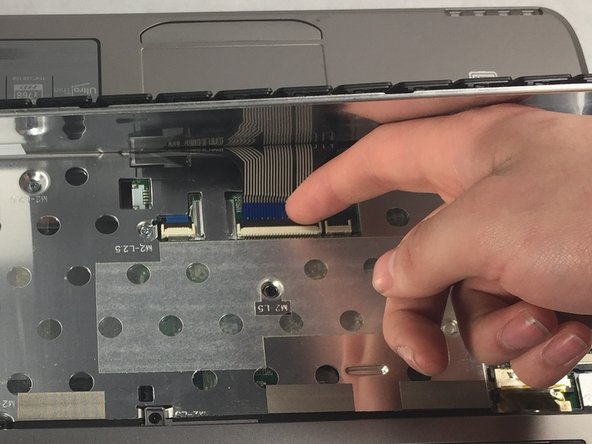
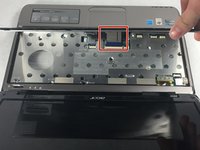
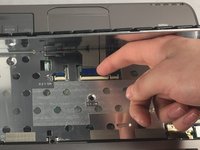
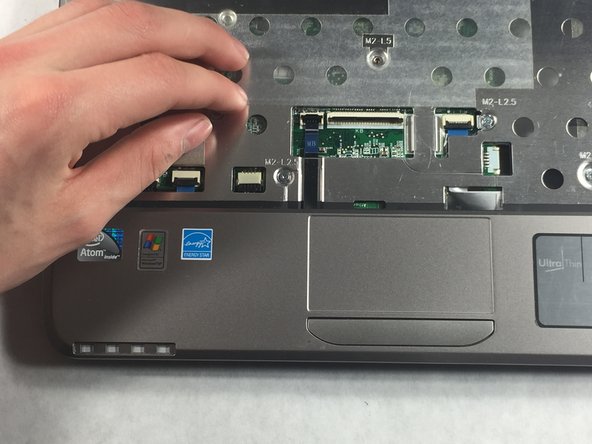
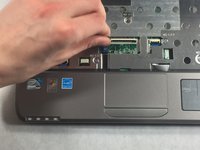
      • Lift the small black clip and remove the ribbon cable before proceeding.

      Ask FixBot

      Add Comment

    4. Acer Aspire One 751h-1948 Fan Replacement: step 14, image 1 of 3 Acer Aspire One 751h-1948 Fan Replacement: step 14, image 2 of 3 Acer Aspire One 751h-1948 Fan Replacement: step 14, image 3 of 3
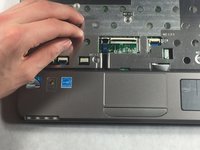
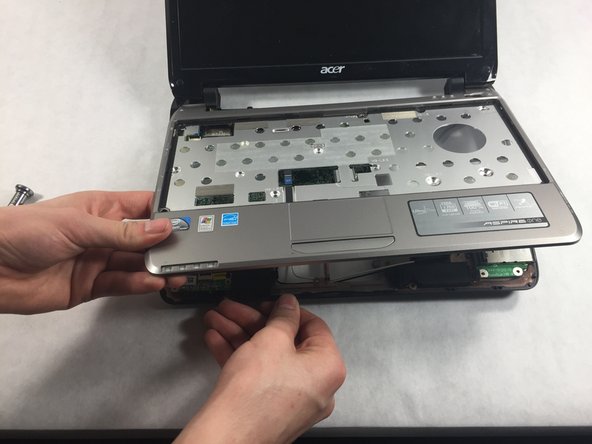
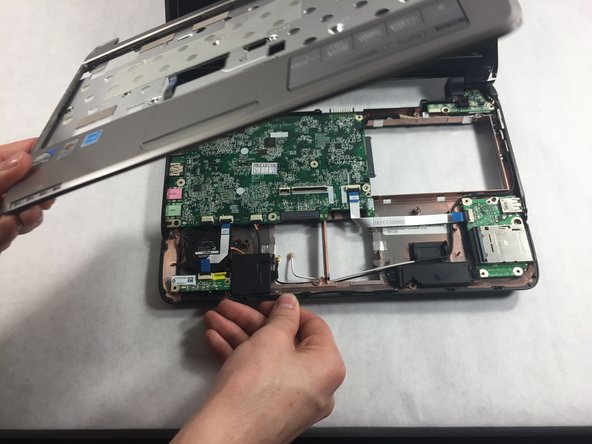
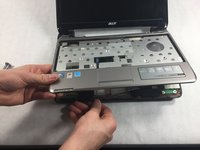
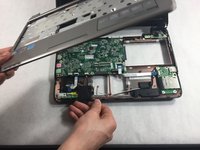
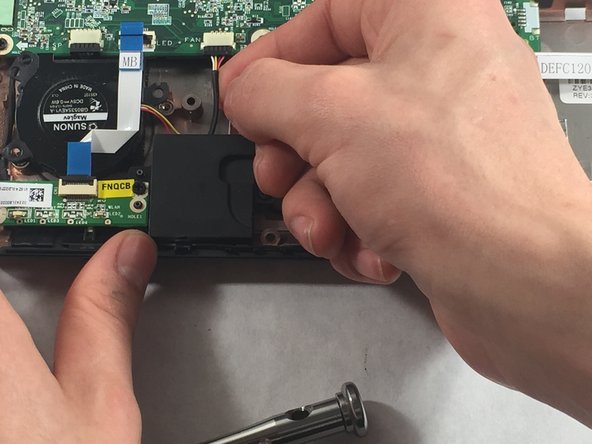
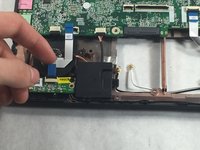
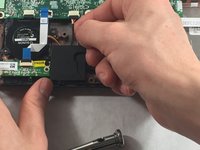
      • Separate the front panel from the back panel, by sliding your thumb nail between them.

      Ask FixBot

      Add Comment

    1. Acer Aspire One 751h-1948 Fan Replacement, Fan: step 15, image 1 of 2 Acer Aspire One 751h-1948 Fan Replacement, Fan: step 15, image 2 of 2
      • Use the screwdriver to remove Phillips #0 (M2-L5 mm) screws

      Ask FixBot

      Add Comment

    2. Acer Aspire One 751h-1948 Fan Replacement: step 16, image 1 of 2 Acer Aspire One 751h-1948 Fan Replacement: step 16, image 2 of 2
      • Remove the ribbon cable that sits on top of the fan by lifting the small black clip and pulling the blue tab.

      • Use the same technique to remove the ribbon cable from the motherboard.

      Ask FixBot

      Add Comment

    3. Acer Aspire One 751h-1948 Fan Replacement: step 17, image 1 of 2 Acer Aspire One 751h-1948 Fan Replacement: step 17, image 2 of 2
      • Unscrew the Phillips #0 (M2-L2.5 mm) screw from the fan, and remove the fan.

      Ask FixBot

      Add Comment

Conclusion

To reassemble your device, follow these instructions in reverse order.

Cancel: I did not complete this guide.

Chris Bolton

Member since: 03/22/17

434 Reputation

4 Guides authored

Team

0 Guide Comments

Add Comment

View Statistics:

Past 24 Hours: 1

Past 7 Days: 7

Past 30 Days: 30

All Time: 725