Introduction
The keyboard is one of the most frequently used parts of the device. The result of this is that the keyboard is very prone to wear and tear that can lead to not functioning properly. If you have followed the steps in the Troubleshooting Guide and found that you have a damaged or faulty key or keyboard, this step-by-step guide will lead you through the process of removing the battery, back-plate, hard drive, cover/palm rest, keyboard, and individual keys.
What you need
-
-
Ensure the device is powered off by holding down the power button on the top left-hand side.
-
On a flat, level surface, flip the device over so that the back-plate is accessible.
 Ask FixBot
-
-
-
Using a spudger or any fine-pointed tool, push the release slide away from the center of the device.
-
Simultaneously pull the battery out and away from the device.
-
-
-
Using the JIS J1 Screwdriver Bit and Driver, remove the center screw (7.0 mm) from the back-plate.
-
Using your hands, slide the back-plate away from the center of the device and remove.
-
-
-
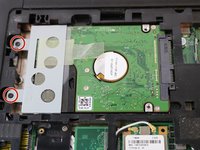
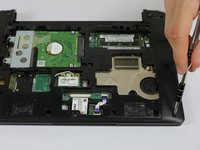
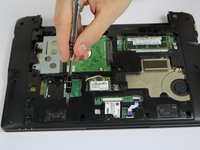
Using the JIS J1 Screwdriver Bit and Driver, remove the two screws (9.0 mm) from the outward side of the hard drive.
-
-
-
-
Using your hand, slide the hard drive away from the center of the device until it disconnects from the motherboard.
-
Carefully lift the outward side of the hard drive and place the drive on a clean, non-magnetic surface.
-
-
-
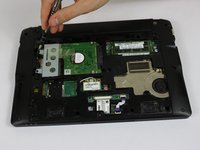
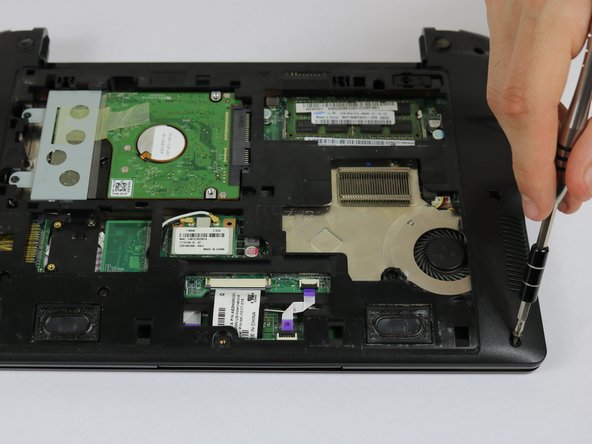
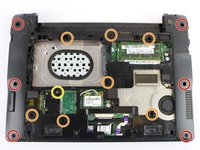
Using the JIS J1 Screwdriver Bit and Driver, remove the six outside screws (7.0 mm).
-
Using the JIS J1 Screwdriver Bit and Driver, remove the seven inside screws (8.0 mm).
-
Using the JIS J1 Screwdriver Bit and Driver, remove the one inside screw (3.0 mm).
-
-
-
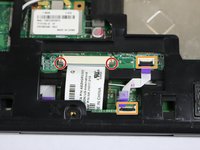
Using your hands, slide the brown release tabs for the keyboard connection away from the center of the device.
-
Gently remove the keyboard connection by pulling away from the center of the device.
-
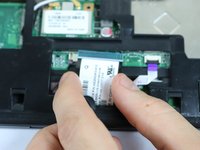
Lift the black locks for the touchpad connections into the upward position.
-
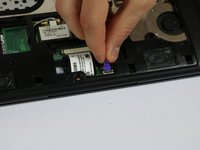
Gently remove the touchpad connections by pulling the purple tabs away from the locks.
-
-
-
Flip the device over and open it.
-
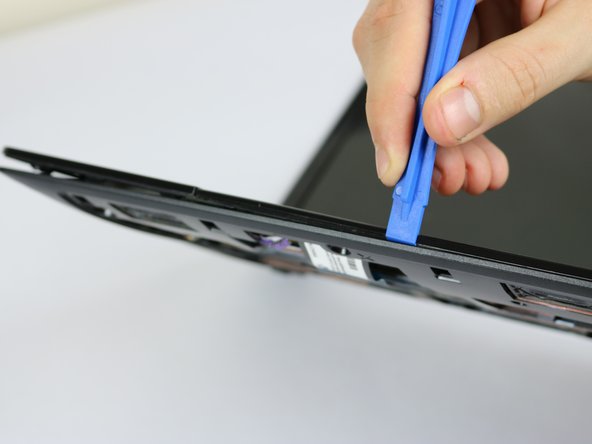
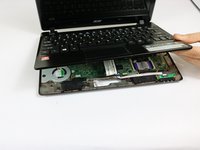
Using the plastic opening tools, remove the cover/palm rest from the frame of the device.
-
-
-
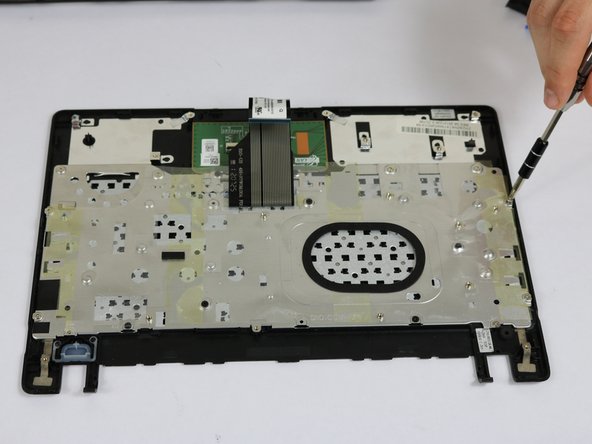
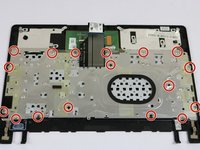
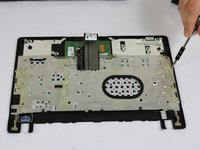
Using the JIS J1 Screwdriver Bit and Driver, remove the 17 screws (3.0 mm) from the back of the keyboard.
-
-
-
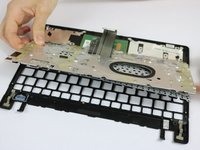
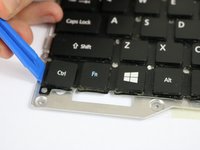
Remove the keyboard by lifting up and away from the cover/palm rest. Be careful with the keyboard connection during this step.
-












To reassemble your device, follow these instructions in reverse order.
Cancel: I did not complete this guide.
3 other people completed this guide.

Team

USF Tampa, Team 8-3, Eyestone Spring 2017 Member of USF Tampa, Team 8-3, Eyestone Spring 2017
USFT-EYESTONE-S17S8G3
4 Members
16 Guides authored
