Free Shipping on Domestic Orders $75+

Acer Aspire ES1-332 LCD Screen Replacement

What you need

Video Overview

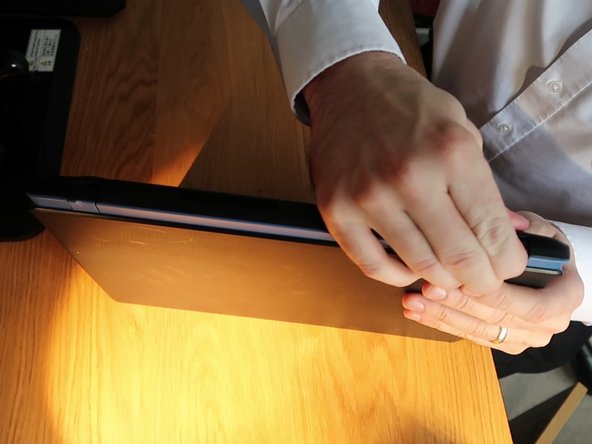
    1. Acer Aspire ES1-332 LCD Screen Replacement, LCD Screen: step 1, image 1 of 3 Acer Aspire ES1-332 LCD Screen Replacement, LCD Screen: step 1, image 2 of 3 Acer Aspire ES1-332 LCD Screen Replacement, LCD Screen: step 1, image 3 of 3
      • Grab a spudger and work your way around the outer edge of the screen

      • Lean the screen all the way back to remove the plastic frame from the hinges at the bottom

      Ask FixBot

      Add Comment

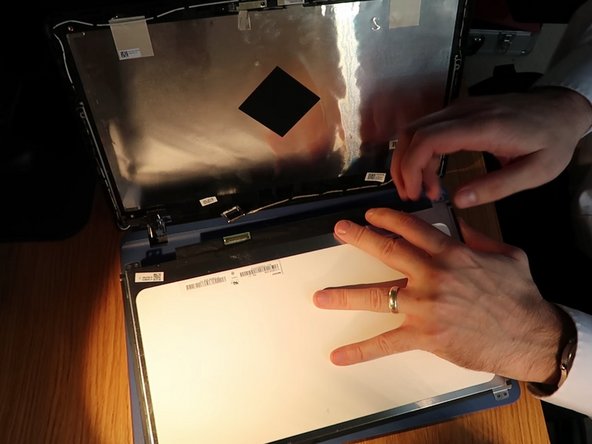
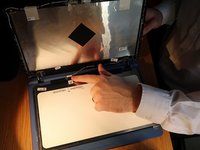
    2. Acer Aspire ES1-332 LCD Screen Replacement: step 2, image 1 of 2 Acer Aspire ES1-332 LCD Screen Replacement: step 2, image 2 of 2
      • Unscrew the 4 screws around the edge of the screen

      • Lean the screen all the way forward on to the keyboard

      Ask FixBot

      Add Comment

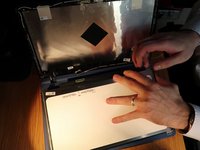
    3. Acer Aspire ES1-332 LCD Screen Replacement: step 3, image 1 of 2 Acer Aspire ES1-332 LCD Screen Replacement: step 3, image 2 of 2
      • Peal up the sticky tape next to the screen connector

      • Pull the connector down carefully away from the screen and disconnect it

      Ask FixBot

      Add Comment

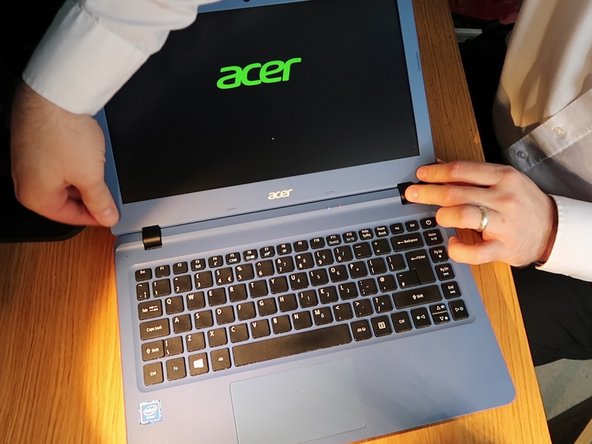
    4. Acer Aspire ES1-332 LCD Screen Replacement: step 4, image 1 of 3 Acer Aspire ES1-332 LCD Screen Replacement: step 4, image 2 of 3 Acer Aspire ES1-332 LCD Screen Replacement: step 4, image 3 of 3
      • connect the new screen and screw back in place

      • Turn on the screen to test before putting the screen frame back on

      • Tilt the screen all the way back and push the frame back on hinges 1st.

      • Finally lean the laptop on its edge and clip the back on the hinges back in place.

      Ask FixBot

      Add Comment

Finish Line

Cancel: I did not complete this guide.

One other person completed this guide.

Nick Myers

Member since: 04/15/18

5,758 Reputation

33 Guides authored

0 Guide Comments

Add Comment

View Statistics:

Past 24 Hours: 1

Past 7 Days: 7

Past 30 Days: 39

All Time: 1,201