Free Shipping on Domestic Orders $75+

Acer Aspire ES1-111M-C7DE RAM Replacement

What you need

    1. Acer Aspire ES1-111M-C7DE RAM Replacement, Back Cover: step 1, image 1 of 2 Acer Aspire ES1-111M-C7DE RAM Replacement, Back Cover: step 1, image 2 of 2
      • Unscrew the 13 6.2mm screws located on the bottom of the laptop using the JIS #0 screwdriver.

      Ask FixBot

      Add Comment

    2. Acer Aspire ES1-111M-C7DE RAM Replacement: step 2, image 1 of 3 Acer Aspire ES1-111M-C7DE RAM Replacement: step 2, image 2 of 3 Acer Aspire ES1-111M-C7DE RAM Replacement: step 2, image 3 of 3
      • Using a plastic opening tool, gently pry the lower case off. Place aside.

      Ask FixBot

      Add Comment

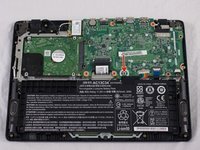
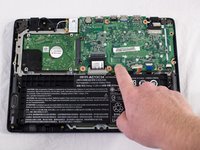
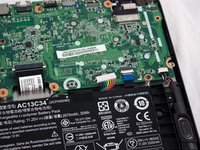
    1. Acer Aspire ES1-111M-C7DE RAM Replacement, Battery: step 3, image 1 of 2 Acer Aspire ES1-111M-C7DE RAM Replacement, Battery: step 3, image 2 of 2
      • Locate the small black button surrounded by a white circle near the battery on the motherboard.

      • Press and hold the button for five seconds.

      Ask FixBot

      Add Comment

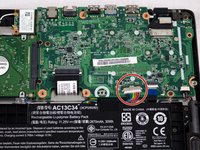
    2. Acer Aspire ES1-111M-C7DE RAM Replacement: step 4, image 1 of 3 Acer Aspire ES1-111M-C7DE RAM Replacement: step 4, image 2 of 3 Acer Aspire ES1-111M-C7DE RAM Replacement: step 4, image 3 of 3
      • Using your fingers or the small plastic opening tools, disconnect the battery connection from the motherboard by pinching and pulling back on both sides of the connector.

      Ask FixBot

      Add Comment

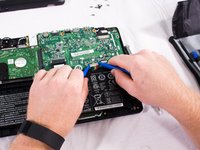
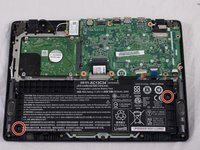
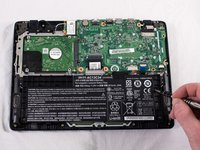
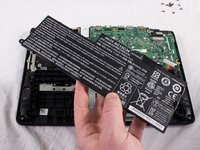
    3. Acer Aspire ES1-111M-C7DE RAM Replacement: step 5, image 1 of 3 Acer Aspire ES1-111M-C7DE RAM Replacement: step 5, image 2 of 3 Acer Aspire ES1-111M-C7DE RAM Replacement: step 5, image 3 of 3
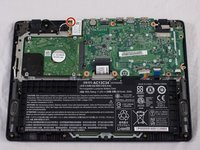
      • Locate the two 6.2mm black screws holding the battery in place and unscrew them.

      • Gently lift and remove the battery.

      Ask FixBot

      Add Comment

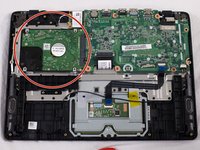
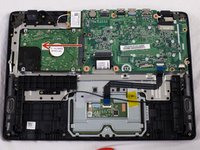
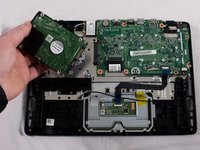
    1. Acer Aspire ES1-111M-C7DE RAM Replacement, Hard Drive: step 6, image 1 of 3 Acer Aspire ES1-111M-C7DE RAM Replacement, Hard Drive: step 6, image 2 of 3 Acer Aspire ES1-111M-C7DE RAM Replacement, Hard Drive: step 6, image 3 of 3
      • Locate the hard drive and slide the hard drive to the left until it disconnects from the mother board.

      Ask FixBot

      Add Comment

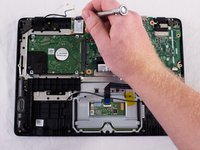
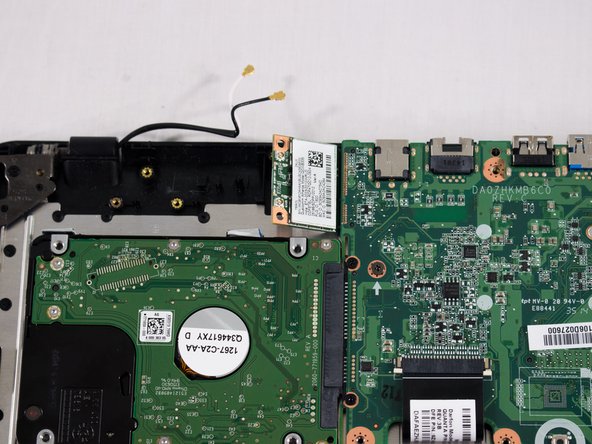
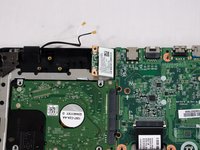
    1. Acer Aspire ES1-111M-C7DE RAM Replacement, Network Card: step 7, image 1 of 2 Acer Aspire ES1-111M-C7DE RAM Replacement, Network Card: step 7, image 2 of 2
      • You will see a white rectangular piece next to the upper left-hand corner of the motherboard that is connected with a black cord and a white cord; this is the network card.

      • Unscrew the one 6.2mm screw in the upper left-hand corner of the network card.

      Ask FixBot

      Add Comment

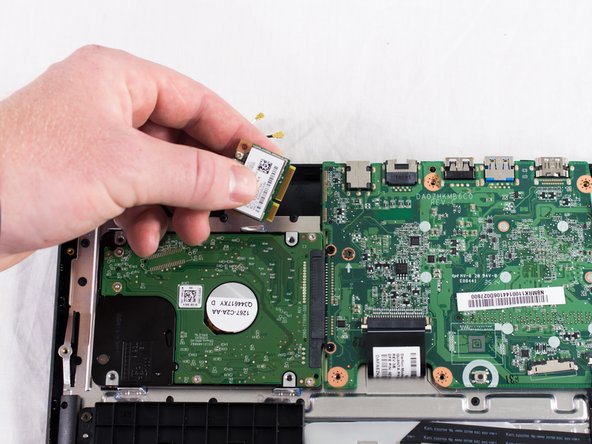
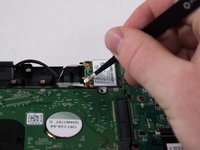
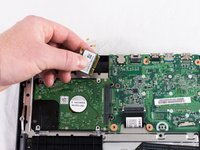
    2. Acer Aspire ES1-111M-C7DE RAM Replacement: step 8, image 1 of 3 Acer Aspire ES1-111M-C7DE RAM Replacement: step 8, image 2 of 3 Acer Aspire ES1-111M-C7DE RAM Replacement: step 8, image 3 of 3
      • Remove the black and the white cords from the network card.

      • Slide the card out of the motherboard and replace it with the new one.

      Ask FixBot

      Add Comment

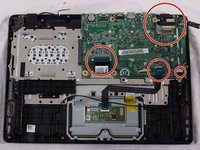
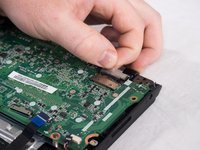
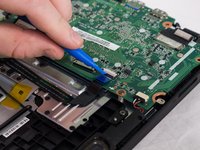
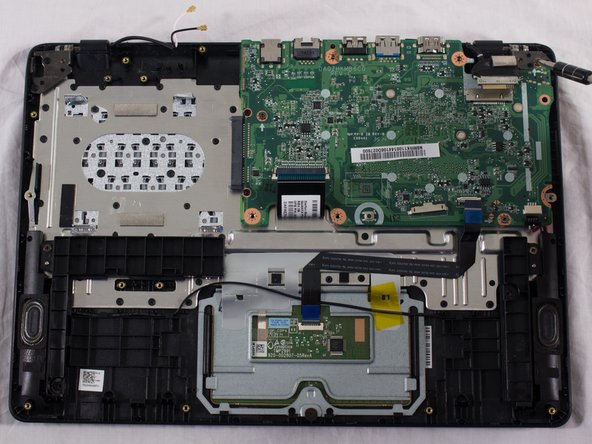
    1. Acer Aspire ES1-111M-C7DE RAM Replacement, RAM: step 9, image 1 of 3 Acer Aspire ES1-111M-C7DE RAM Replacement, RAM: step 9, image 2 of 3 Acer Aspire ES1-111M-C7DE RAM Replacement, RAM: step 9, image 3 of 3
      • Disconnect the remaining connectors from the motherboard.

      Ask FixBot

      Add Comment

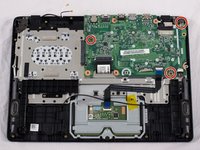
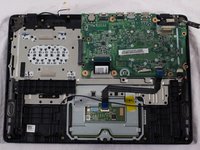
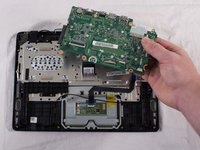
    2. Acer Aspire ES1-111M-C7DE RAM Replacement: step 10, image 1 of 2 Acer Aspire ES1-111M-C7DE RAM Replacement: step 10, image 2 of 2
      • Unscrew the three 6.2mm screws as indicated by the picture.

      Ask FixBot

      Add Comment

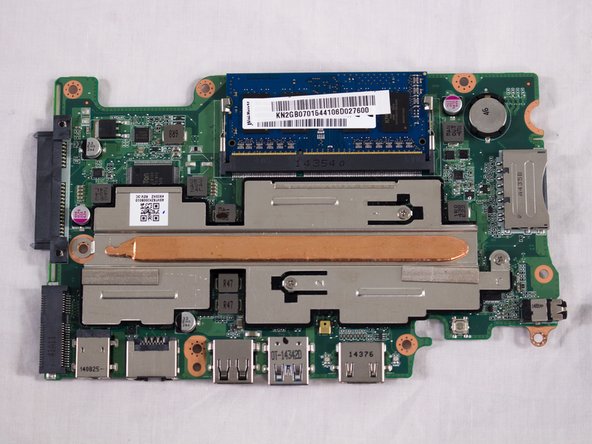
    3. Acer Aspire ES1-111M-C7DE RAM Replacement: step 11, image 1 of 2 Acer Aspire ES1-111M-C7DE RAM Replacement: step 11, image 2 of 2
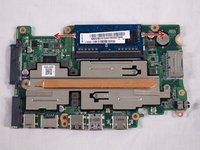
      • Flip the motherboard over.

      Ask FixBot

      Add Comment

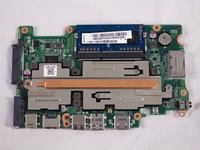
    4. Acer Aspire ES1-111M-C7DE RAM Replacement: step 12, image 1 of 1
      • Locate the RAM

      Ask FixBot

      Add Comment

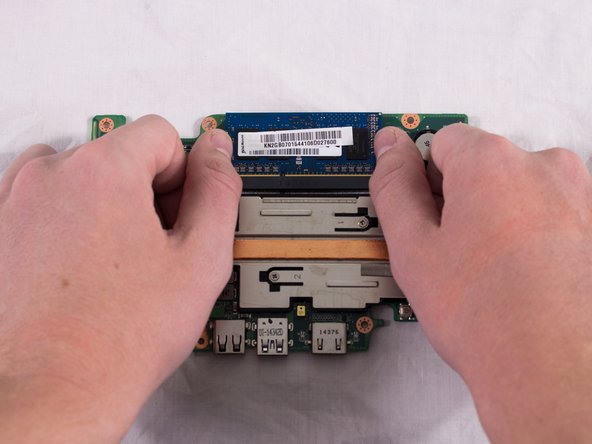
    5. Acer Aspire ES1-111M-C7DE RAM Replacement: step 13, image 1 of 3 Acer Aspire ES1-111M-C7DE RAM Replacement: step 13, image 2 of 3 Acer Aspire ES1-111M-C7DE RAM Replacement: step 13, image 3 of 3
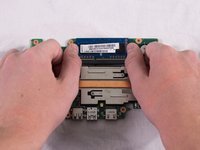
      • Gently push the two metal clips that hold the RAM to the side, as indicated by the picture.

      • It should pop up once done.

      Ask FixBot

      Add Comment

    6. Acer Aspire ES1-111M-C7DE RAM Replacement: step 14, image 1 of 1
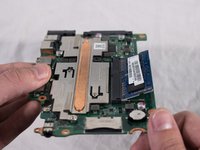
      • Pull the RAM out.

      Ask FixBot

      Add Comment

Conclusion

To reassemble your device, follow these instructions in reverse order.

Cancel: I did not complete this guide.

Mason Devinney

Member since: 09/25/17

388 Reputation

3 Guides authored

Team

USF Tampa, Team S3-G1, Cannon Fall 2017 Member of USF Tampa, Team S3-G1, Cannon Fall 2017

USFT-CANNON-F17S3G1

4 Members

70 Guides authored

0 Guide Comments

Add Comment

View Statistics:

Past 24 Hours: 3

Past 7 Days: 5

Past 30 Days: 37

All Time: 2,159