Free Shipping on Domestic Orders $75+

Acer Aspire E5-571P-55TL RAM Replacement

What you need

  1. Acer Aspire E5-571P-55TL RAM Replacement, Battery: step 1, image 1 of 1
    • Make sure that laptop is turned off.

    • Turn the laptop upside down with the battery facing you.

    Ask FixBot

    Add Comment

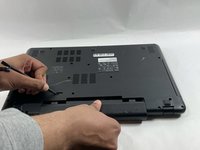
  2. Acer Aspire E5-571P-55TL RAM Replacement: step 2, image 1 of 1
    • Place the Spudger into the battery lock and slide it to the left until you hear the battery unlock.

    Ask FixBot

    Add Comment

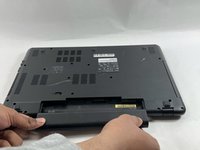
  3. Acer Aspire E5-571P-55TL RAM Replacement: step 3, image 1 of 2 Acer Aspire E5-571P-55TL RAM Replacement: step 3, image 2 of 2
    • Pull the battery towards you to remove it from the laptop.

    Ask FixBot

    Add Comment

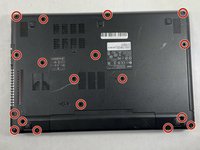
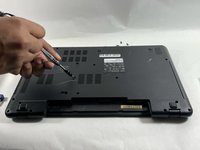
  4. Acer Aspire E5-571P-55TL RAM Replacement, Keyboard: step 4, image 1 of 2 Acer Aspire E5-571P-55TL RAM Replacement, Keyboard: step 4, image 2 of 2
    • Using a Phillips #0 screwdriver, remove each of the eighteen 8 mm screws from the bottom of the laptop.

    Ask FixBot

    Add Comment

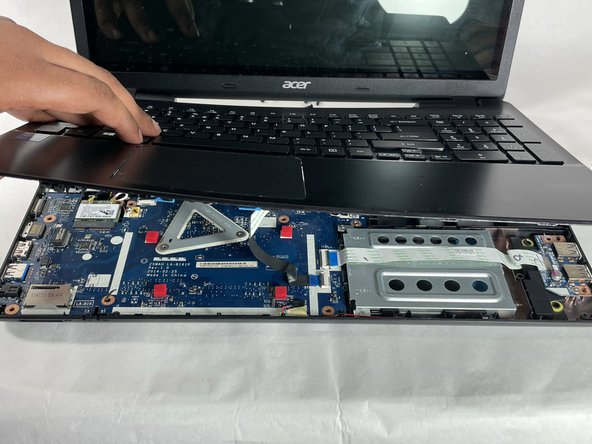
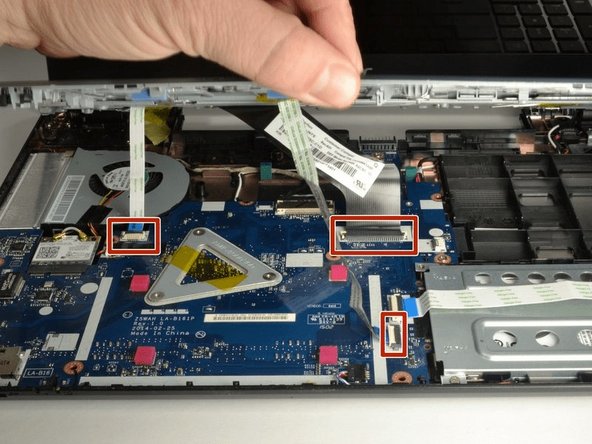
  5. Acer Aspire E5-571P-55TL RAM Replacement: step 5, image 1 of 3 Acer Aspire E5-571P-55TL RAM Replacement: step 5, image 2 of 3 Acer Aspire E5-571P-55TL RAM Replacement: step 5, image 3 of 3
    • Carefully place your fingers underneath the top of the keyboard just below the screen.

    • Pull upwards until you can hear the keyboard click out of place.

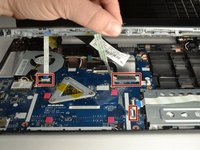
    • Continue around the entire laptop, carefully pulling the keyboard and palm rest assembly slightly from the frame to reveal the ribbon connectors.

    • Don't pull the keyboard off the frame yet because it's attached by ribbon connectors.

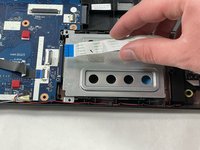
    • After the keyboard is detached, unplug each of the three ribbon cables and remove the keyboard and palm rest assembly.

    Ask FixBot
    Add Comment

  6. Acer Aspire E5-571P-55TL RAM Replacement, CPU Fan: step 6, image 1 of 2 Acer Aspire E5-571P-55TL RAM Replacement, CPU Fan: step 6, image 2 of 2
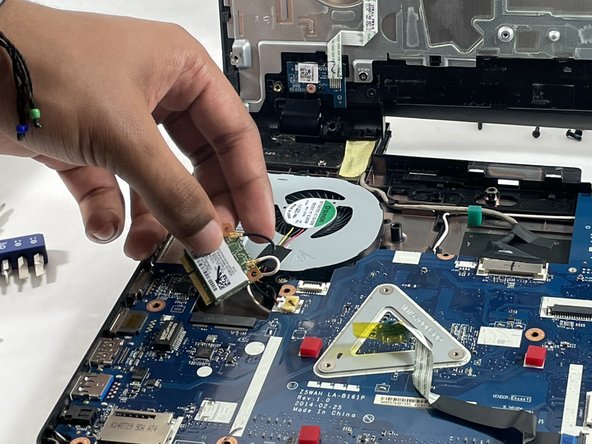
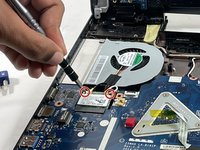
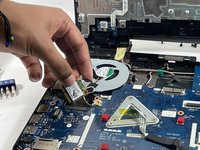
    • Before replacing the CPU fan, you'll have to remove the network card found below the fan.

    • Using a Philips #0 screwdriver, remove the two 3 mm screws from the corners of the Wi-Fi card.

    • Carefully lift the network card from it's slot, and disconnect the two coaxial cables.

    Ask FixBot
    Add Comment

  7. Acer Aspire E5-571P-55TL RAM Replacement: step 7, image 1 of 2 Acer Aspire E5-571P-55TL RAM Replacement: step 7, image 2 of 2
    • The CPU fan can be found in the upper left corner of the laptop.

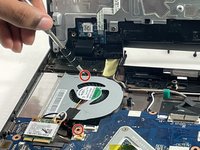
    • Using a Phillips #0 screwdriver, remove the two 4.5 mm screws from the fan.

    Ask FixBot

    Add Comment

  8. Acer Aspire E5-571P-55TL RAM Replacement: step 8, image 1 of 2 Acer Aspire E5-571P-55TL RAM Replacement: step 8, image 2 of 2
    Tool used on this step:
    Tweezers
    $4.99
    Buy
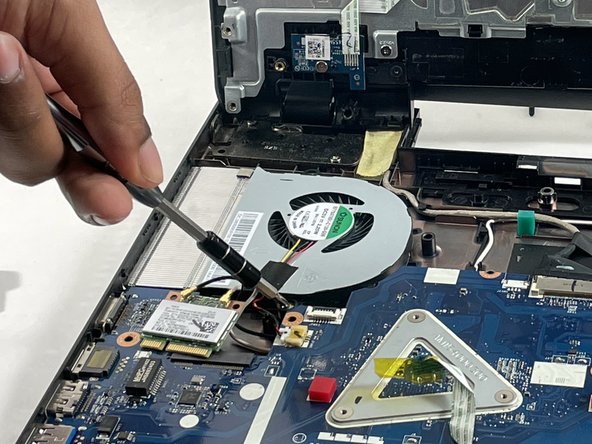
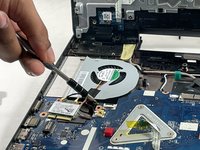
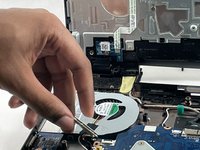
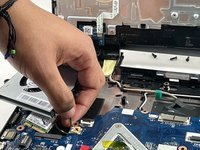
    • Use tweezers to safely remove the fan plug from the motherboard. To remove the plug, gently push left.

    Ask FixBot

    Add Comment

  9. Acer Aspire E5-571P-55TL RAM Replacement: step 9, image 1 of 1
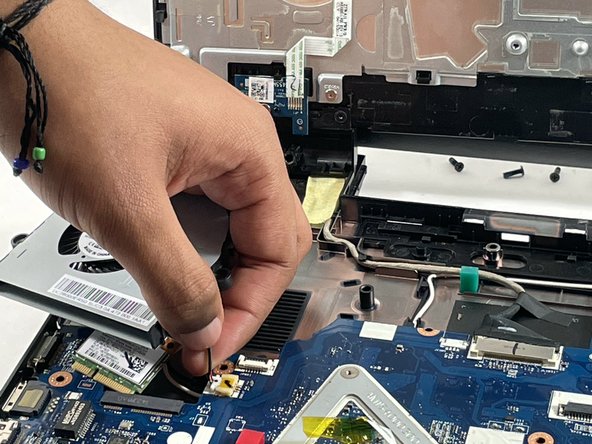
    • Make sure that all fan wires are disconnected from the board.

    • Lift the curved end of the fan, and safely remove it.

    Ask FixBot
    Add Comment

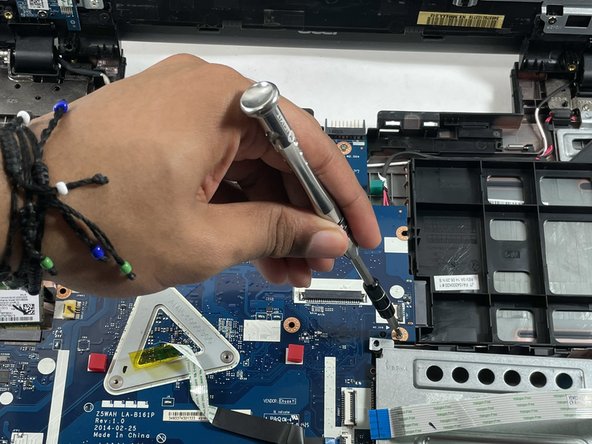
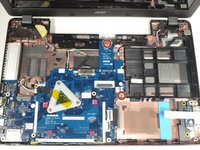
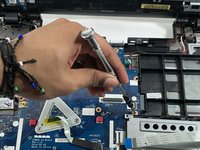
  10. Acer Aspire E5-571P-55TL RAM Replacement, Hard Drive: step 10, image 1 of 1
    • Using a Phillips #0 screwdriver, remove the two 8 mm screws holding the hard drive carriage in place.

    Ask FixBot
    Add Comment
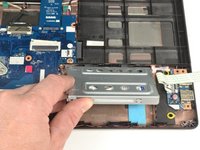
  11. Acer Aspire E5-571P-55TL RAM Replacement: step 11, image 1 of 2 Acer Aspire E5-571P-55TL RAM Replacement: step 11, image 2 of 2
    • Carefully unplug the ribbon cable running across the hard drive carriage and place it to the side.

    • Remove the hard drive by sliding it to your right, away from the motherboard, next pull the hard drive towards yourself and away from the laptop.

    Ask FixBot

    Add Comment

  12. Acer Aspire E5-571P-55TL RAM Replacement: step 12, image 1 of 1
    • Once again using a Phillips #0 screwdriver, remove the two 3 mm screws highlighted on each side of the hard drive case.

    • Open the hard drive case to replace the hard drive.

    Ask FixBot

    Add Comment

  13. Acer Aspire E5-571P-55TL RAM Replacement, Motherboard: step 13, image 1 of 2 Acer Aspire E5-571P-55TL RAM Replacement, Motherboard: step 13, image 2 of 2
    • With a Phillips #0 screwdriver, remove the two 4 mm screws from the motherboard.

    Ask FixBot

    Add Comment

  14. Acer Aspire E5-571P-55TL RAM Replacement: step 14, image 1 of 3 Acer Aspire E5-571P-55TL RAM Replacement: step 14, image 2 of 3 Acer Aspire E5-571P-55TL RAM Replacement: step 14, image 3 of 3
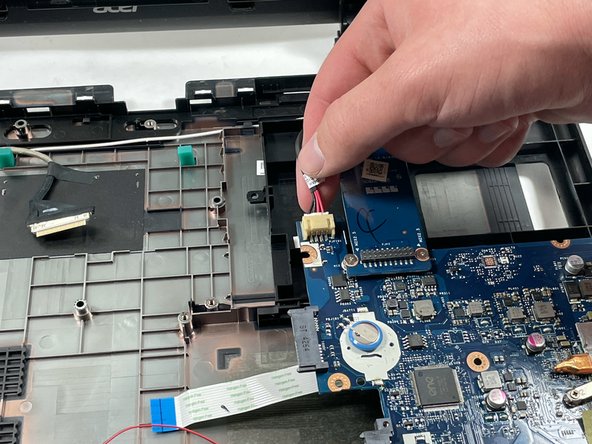
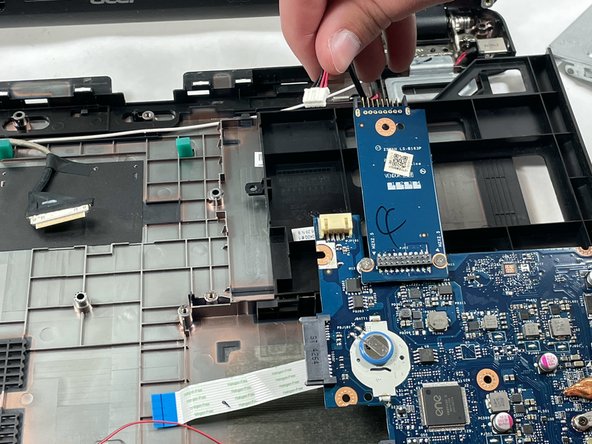
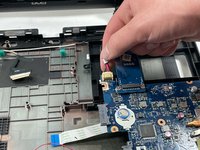
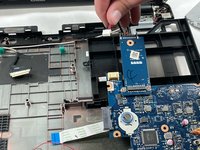
    • Carefully disconnect the speaker connection to the motherboard.

    Ask FixBot

    Add Comment

  15. Acer Aspire E5-571P-55TL RAM Replacement: step 15, image 1 of 3 Acer Aspire E5-571P-55TL RAM Replacement: step 15, image 2 of 3 Acer Aspire E5-571P-55TL RAM Replacement: step 15, image 3 of 3
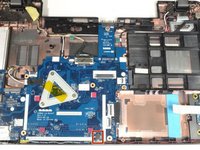
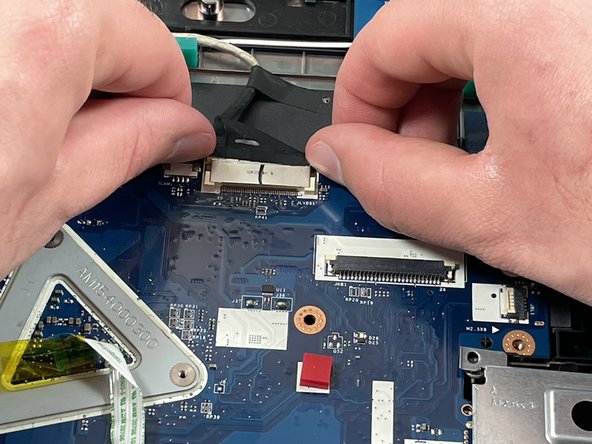
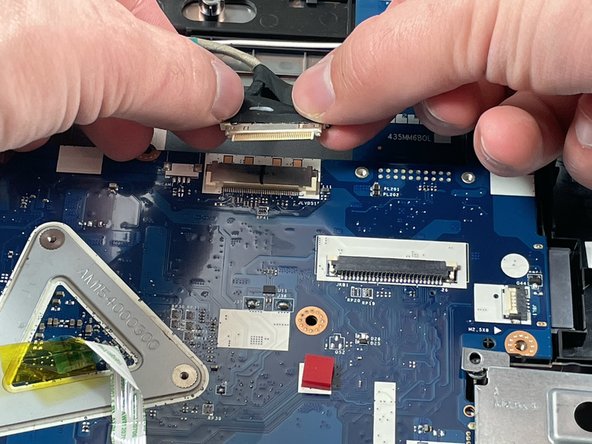
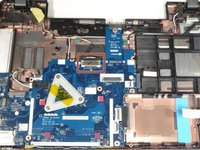
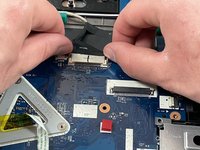
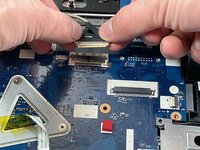
    • The last connection to the motherboard is the screen. Gently disconnect the cable from the motherboard.

    Ask FixBot

    Add Comment

  16. Acer Aspire E5-571P-55TL RAM Replacement: step 16, image 1 of 1
    • Lift the motherboard up from the top right corner, and then pull it right to release it from the case.

    Ask FixBot

    Add Comment

  17. Acer Aspire E5-571P-55TL RAM Replacement, RAM: step 17, image 1 of 2 Acer Aspire E5-571P-55TL RAM Replacement, RAM: step 17, image 2 of 2
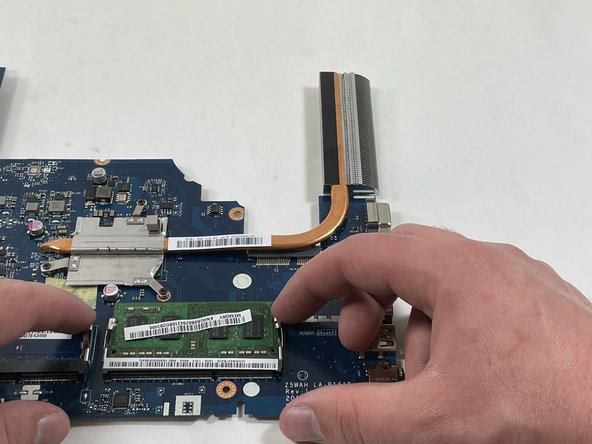
    • Flipe the motherboard over.

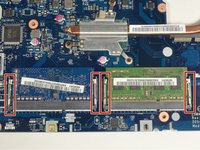
    • The RAM is locked into place by two clips.

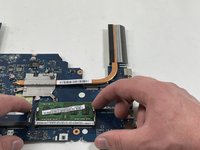
    • Using the tips of each index finger, gently pull the clips away from the RAM module.

    Ask FixBot

    Add Comment

  18. Acer Aspire E5-571P-55TL RAM Replacement: step 18, image 1 of 1
    • When the RAM stick is released, slide it out of the slot.

    Ask FixBot

    Add Comment

Conclusion

To reassemble your device, follow these instructions in reverse order.

Cancel: I did not complete this guide.

Max Piekos

Member since: 03/23/22

459 Reputation

4 Guides authored

Team

0 Guide Comments

Add Comment

View Statistics:

Past 24 Hours: 1

Past 7 Days: 8

Past 30 Days: 31

All Time: 785