Free Shipping on Domestic Orders $75+

Acer Aspire 5742 Hard drive Replacement

What you need

    1. Acer Aspire 5742 Hard drive Replacement, Battery: step 1, image 1 of 3 Acer Aspire 5742 Hard drive Replacement, Battery: step 1, image 2 of 3 Acer Aspire 5742 Hard drive Replacement, Battery: step 1, image 3 of 3
      • Move the battery catch to the "unlocked" position.

      • Pull back the second spring-loaded battery catch until the battery pops up.

      • Remove the battery.

      Ask FixBot

      Add Comment

    1. Acer Aspire 5742 Hard drive Replacement, Cover Panel: step 2, image 1 of 3 Acer Aspire 5742 Hard drive Replacement, Cover Panel: step 2, image 2 of 3 Acer Aspire 5742 Hard drive Replacement, Cover Panel: step 2, image 3 of 3
      • Turn the notebook around to face you.

      • There are two Phillips #00 screws securing the cover panel to the rest of the notebook. Remove these screws.

      Ask FixBot

      Add Comment

    2. Acer Aspire 5742 Hard drive Replacement: step 3, image 1 of 3 Acer Aspire 5742 Hard drive Replacement: step 3, image 2 of 3 Acer Aspire 5742 Hard drive Replacement: step 3, image 3 of 3
      • Use a spudger to release the panel from the plastic retaining clips keeping it in place.

      • Do not apply too much force, or you may break the clips.

      • Remove the panel and set it aside.

      Ask FixBot

      Add Comment

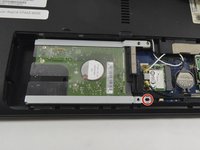
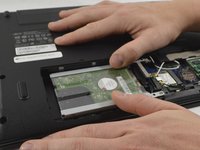
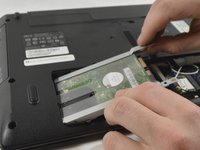
    1. Acer Aspire 5742 Hard drive Replacement, Hard drive: step 4, image 1 of 3 Acer Aspire 5742 Hard drive Replacement, Hard drive: step 4, image 2 of 3 Acer Aspire 5742 Hard drive Replacement, Hard drive: step 4, image 3 of 3
      • Unscrew the Phillips #00 screw which retains the hard drive in place.

      • Gently slide the hard drive to the left in order to disengage the SATA connectors.

      • It may be quite stiff, in which case you can ease the hard drive out of the SATA connectors by inserting a spudger between the hard drive and the connector block.

      • Lift the drive out of the notebook.

      Ask FixBot

      Add Comment

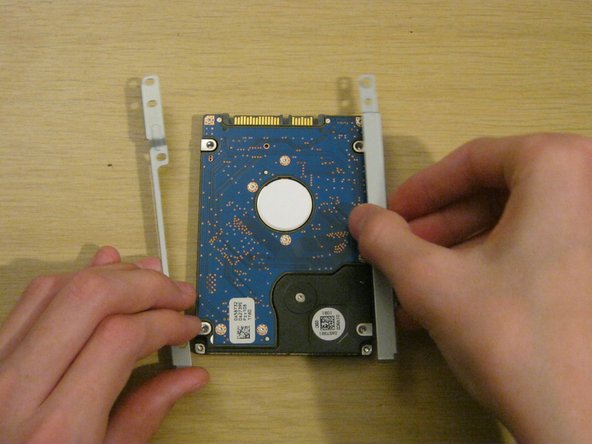
    1. Acer Aspire 5742 Hard drive Replacement, Drive bracket screws: step 5, image 1 of 3 Acer Aspire 5742 Hard drive Replacement, Drive bracket screws: step 5, image 2 of 3 Acer Aspire 5742 Hard drive Replacement, Drive bracket screws: step 5, image 3 of 3
      • There is a small metal bracket on either side of the hard drive, with two small silver-coloured Phillips #00 screws securing the bracket to the drive on each side.

      • Unscrew the 2 screws on each side.

      Ask FixBot

      Add Comment

    2. Acer Aspire 5742 Hard drive Replacement, Drive brackets: step 6, image 1 of 2 Acer Aspire 5742 Hard drive Replacement, Drive brackets: step 6, image 2 of 2
      • When installing a replacement hard drive (or SSD), take care to attach the brackets to the drive the same way round as they were on the old drive otherwise the SATA connector won't mate.

      • Replace the 4 screws securing the brackets.

      • Replace the drive in the laptop and slide it into position, ensuring that the SATA connector is fully mated.

      • Replace the retaining screw holding the drive in position. Take care to insert it into the correct hole otherwise it will be impossible to insert the cover screws.

      Ask FixBot

      Add Comment

Conclusion

To reassemble your device, follow these instructions in reverse order.

Cancel: I did not complete this guide.

2 other people completed this guide.

Philip Le Riche

Member since: 02/18/14

32,591 Reputation

48 Guides authored

Team

Restart Project Member of Restart Project

Local Repair Groups

29 Members

2,220 Guides authored

0 Guide Comments

Add Comment

View Statistics:

Past 24 Hours: 5

Past 7 Days: 7

Past 30 Days: 51

All Time: 1,740