Introduction
Removal of the CMOS battery is a very quick and simple procedure. The CMOS battery will lose its charge over time and cannot be recharged, therefore you will need to replace it from time to time (very infrequently). No special caution is needed to follow this guide other than to be gentle with the laptop and do not to touch any electrical components not mentioned in the guide.
What you need
-
-
-
Move the battery catch to the "unlocked" position.
-
Pull back the second spring-loaded battery catch until the battery pops up.
-
Remove the battery.
 Ask FixBot
-
-
-
-
-
Turn the notebook around to face you.
-
There are two Phillips #00 screws securing the cover panel to the rest of the notebook. Remove these screws.
-
-
-
-
Use a spudger to release the panel from the plastic retaining clips keeping it in place.
-
Remove the panel and set it aside.
-
-
-
-
-
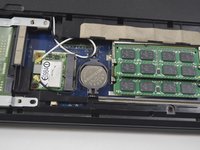
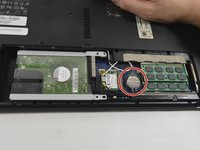
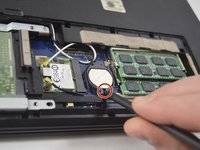
Press the tip of the spudger underneath the CMOS battery with very slight force.
-
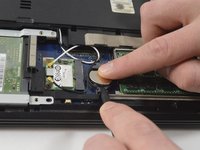
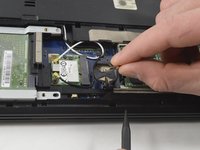
Press down on the opposite side of the battery while prying the battery upward with the spudger.
-
After the battery is mostly lifted from the slot, you may pull out the battery with your fingers.
-




To reassemble your device, follow these instructions in reverse order.
Cancel: I did not complete this guide.
8 other people completed this guide.

Team

UMass Dartmouth, Team 2-6, Isaacson Fall 2016 Member of UMass Dartmouth, Team 2-6, Isaacson Fall 2016
UMASSD-ISAACSON-F16S2G6
3 Members
60 Guides authored
