
Acer Aspire 3410 Screen Replacement

contact@kbl.netlib.re and one other contributor
Last updated on Feb 25, 2019
Views: 1.7K
View statistics:
- Past 24 Hours:
- 1
- Past 7 Days:
- 24
- Past 30 Days:
- 81
- All Time:
- 1,676
Comments: 0
No one has left comments on this guide. Will you be first?
Go to guide commentsCompleted: 2 3
2 people have marked this guide "completed." Will you be next?
3 people have marked this guide "completed." Including you — great job!
Favorites: 0 1
No one has favorited (and subscribed to) this guide. Will you be the first?
1 person has favorited (and subscribed to) this guide — and that's you!
Community-Contributed Guide
An awesome member of our community made this guide. It was not created by iFixit staff.
What you need
Tools


-
-
-
Remove the battery
-
Turn the laptop so that the lid touches the table and unscrew the screws. There are 14 long ones and 2 short ones.
 Ask FixBot
-
-
-
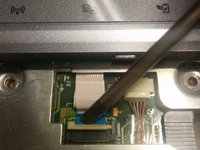
Pop up the keyboard with a flat screw driver. Pay attention to the connector between the keyboard and the mother board.
-
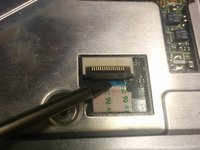
Disconnect the keyboard from the motherboard by lifting the black part of the FPC connector.
-
Unscrew 8 screws.
-
-
-
-
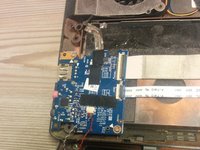
Disconnect the two flat cables with the FPC connectors as shown in the picture.
-
Detach the lid and disconnect the sound card reader (red/black cable pair).
-
-
-
Unscrew the four screw in the screen lid.
-
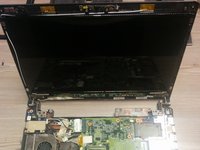
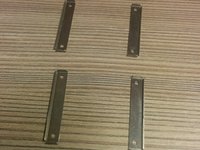
Slide out the 4 lockers on the side of the screen. Be careful not to have the screen touch the motherboard as it might scratch the surface of the screen.
-
-
-
Disconnect the screen from the motherboard.
-
Connect the new screen and make sure to tape the cable to the screen (the connector should have a tape, if not, add one).
-
-





To reassemble your device, follow these instructions in reverse order.
Cancel: I did not complete this guide.
2 other people completed this guide.

