Free Shipping on Domestic Orders $75+

Acer Aspire 3 A315-24P-R7VH Fan Replacement

What you need

  1. Acer Aspire 3 A315-24P-R7VH Fan Replacement, Power off your laptop: step 1, image 1 of 1
    • Shut down your laptop and unplug any cables.

    Ask FixBot
  2. Acer Aspire 3 A315-24P-R7VH Fan Replacement, Remove the back cover screws: step 2, image 1 of 1
    • Close the laptop and flip it over on a flat, clean surface.

    • Use a Phillips screwdriver to remove the eleven 6.6 mm‑long screws from the back cover.

    Ask FixBot
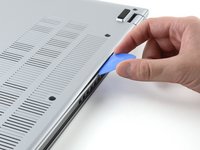
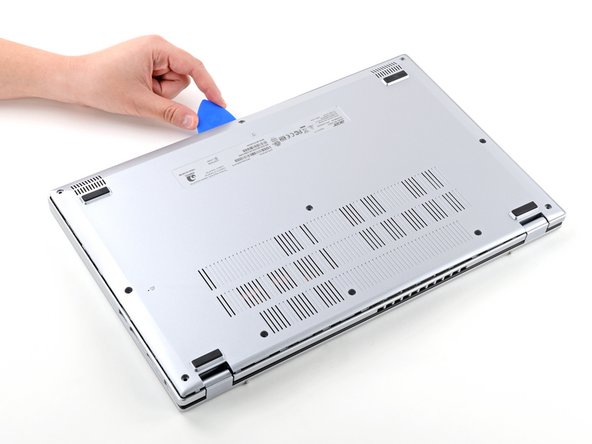
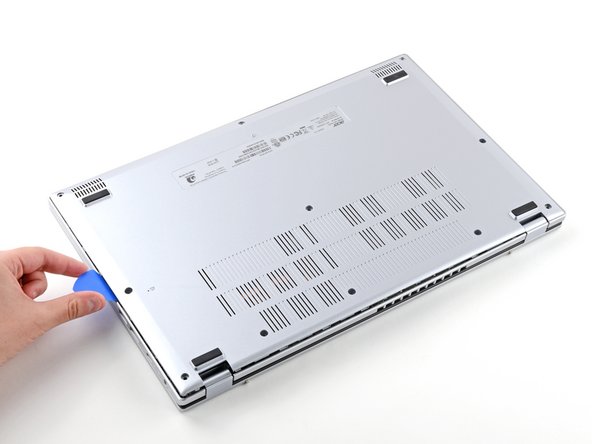
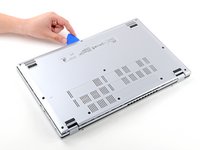
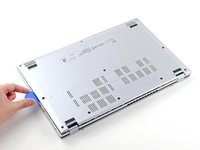
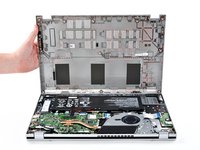
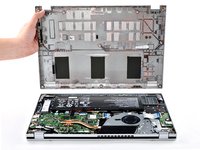
  3. Acer Aspire 3 A315-24P-R7VH Fan Replacement, Remove the back cover: step 3, image 1 of 3 Acer Aspire 3 A315-24P-R7VH Fan Replacement, Remove the back cover: step 3, image 2 of 3 Acer Aspire 3 A315-24P-R7VH Fan Replacement, Remove the back cover: step 3, image 3 of 3
    • Insert the long edge of an opening pick straight down between the chassis and the back cover at the rear of the laptop

    • Pry up to release a few back cover clips and position the opening pick flat under the back cover.

    • Slide the pick along the rear edge of the laptop to release the clips.

    Ask FixBot
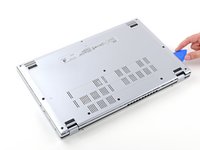
  4. Acer Aspire 3 A315-24P-R7VH Fan Replacement: step 4, image 1 of 3 Acer Aspire 3 A315-24P-R7VH Fan Replacement: step 4, image 2 of 3 Acer Aspire 3 A315-24P-R7VH Fan Replacement: step 4, image 3 of 3
    • Pry around the entire perimeter until the back cover releases.

    Ask FixBot
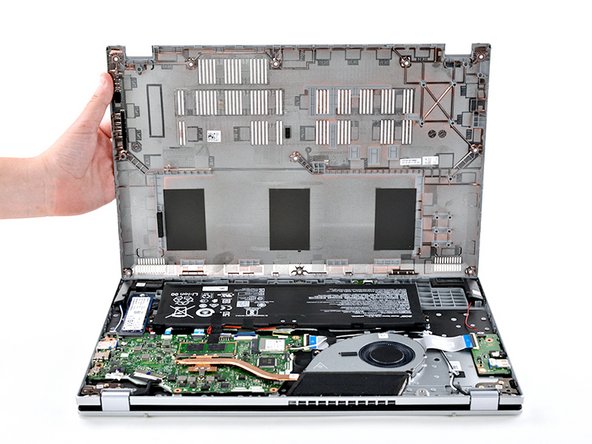
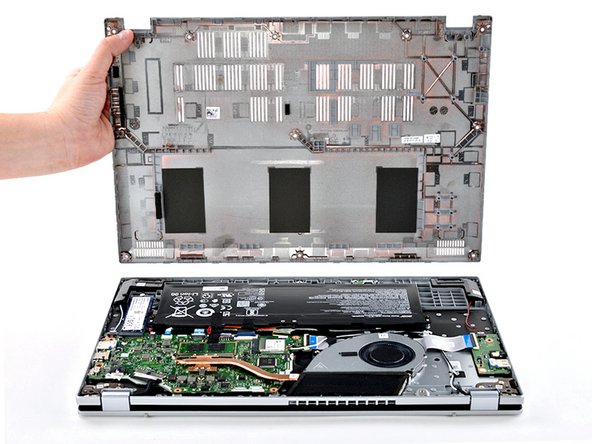
  5. Acer Aspire 3 A315-24P-R7VH Fan Replacement: step 5, image 1 of 3 Acer Aspire 3 A315-24P-R7VH Fan Replacement: step 5, image 2 of 3 Acer Aspire 3 A315-24P-R7VH Fan Replacement: step 5, image 3 of 3
    • Lift the back cover off the chassis and remove it.

    • If the back cover is stuck, repeat the previous step to release any remaining clips.

    Ask FixBot
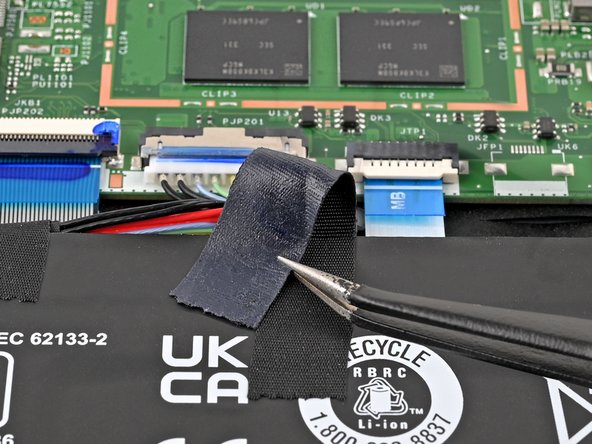
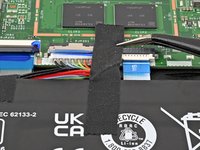
  6. Acer Aspire 3 A315-24P-R7VH Fan Replacement, Peel back the tape: step 6, image 1 of 2 Acer Aspire 3 A315-24P-R7VH Fan Replacement, Peel back the tape: step 6, image 2 of 2
    • Use tweezers or your fingers to peel away the tape covering the battery connector.

    Ask FixBot
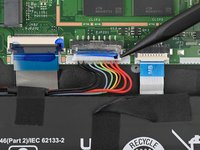
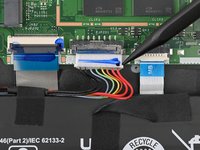
  7. Acer Aspire 3 A315-24P-R7VH Fan Replacement, Disconnect the battery: step 7, image 1 of 2 Acer Aspire 3 A315-24P-R7VH Fan Replacement, Disconnect the battery: step 7, image 2 of 2
    • Use the tip of a spudger to push down on either side of the battery cable connector until it comes out of its socket.

    Ask FixBot
  8. Acer Aspire 3 A315-24P-R7VH Fan Replacement, Remove the battery screws: step 8, image 1 of 2 Acer Aspire 3 A315-24P-R7VH Fan Replacement, Remove the battery screws: step 8, image 2 of 2
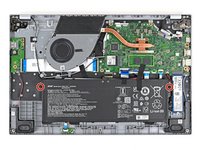
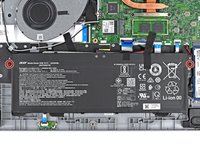
    • Use a Phillips screwdriver to remove the two 4.7 mm‑long screws securing the battery.

    Ask FixBot
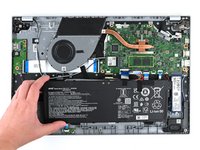
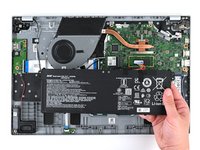
  9. Acer Aspire 3 A315-24P-R7VH Fan Replacement, Remove the battery: step 9, image 1 of 3 Acer Aspire 3 A315-24P-R7VH Fan Replacement, Remove the battery: step 9, image 2 of 3 Acer Aspire 3 A315-24P-R7VH Fan Replacement, Remove the battery: step 9, image 3 of 3
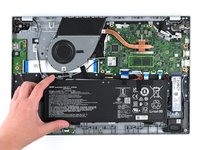
    • Lift the battery out of the chassis and remove it.

    Ask FixBot
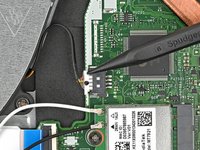
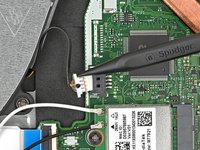
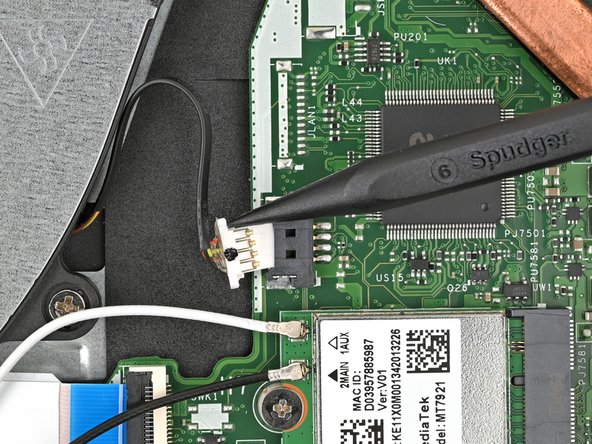
  10. Acer Aspire 3 A315-24P-R7VH Fan Replacement, Disconnect the fan: step 10, image 1 of 2 Acer Aspire 3 A315-24P-R7VH Fan Replacement, Disconnect the fan: step 10, image 2 of 2
    • Use the tip of a spudger to push down on either side of the fan cable connector until it comes out of its socket.

    Ask FixBot
  11. Acer Aspire 3 A315-24P-R7VH Fan Replacement, Remove the fan screws: step 11, image 1 of 1
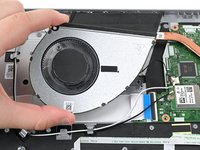
    • Use a Phillips screwdriver to remove the two 5.6 mm‑long screws that are securing the fan.
    Ask FixBot
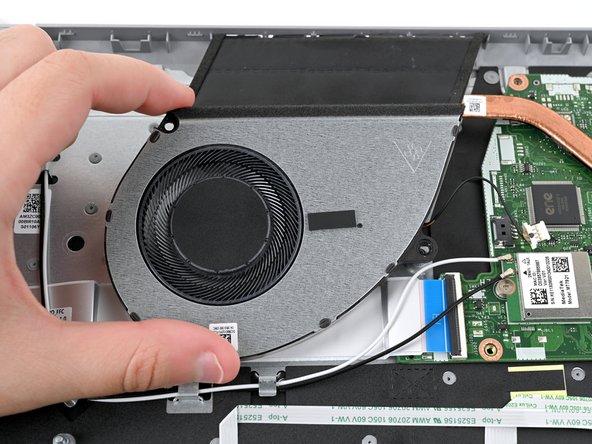
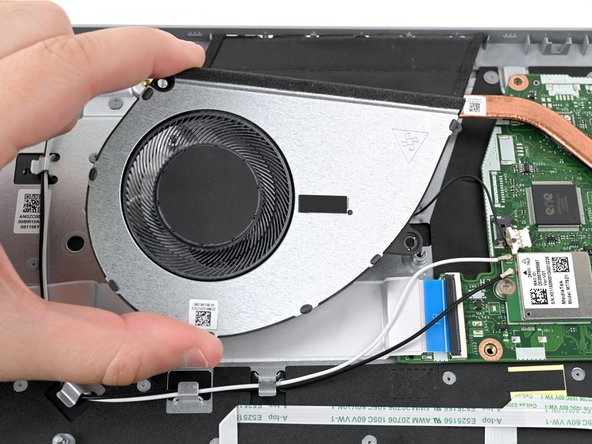
  12. Acer Aspire 3 A315-24P-R7VH Fan Replacement, Remove the fan: step 12, image 1 of 3 Acer Aspire 3 A315-24P-R7VH Fan Replacement, Remove the fan: step 12, image 2 of 3 Acer Aspire 3 A315-24P-R7VH Fan Replacement, Remove the fan: step 12, image 3 of 3
    • Lift the fan out of the chassis and remove it.

    Ask FixBot
Conclusion

To reassemble your device, follow these instructions in reverse order.

Take your e-waste to an R2 or e-Stewards certified recycler. Acer partners with different e-waste recycling programs that vary by region, click here to see where you can properly dispose of your e-waste.

Repair didn’t go as planned? Try some basic troubleshooting, or ask our Answers community for help.


Kara Piepenbrink

Member since: 05/31/24

7,620 Reputation

21 Guides authored

Team

iFixit Member of iFixit

Staff

123 Members

25,718 Guides authored

0 Guide Comments

Add Comment

View Statistics:

Past 24 Hours: 0

Past 7 Days: 7

Past 30 Days: 36

All Time: 502