Free Shipping on Domestic Orders $75+

Acer Aspire 3 A315-24P-R7VH Display Assembly Replacement

What you need

    1. Acer Aspire 3 A315-24P-R7VH Display Assembly Replacement, Lower Case: step 1, image 1 of 1
      • Power off the machine and unplug it from the wall charger.

      Ask FixBot

      Add Comment

    2. Acer Aspire 3 A315-24P-R7VH Display Assembly Replacement: step 2, image 1 of 2 Acer Aspire 3 A315-24P-R7VH Display Assembly Replacement: step 2, image 2 of 2
      • Close the laptop and flip it over.

      • Remove the eleven 6.5 mm Phillips screws from the lower case.

      Ask FixBot

      Add Comment

    3. Acer Aspire 3 A315-24P-R7VH Display Assembly Replacement: step 3, image 1 of 1
      • Insert an opening pick between the lower case and chassis.

      • Pry around the entire perimeter until the lower case releases.

      • Remove the lower case.

      Ask FixBot

      Add Comment

    4. Acer Aspire 3 A315-24P-R7VH Display Assembly Replacement: step 4, image 1 of 1
      Tool used on this step:
      Anti-Static Wrist Strap
      $7.95
      Buy
      • Optional: Put on an anti-static wrist strap. Ground yourself by connecting the metal clip at the end to any unpainted metal surface outside of the laptop.

      Ask FixBot

      Add Comment

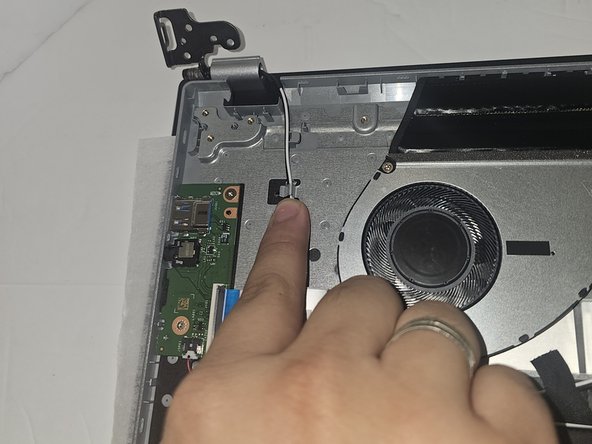
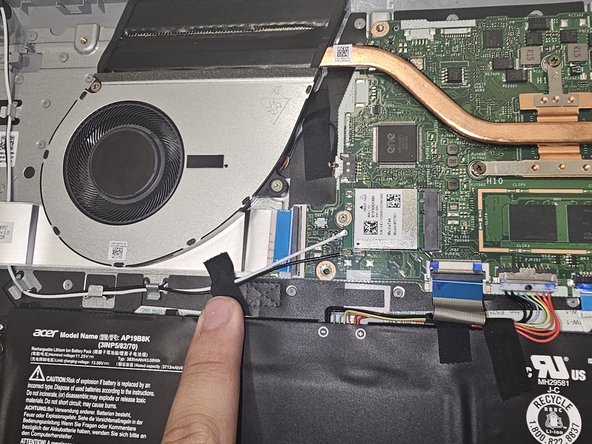
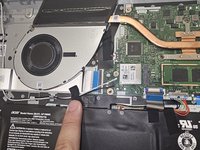
    1. Acer Aspire 3 A315-24P-R7VH Display Assembly Replacement, Display Assembly: step 5, image 1 of 3 Acer Aspire 3 A315-24P-R7VH Display Assembly Replacement, Display Assembly: step 5, image 2 of 3 Acer Aspire 3 A315-24P-R7VH Display Assembly Replacement, Display Assembly: step 5, image 3 of 3
      • Disconnect the black and white antenna cables plugged into the network card on the motherboard.

      Ask FixBot

      Add Comment

      • Unscrew the four 5.5 mm Phillips screws holding the hinges of the monitor to the laptop frame.

      Ask FixBot

      Add Comment

    2. Acer Aspire 3 A315-24P-R7VH Display Assembly Replacement: step 7, image 1 of 1
      • Once the hinges are unscrewed the display assembly will easily come off.

      Ask FixBot

      Add Comment

Conclusion

To reassemble you will just follow these steps in reverse order.

Cancel: I did not complete this guide.

AlexHarpring

Member since: 09/07/23

319 Reputation

3 Guides authored

Team

Gateway, Team 1-1, Pee Fall 2023 Member of Gateway, Team 1-1, Pee Fall 2023

GCC-PEE-F23S1G1

4 Members

72 Guides authored

0 Guide Comments

Add Comment

View Statistics:

Past 24 Hours: 4

Past 7 Days: 19

Past 30 Days: 63

All Time: 1,321