
Acer AL1916 VGA Input Replacement

Taylor Atterbury and 6 other contributors
Last updated on Jan 28, 2014
Views: 4K
View statistics:
- Past 24 Hours:
- 3
- Past 7 Days:
- 19
- Past 30 Days:
- 98
- All Time:
- 4,039
Comments: 1
1 comment on steps.
Completed: 0 1
No one has marked this guide "completed." Will you be the first?
1 person has marked this guide "completed." It's you — great job!
Favorites: 5 6
5 people have favorited (and subscribed to) this guide. Will you be next?
6 people have favorited (and subscribed to) this guide — including you!
Introduction
Go to step 1 ↓The VGA input transfers information from the computer to the monitor, so having one that is working properly is important.
What you need
Parts
Tools


-
-
-
Grab the hinge cover with both hands on either side of the stand.
-
Squeeze inwards with your thumbs and fingers and lift up to remove the hinge cover.
-
-
-
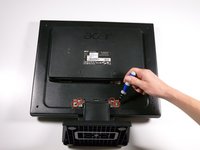
Remove the four 12.1 mm Phillips #2 screws that hold the stand to the monitor.
-
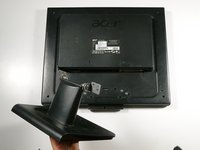
Lift up to detach the stand.
-
-
-
-
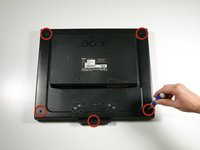
Remove the five 9.5 mm Phillips #2 screws located around the perimeter of the monitor.
-
-
-
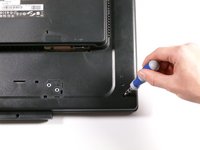
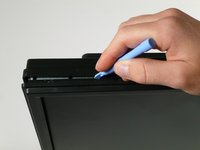
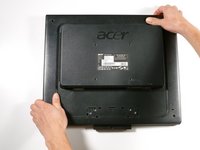
Starting at the corner of the monitor, wedge the small plastic opening tool between the back cover and the display bezel.
-
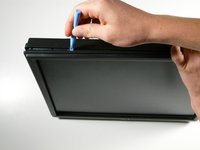
Tilt the plastic opening tool up to separate the back cover from the display bezel.
-
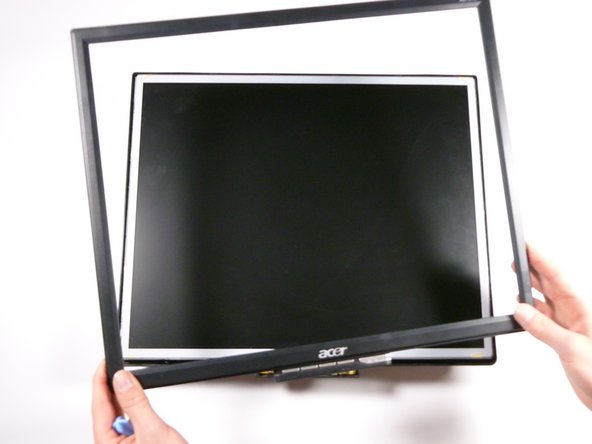
Continue around the perimeter of the monitor until the display bezel comes off.
-
-
-
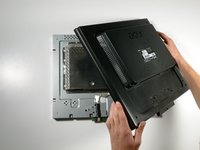
Grab the corners of the monitor and jiggle them upwards to detach the back cover from the inside of the monitor.
-
Lift the back cover up.
-
-
-
-
-
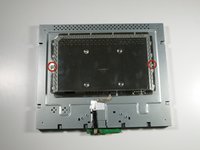
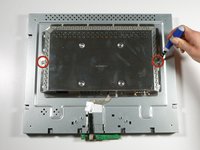
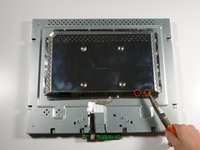
Remove the two 5.7 mm Phillips #2 screws located on either side of the EMI shield.
-
-
-
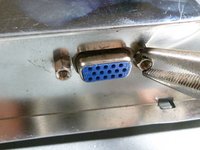
Using a nut driver (or if necessary, needle-nose pliers), remove the two nuts on either side of the VGA input.
-
-
-
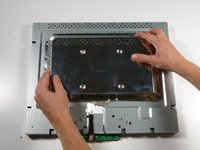
Grab the metal casing by the sides and slide it down towards the bottom of the monitor.
-
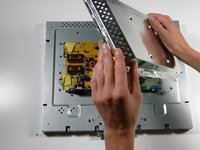
Lift up to remove the metal casing.
-
-
-
-
-
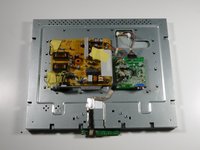
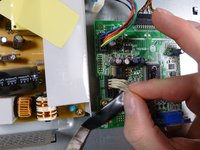
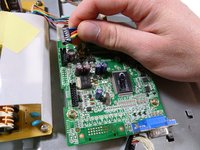
Remove the beige control cable to the left of the VGA input by pulling it up.
-
-
-
-
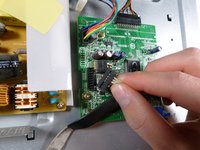
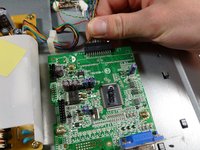
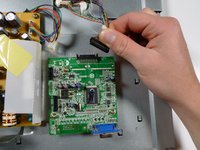
Remove the display cable located at the top of the motherboard by pulling it out towards the top of the monitor.
-
-
-
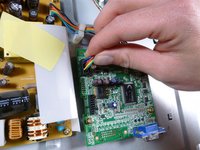
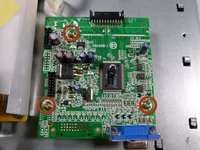
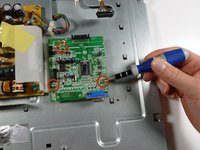
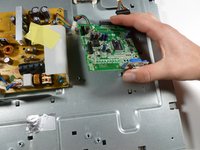
Remove the three 7.7 mm Phillips #2 screws from the motherboard, and take out the motherboard by lifting it up.
-
-
-
-
-
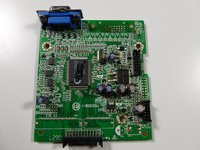
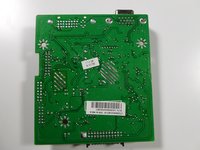
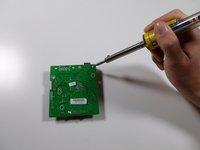
Set the circuit board down on its own, removed from the rest of the monitor.
-
-
-
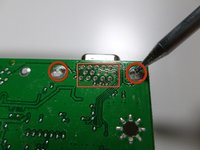
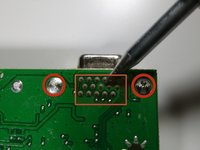
Using the soldering iron, desolder the VGA input at the indicated locations.
-
Solder the new VGA input into the circuit board at the same locations.
-
Click here for more information on component-level soldering.
-
-

 Ask FixBot


























To reassemble your device, follow these instructions in reverse order.

Team

Cal Poly, Team 20-26, Maness Fall 2011 Member of Cal Poly, Team 20-26, Maness Fall 2011
CPSU-MANESS-F11S20G26
4 Members
84 Guides authored
